PROJECT NULL
- Genre: 3D Action Adventure / PvE
- Type: Blockout
- Engine: Unreal Engine 5
- Tools: JakubW asset pack, Advanced Locomotion
- Iterations # 6
- Playtests # 4
- Role: Level designer
OVERVIEW
GOAL
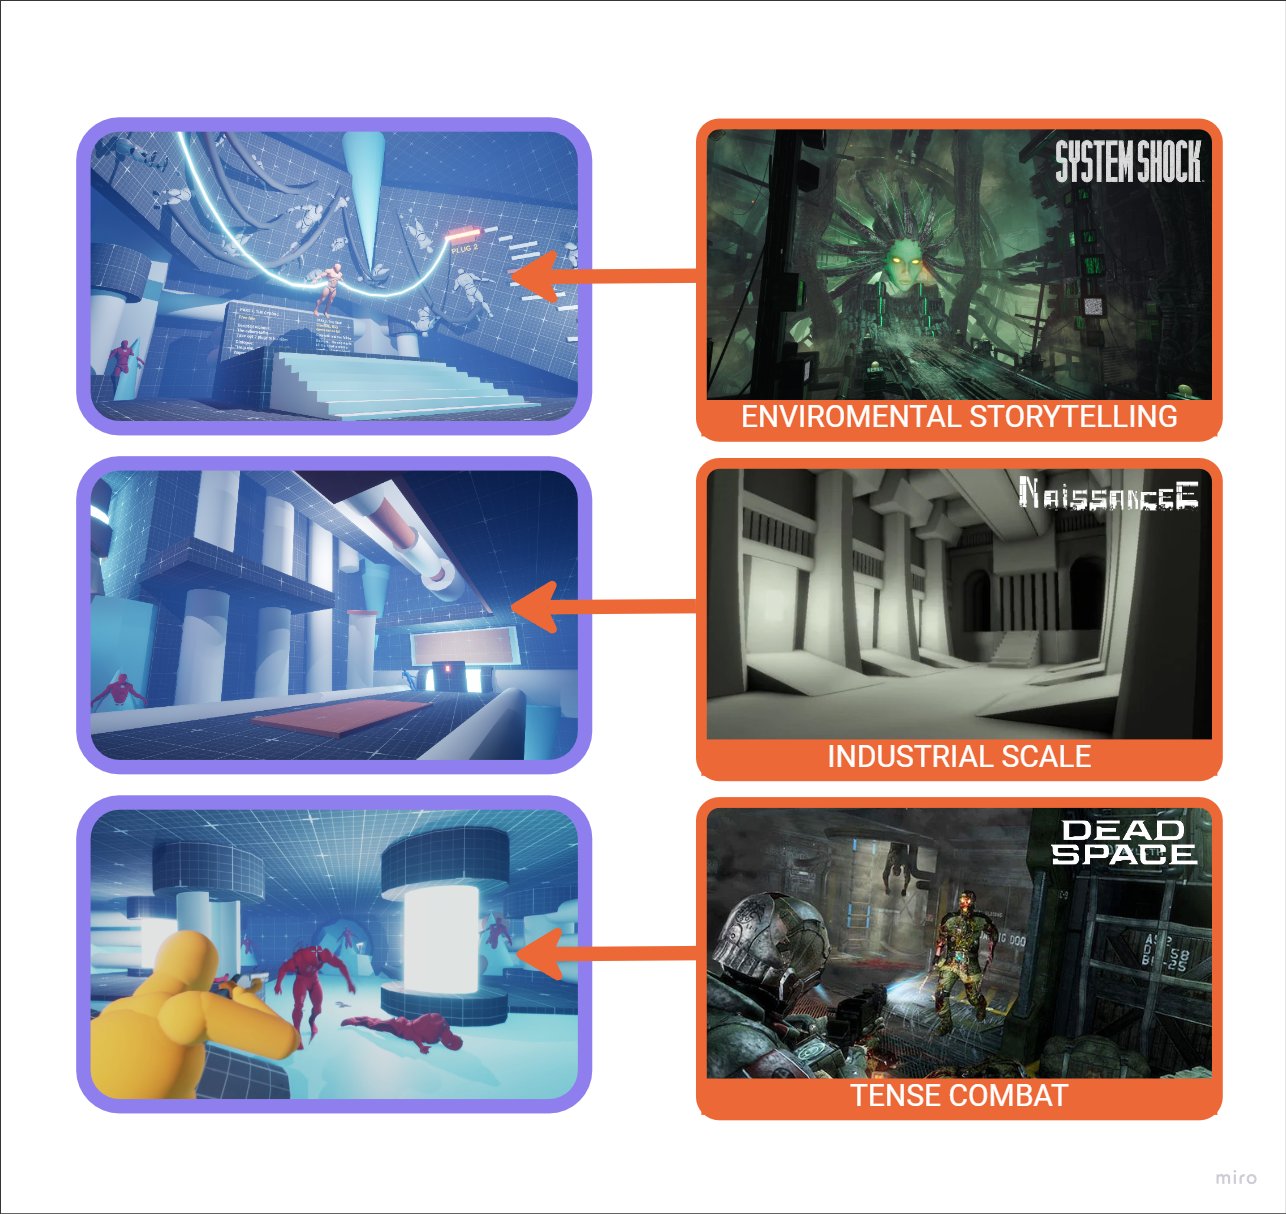
My goal was to develop a story-driven, linear adventure level set in an abandoned, frozen temple inspired by H.P. Lovecraft’s At the Mountains of Madness. The video game titles I drew the most influence from were System Shock (for its dark sci-fi environmental storytelling), NaissanceE (for the industrial and surreal scale of its world), and Dead Space 3 (for its terrifying yet fun combat experience).
This project represents a significant leap forward from my previous Unreal Engine 5 work. For this level, I placed a strong emphasis on thorough pre-production planning, iteratively refining the layout based on playtester feedback, and crafting a unique environment deeply rooted in the game’s lore.
My core objectives were to:
- Create a space that conveys a story through mood and environmental details.
- Use large-scale industrial elements to amplify the feeling of being small or out of place.
- Design a high quality level with a well-paced intensity curve, offering a tight combat experience balanced with platforming and exploration beats.
Throughout the Level design bootcamp, I was incredibly lucky to develop my skills and receive feedback from industry professionals like Brandon Dolinski, Nathan Kellman, and Jordan McMorris. Special mention to Mariusz Jarotek for helping me during development. Thank you all for providing the great insights and lessons that helped me grow as a level designer.
LEVEL OVERVIEW & TECHNIQUE HIGHLIGHTS
After a hard crash on an icy planet, our protagonist finds herself and her team lost deep underground in a robotic temple where ancient machinery is powered by a strange, glowing liquid. Find a way to save your friends by:
- Exploring abandoned eldritch architecture buried between ice and rubble.
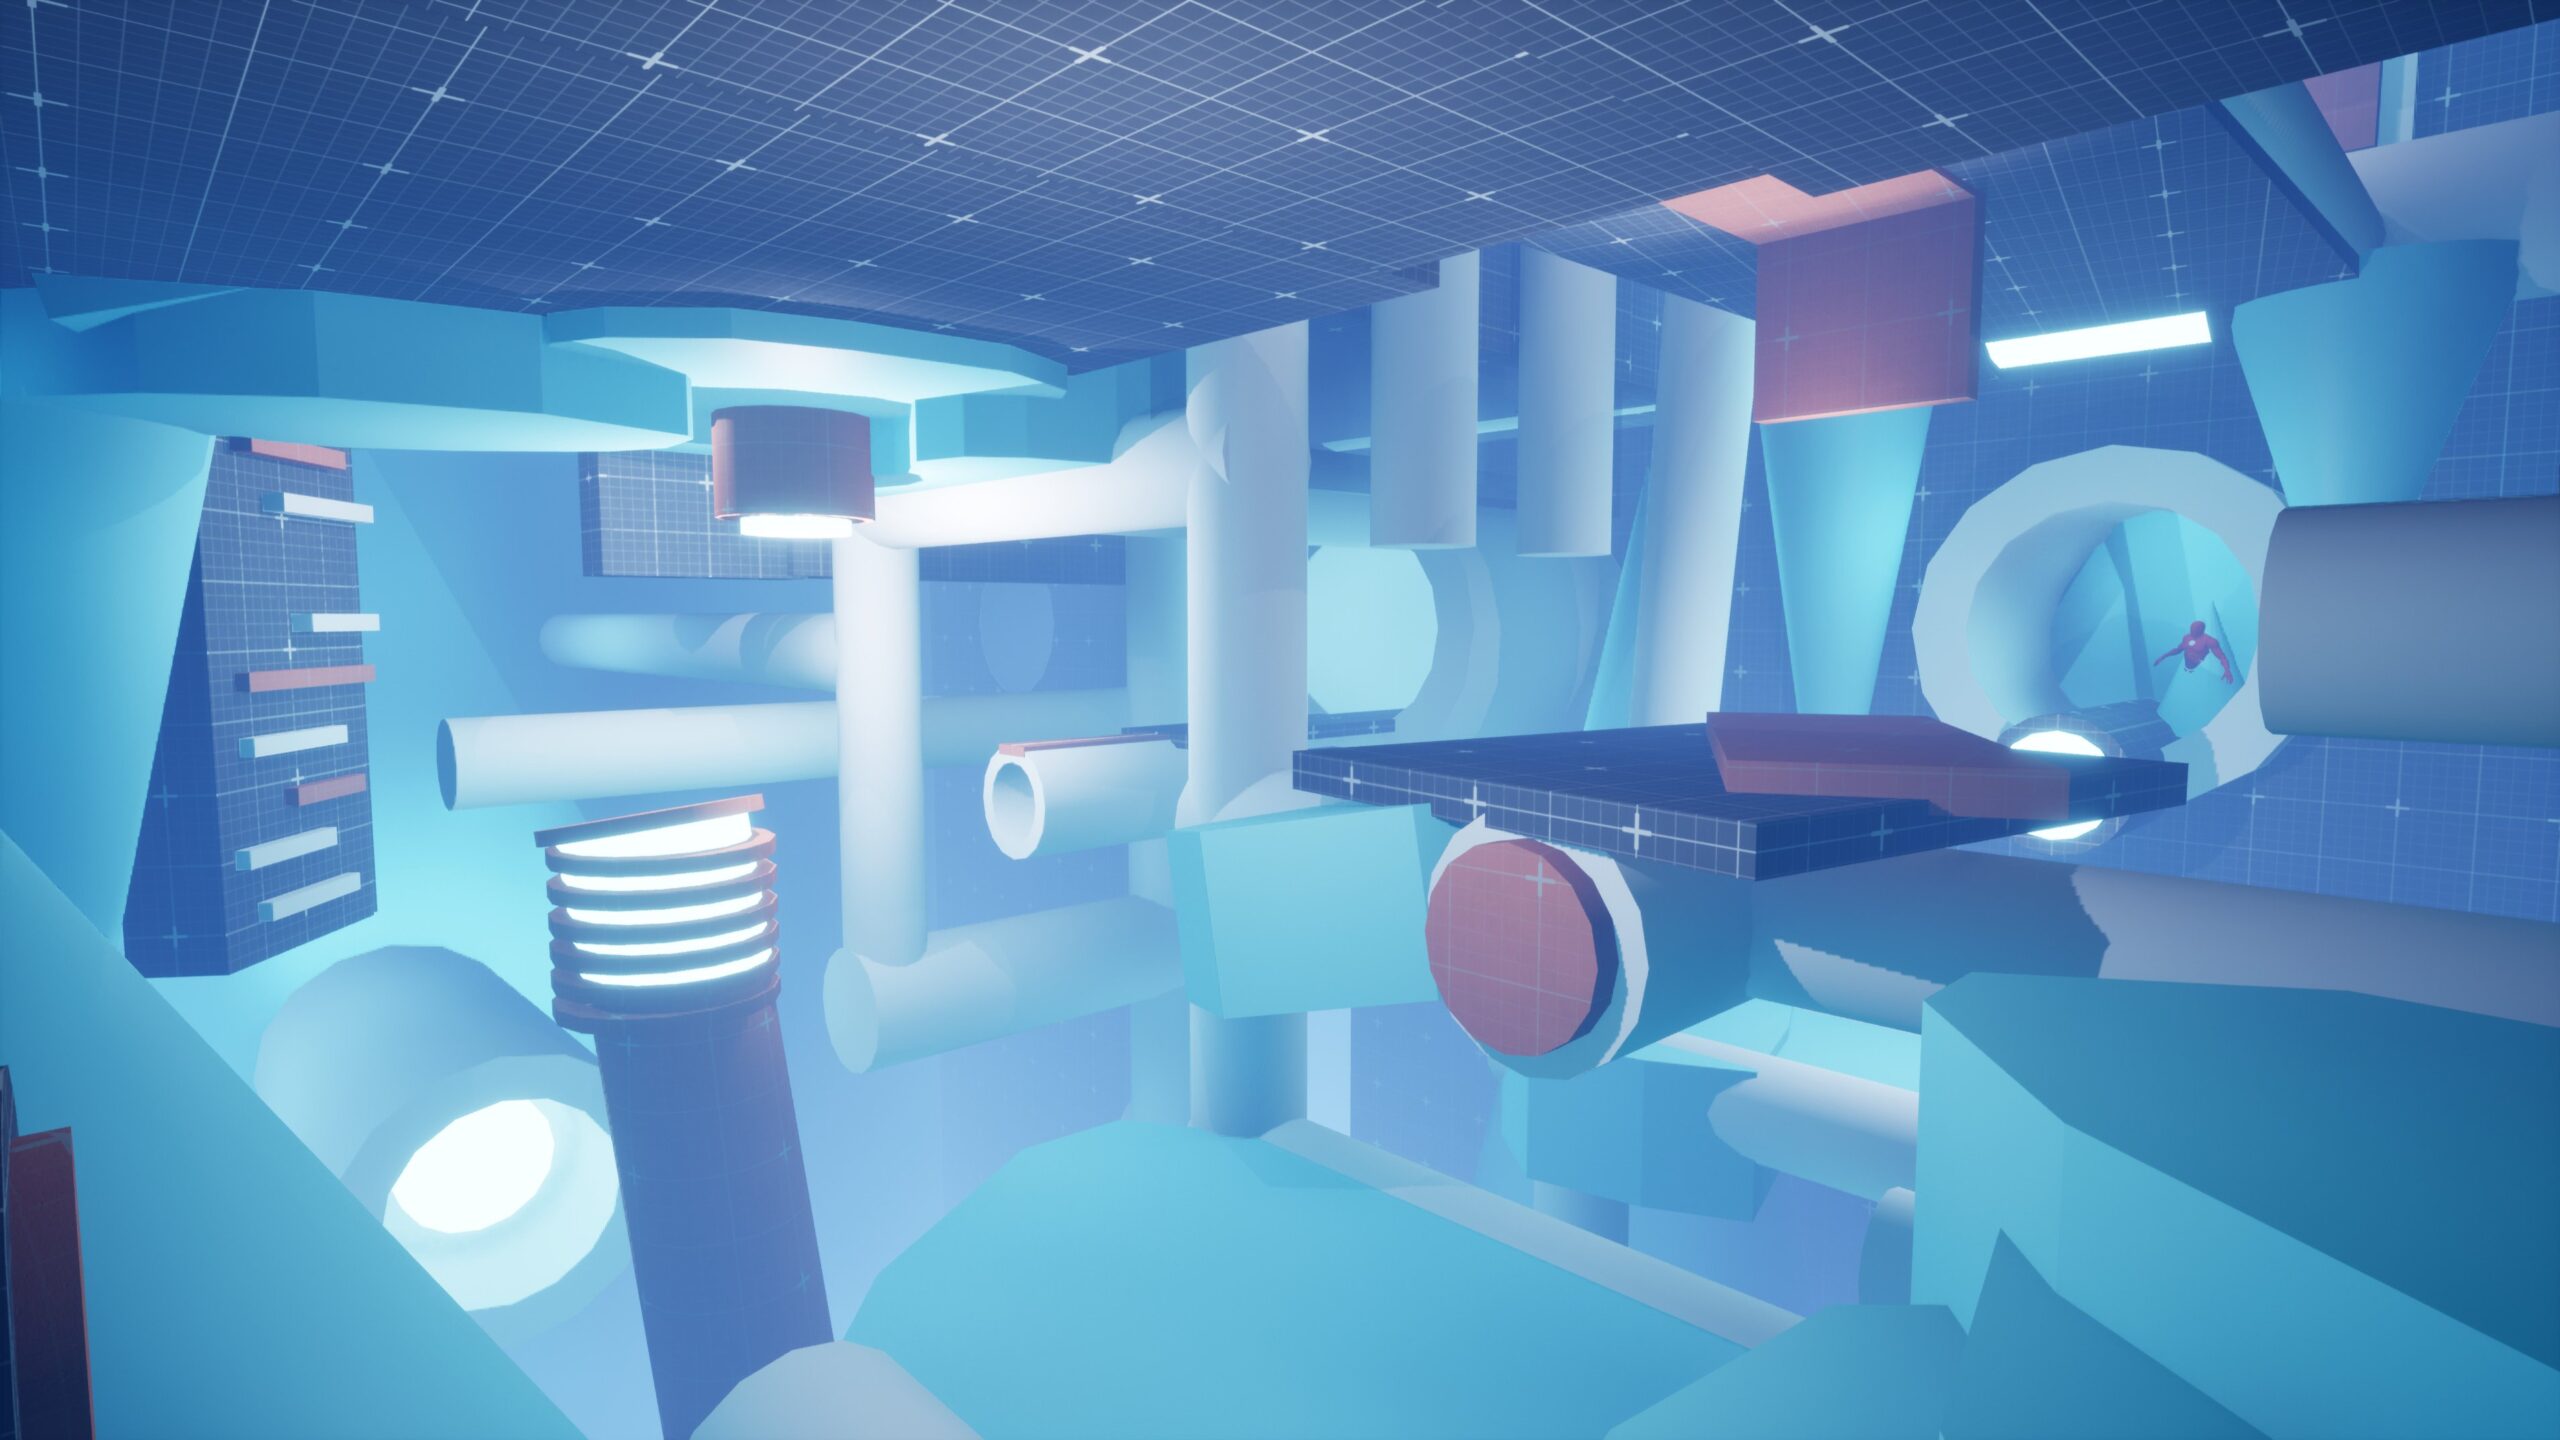
- Jumping, climbing, and navigating through broken pipes and canals.
- Unlocking up to 3 weapons to maximize your power
- Solving simple puzzles deep inside the temple.
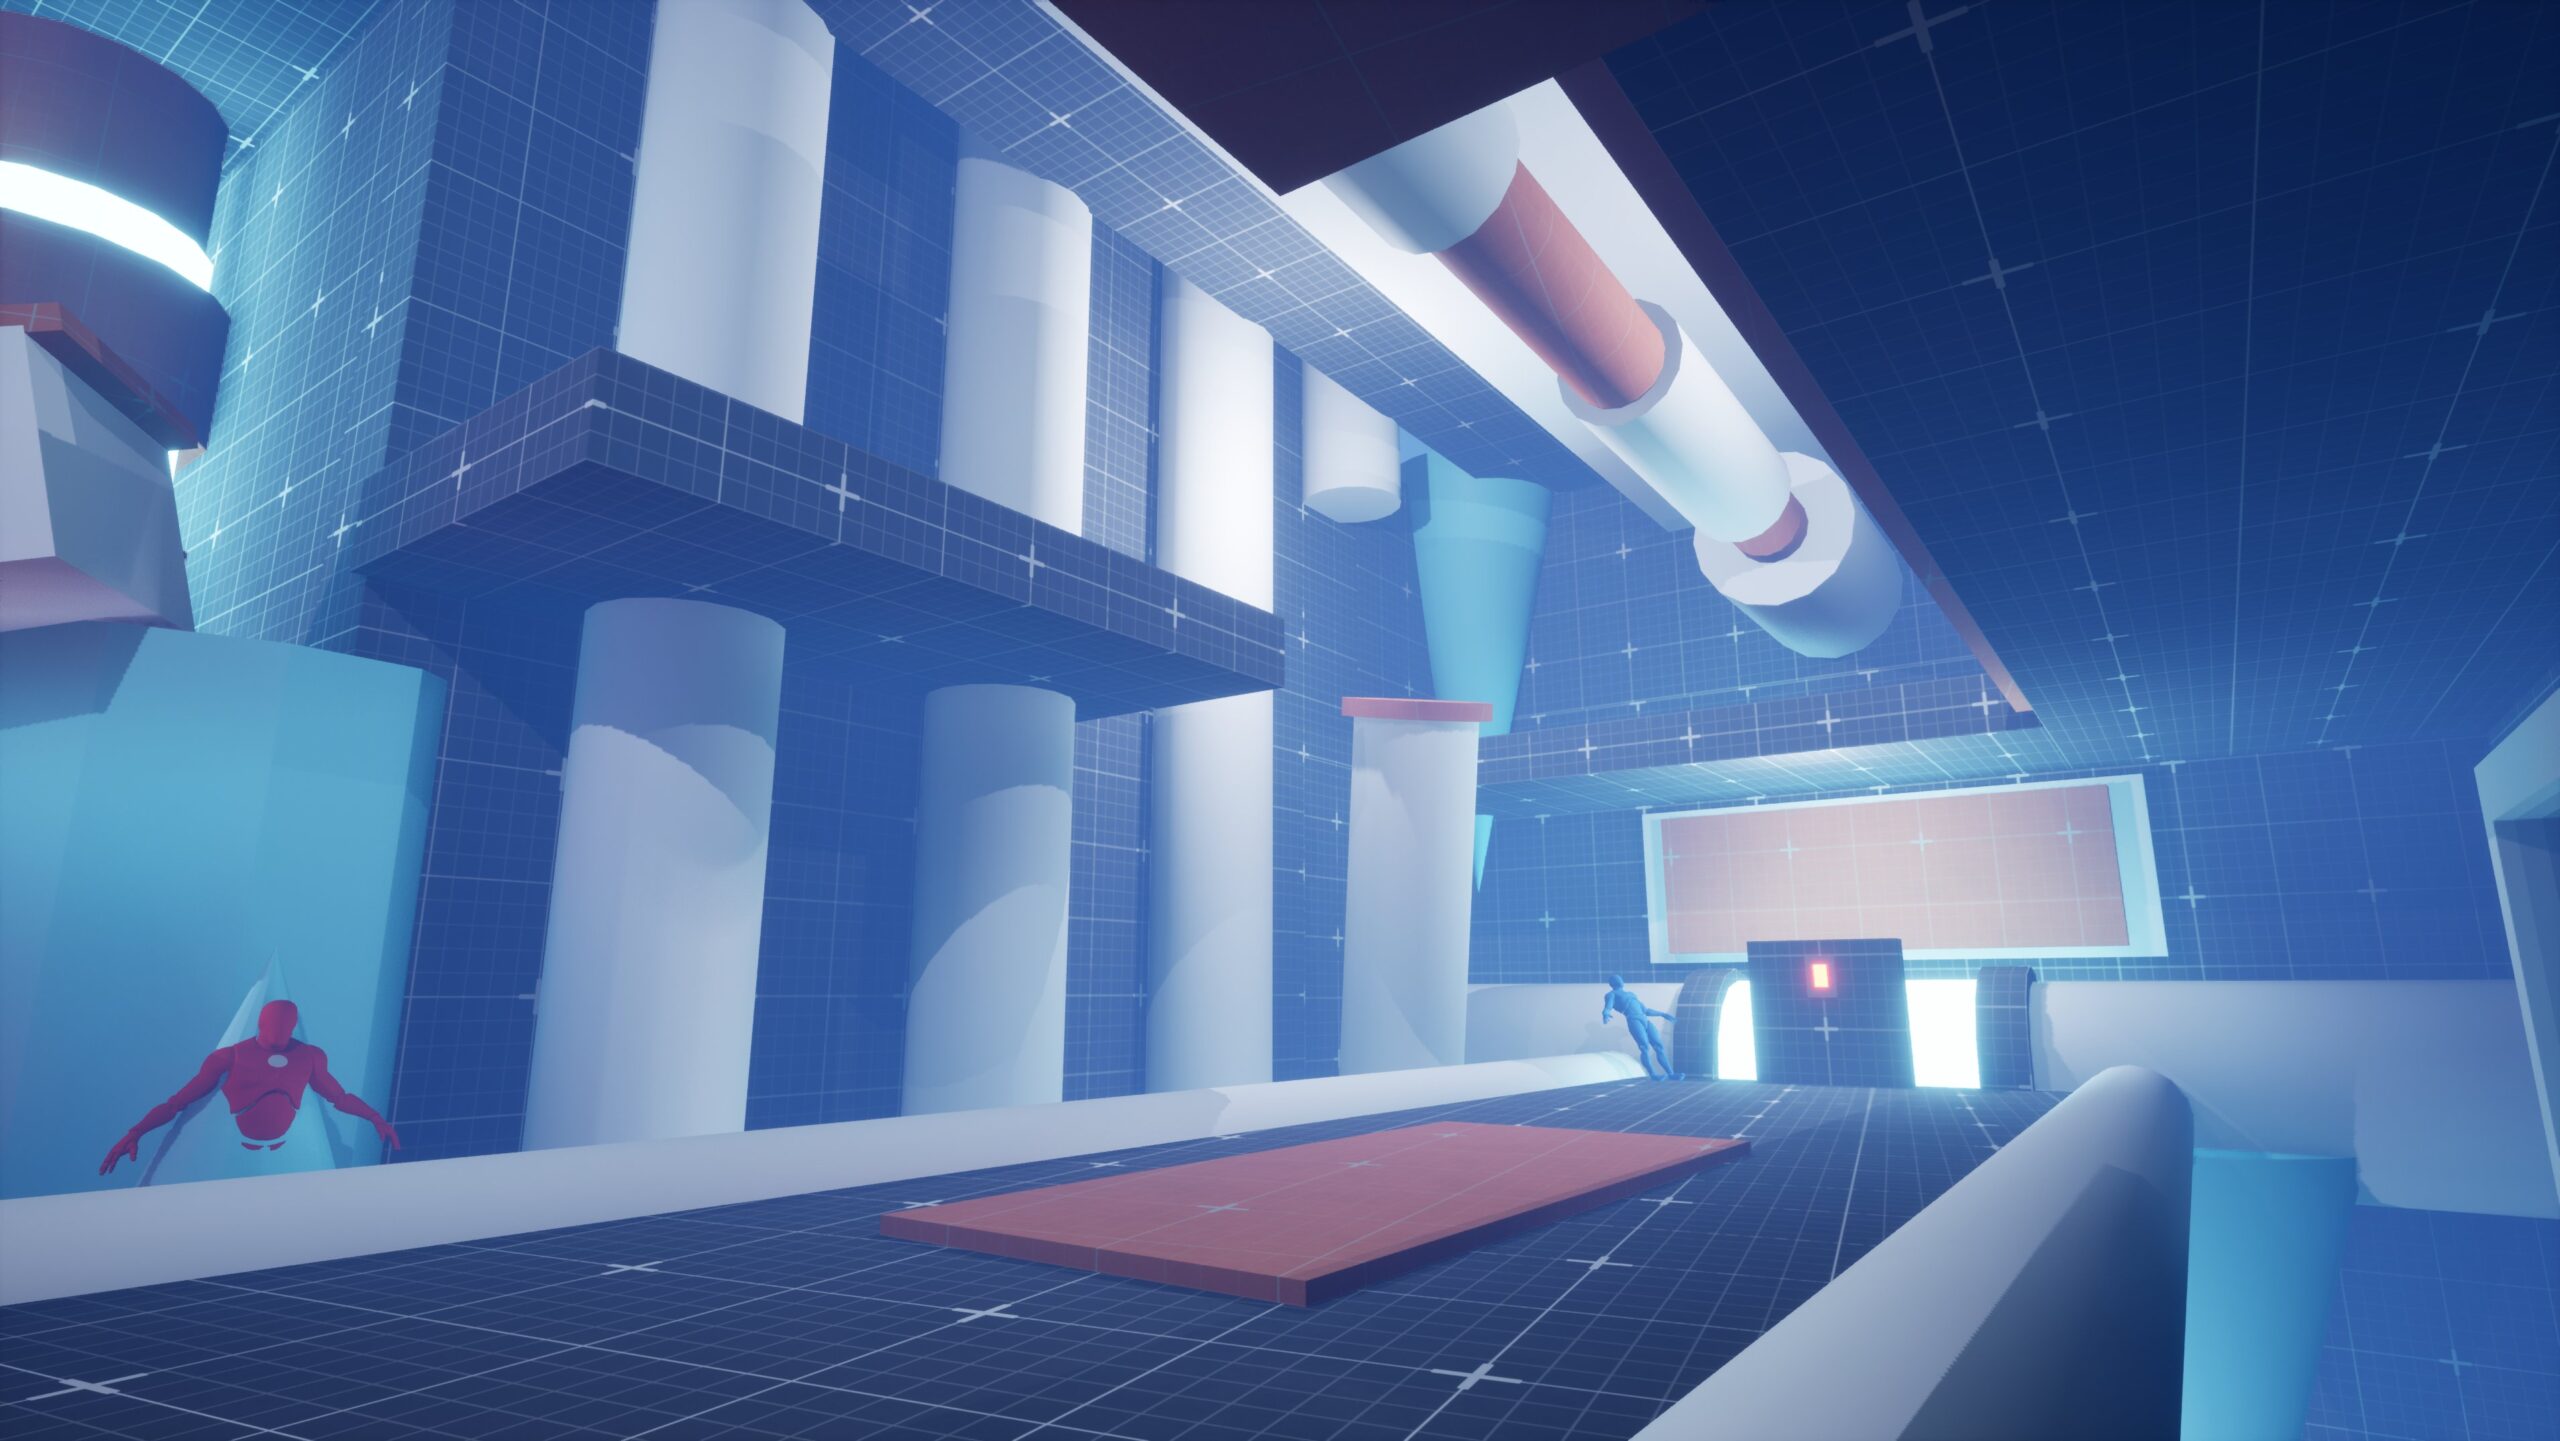
- Fighting dangerous cybernetic enemies.
Framing and Landmarks
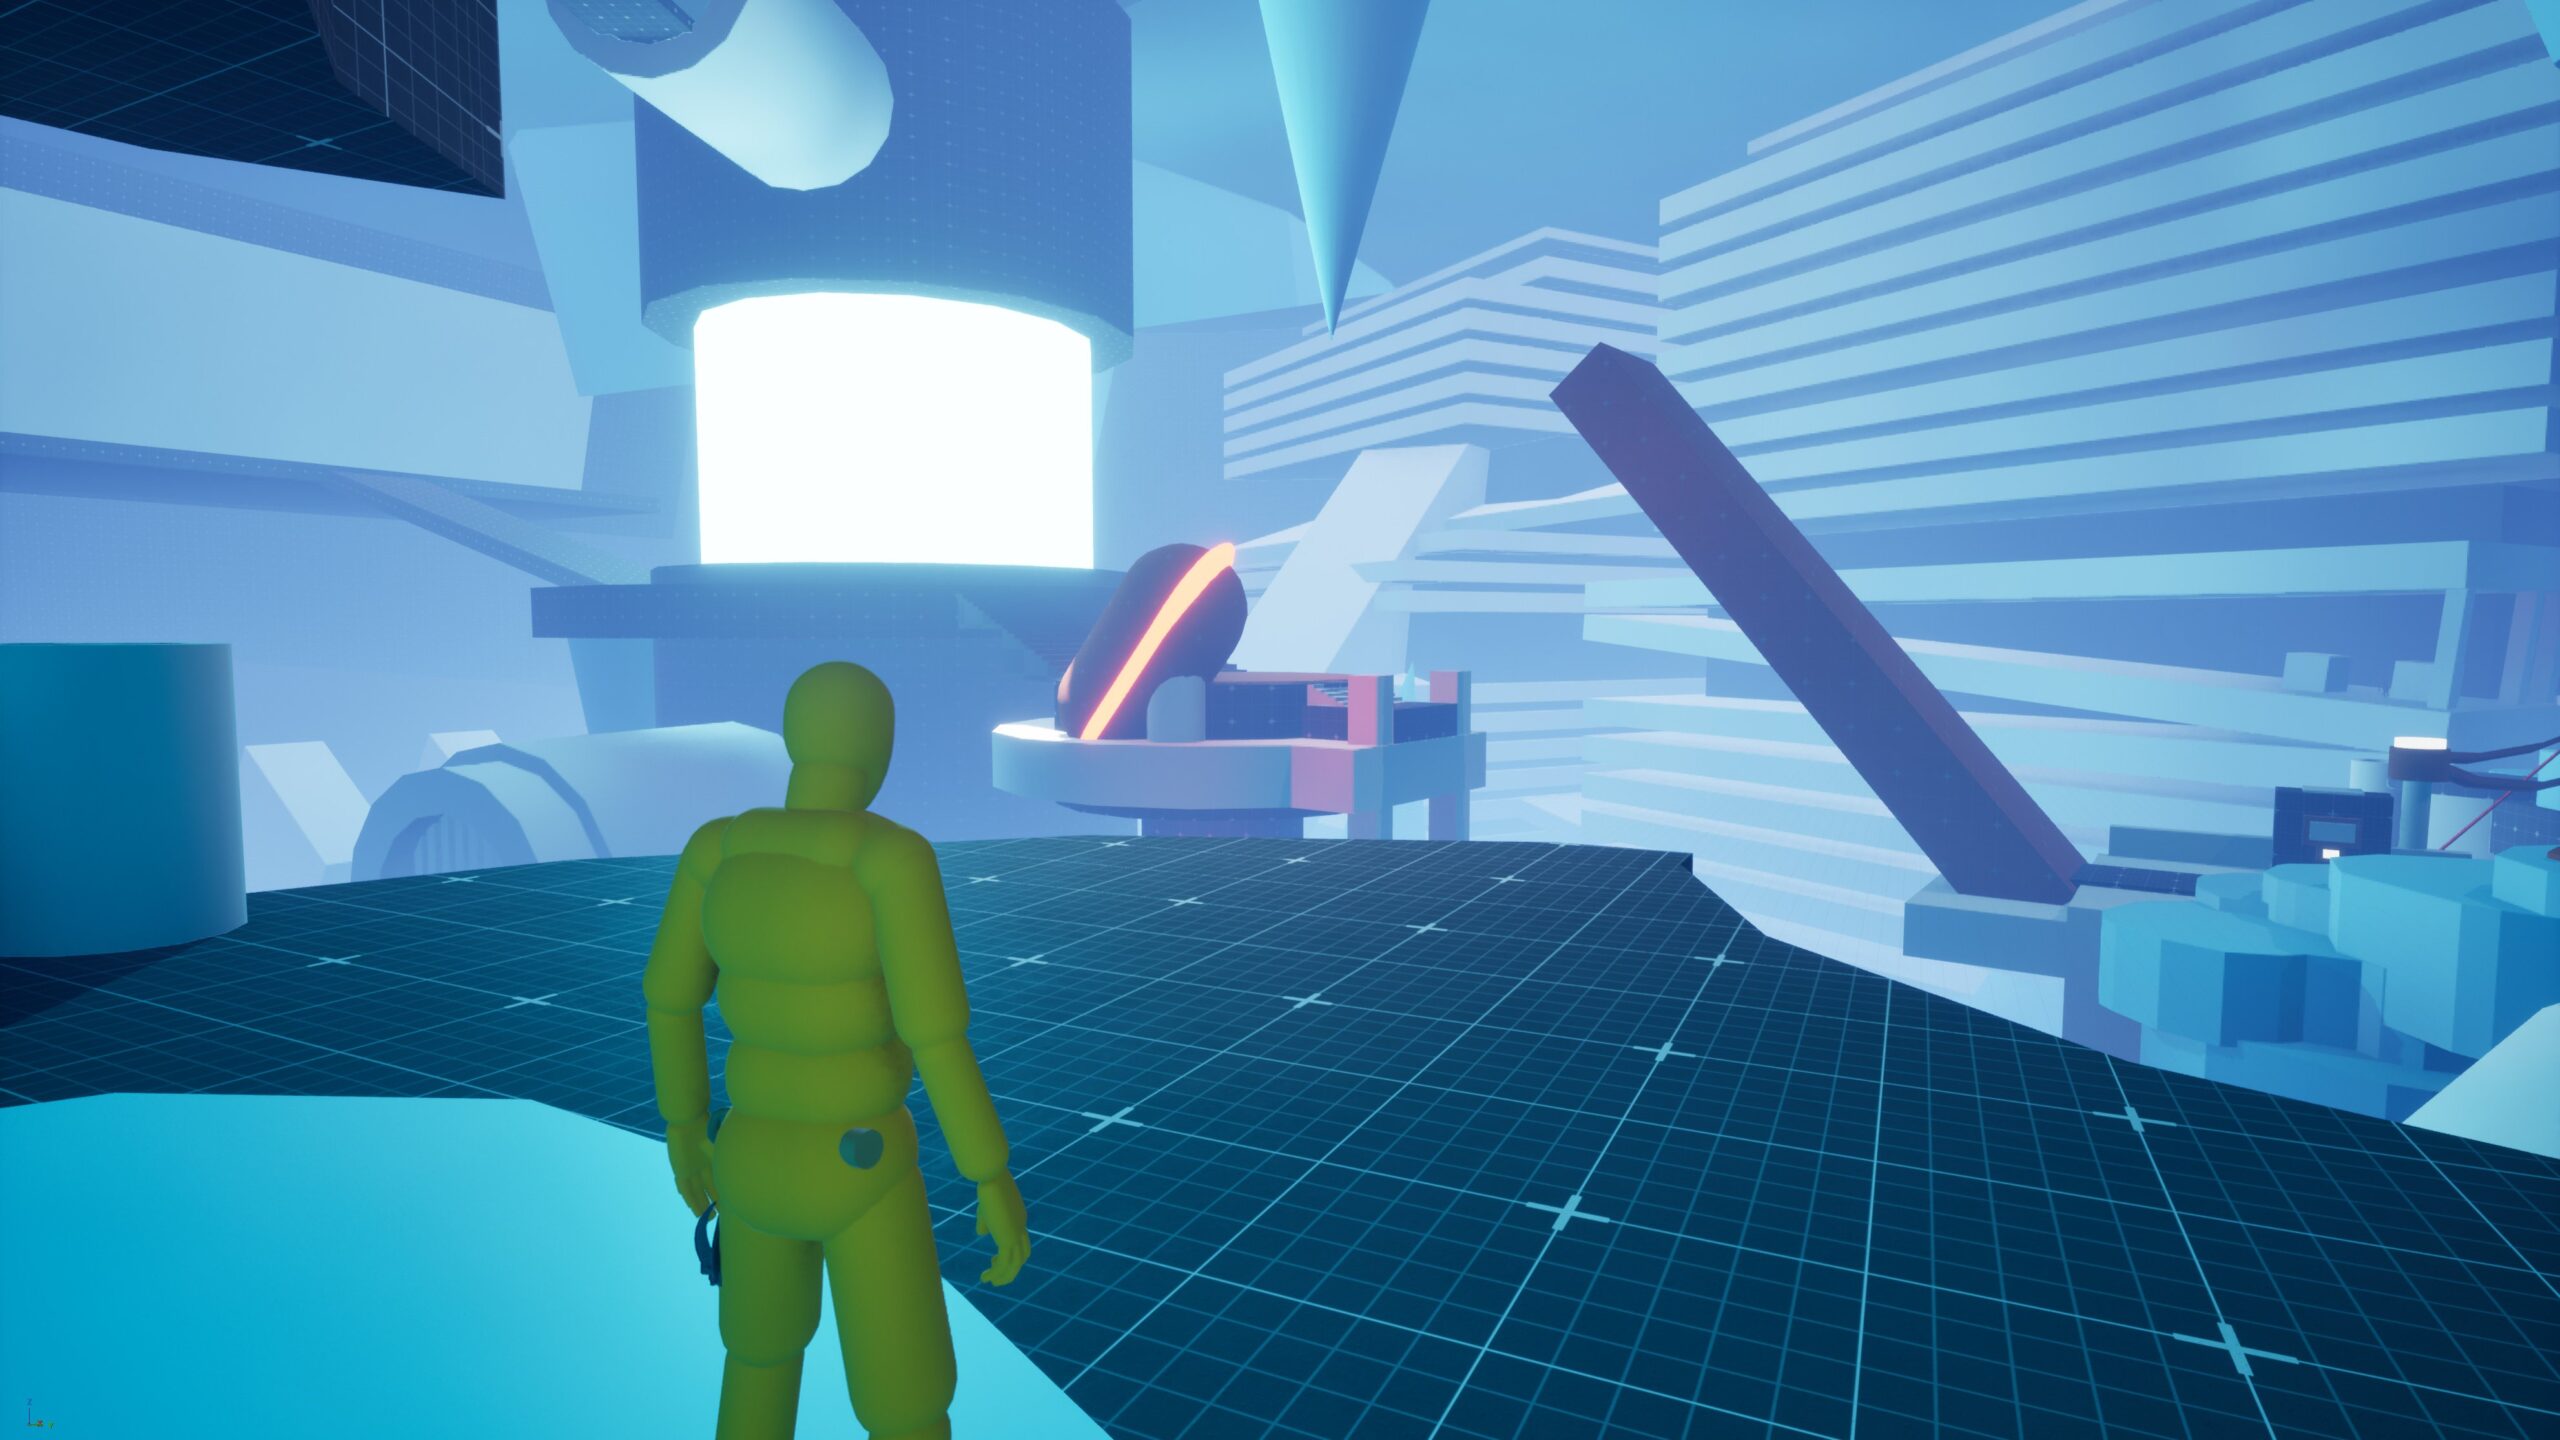
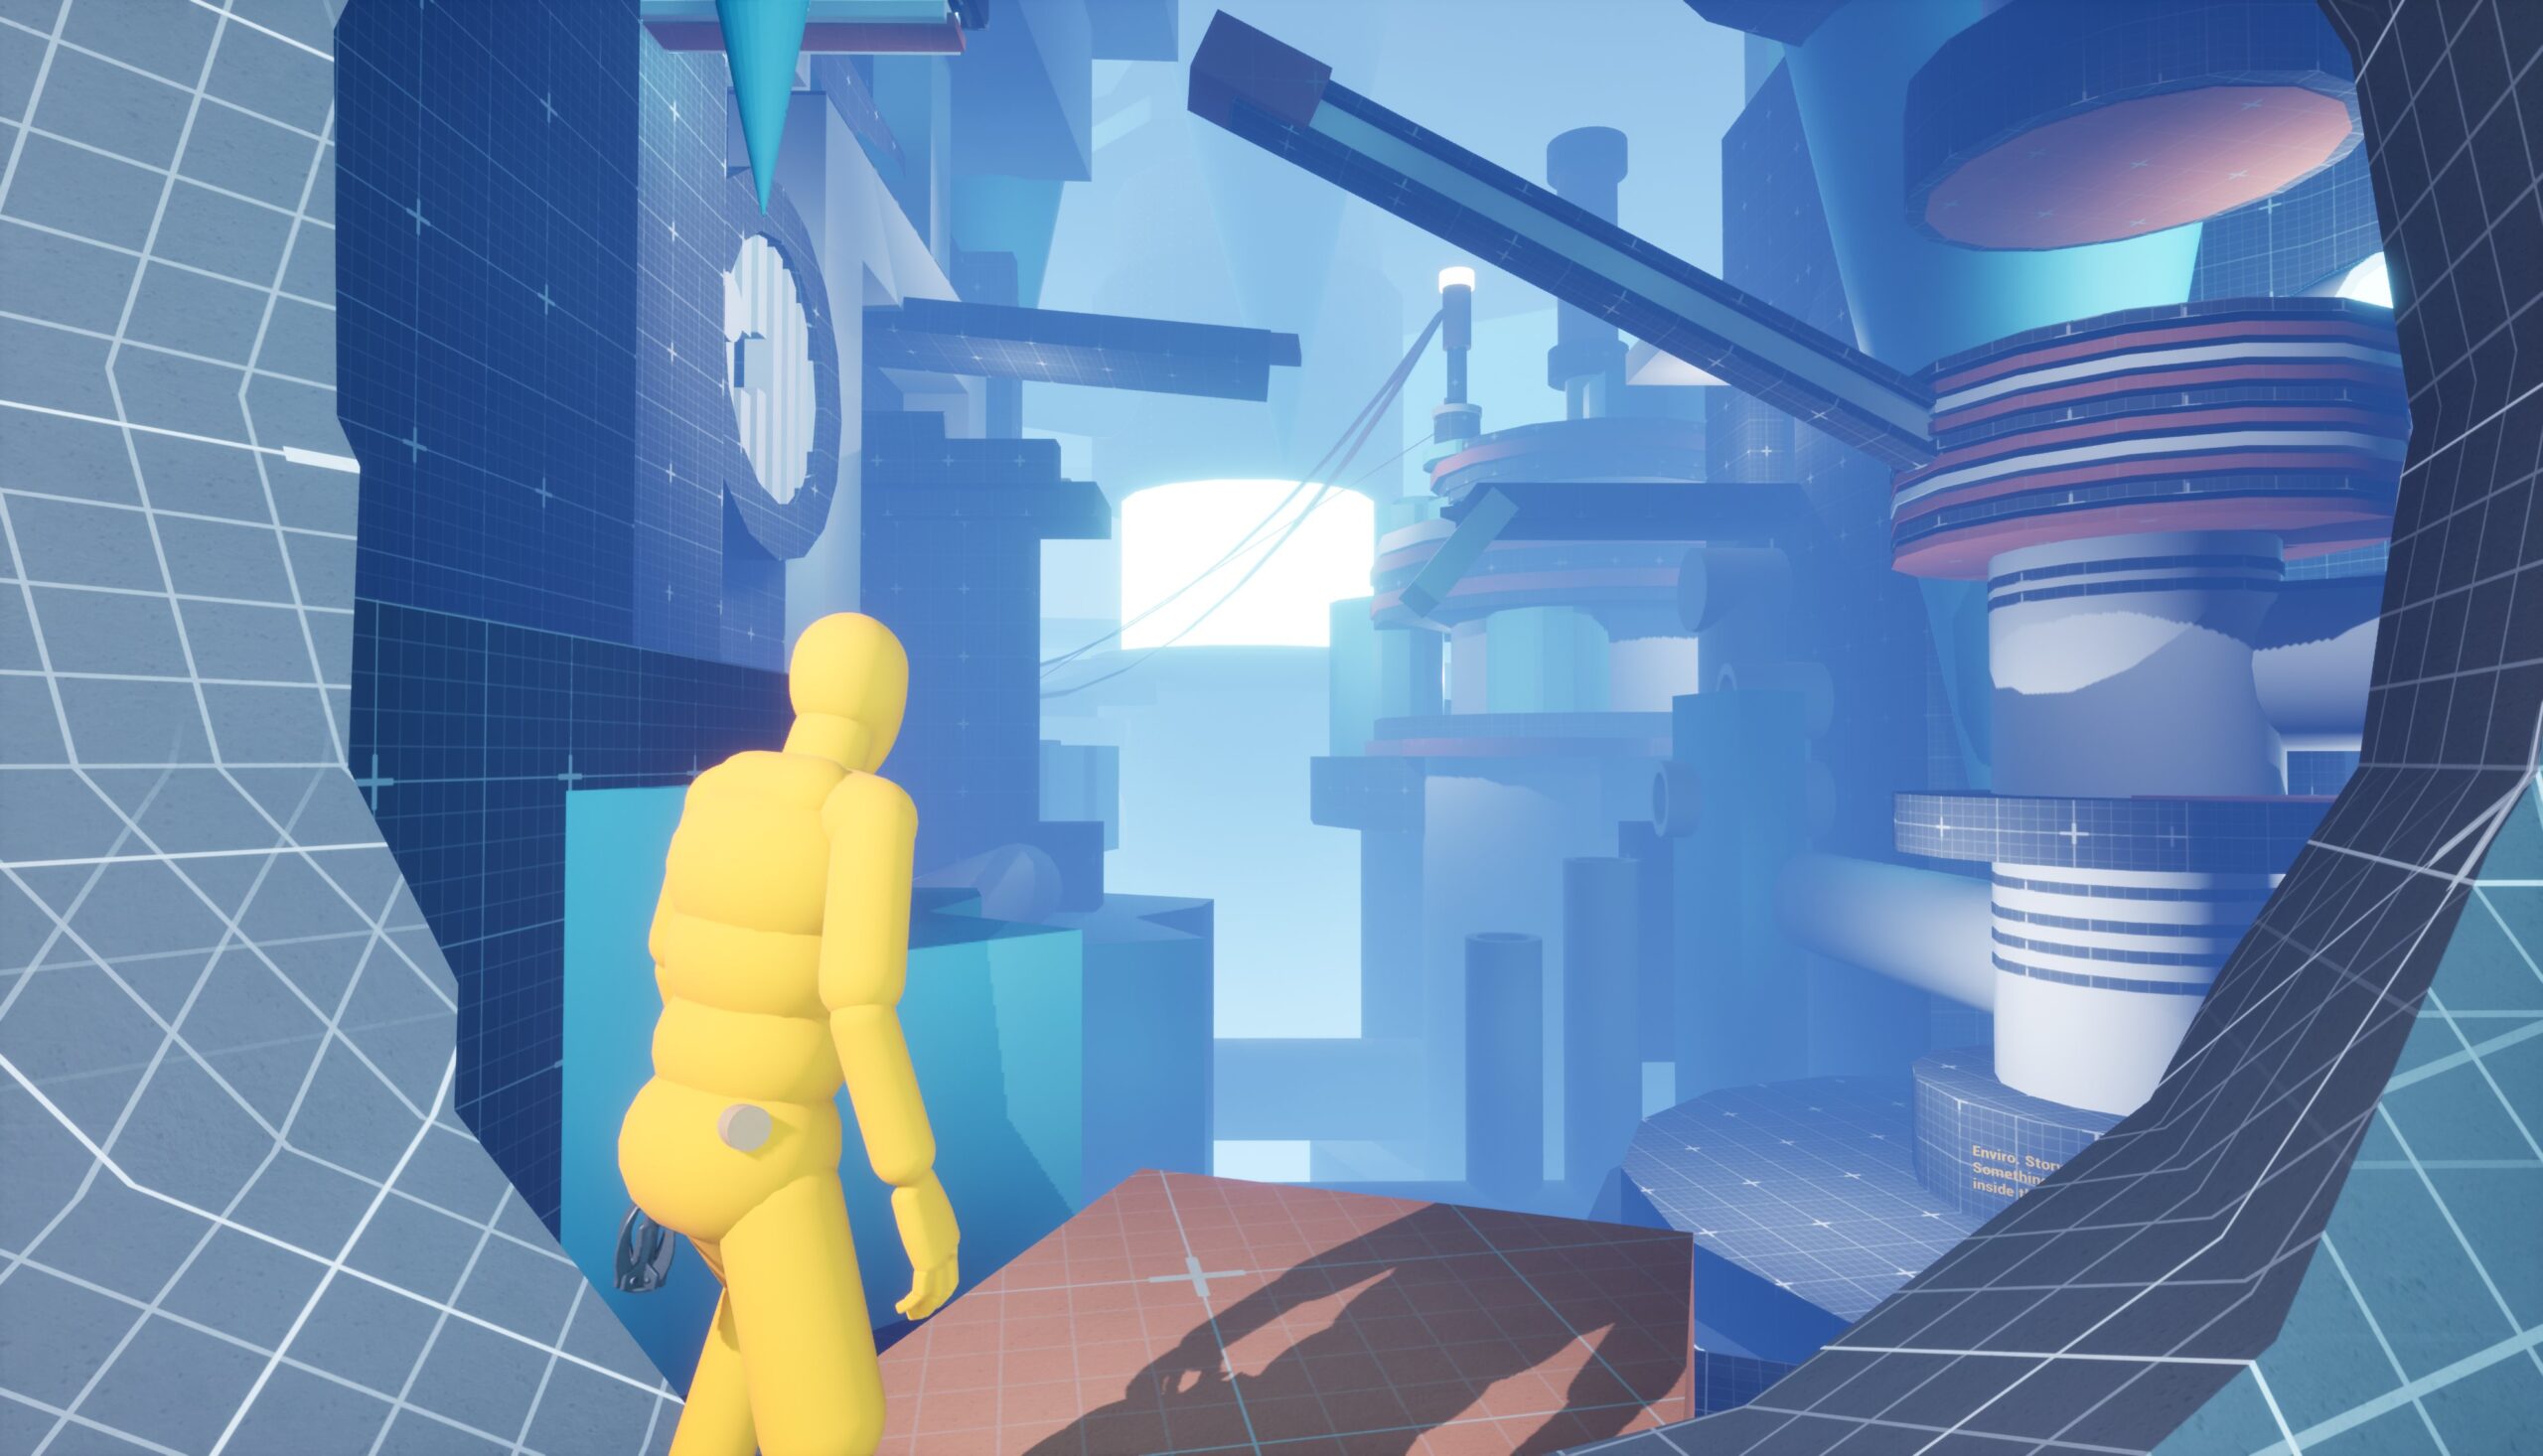
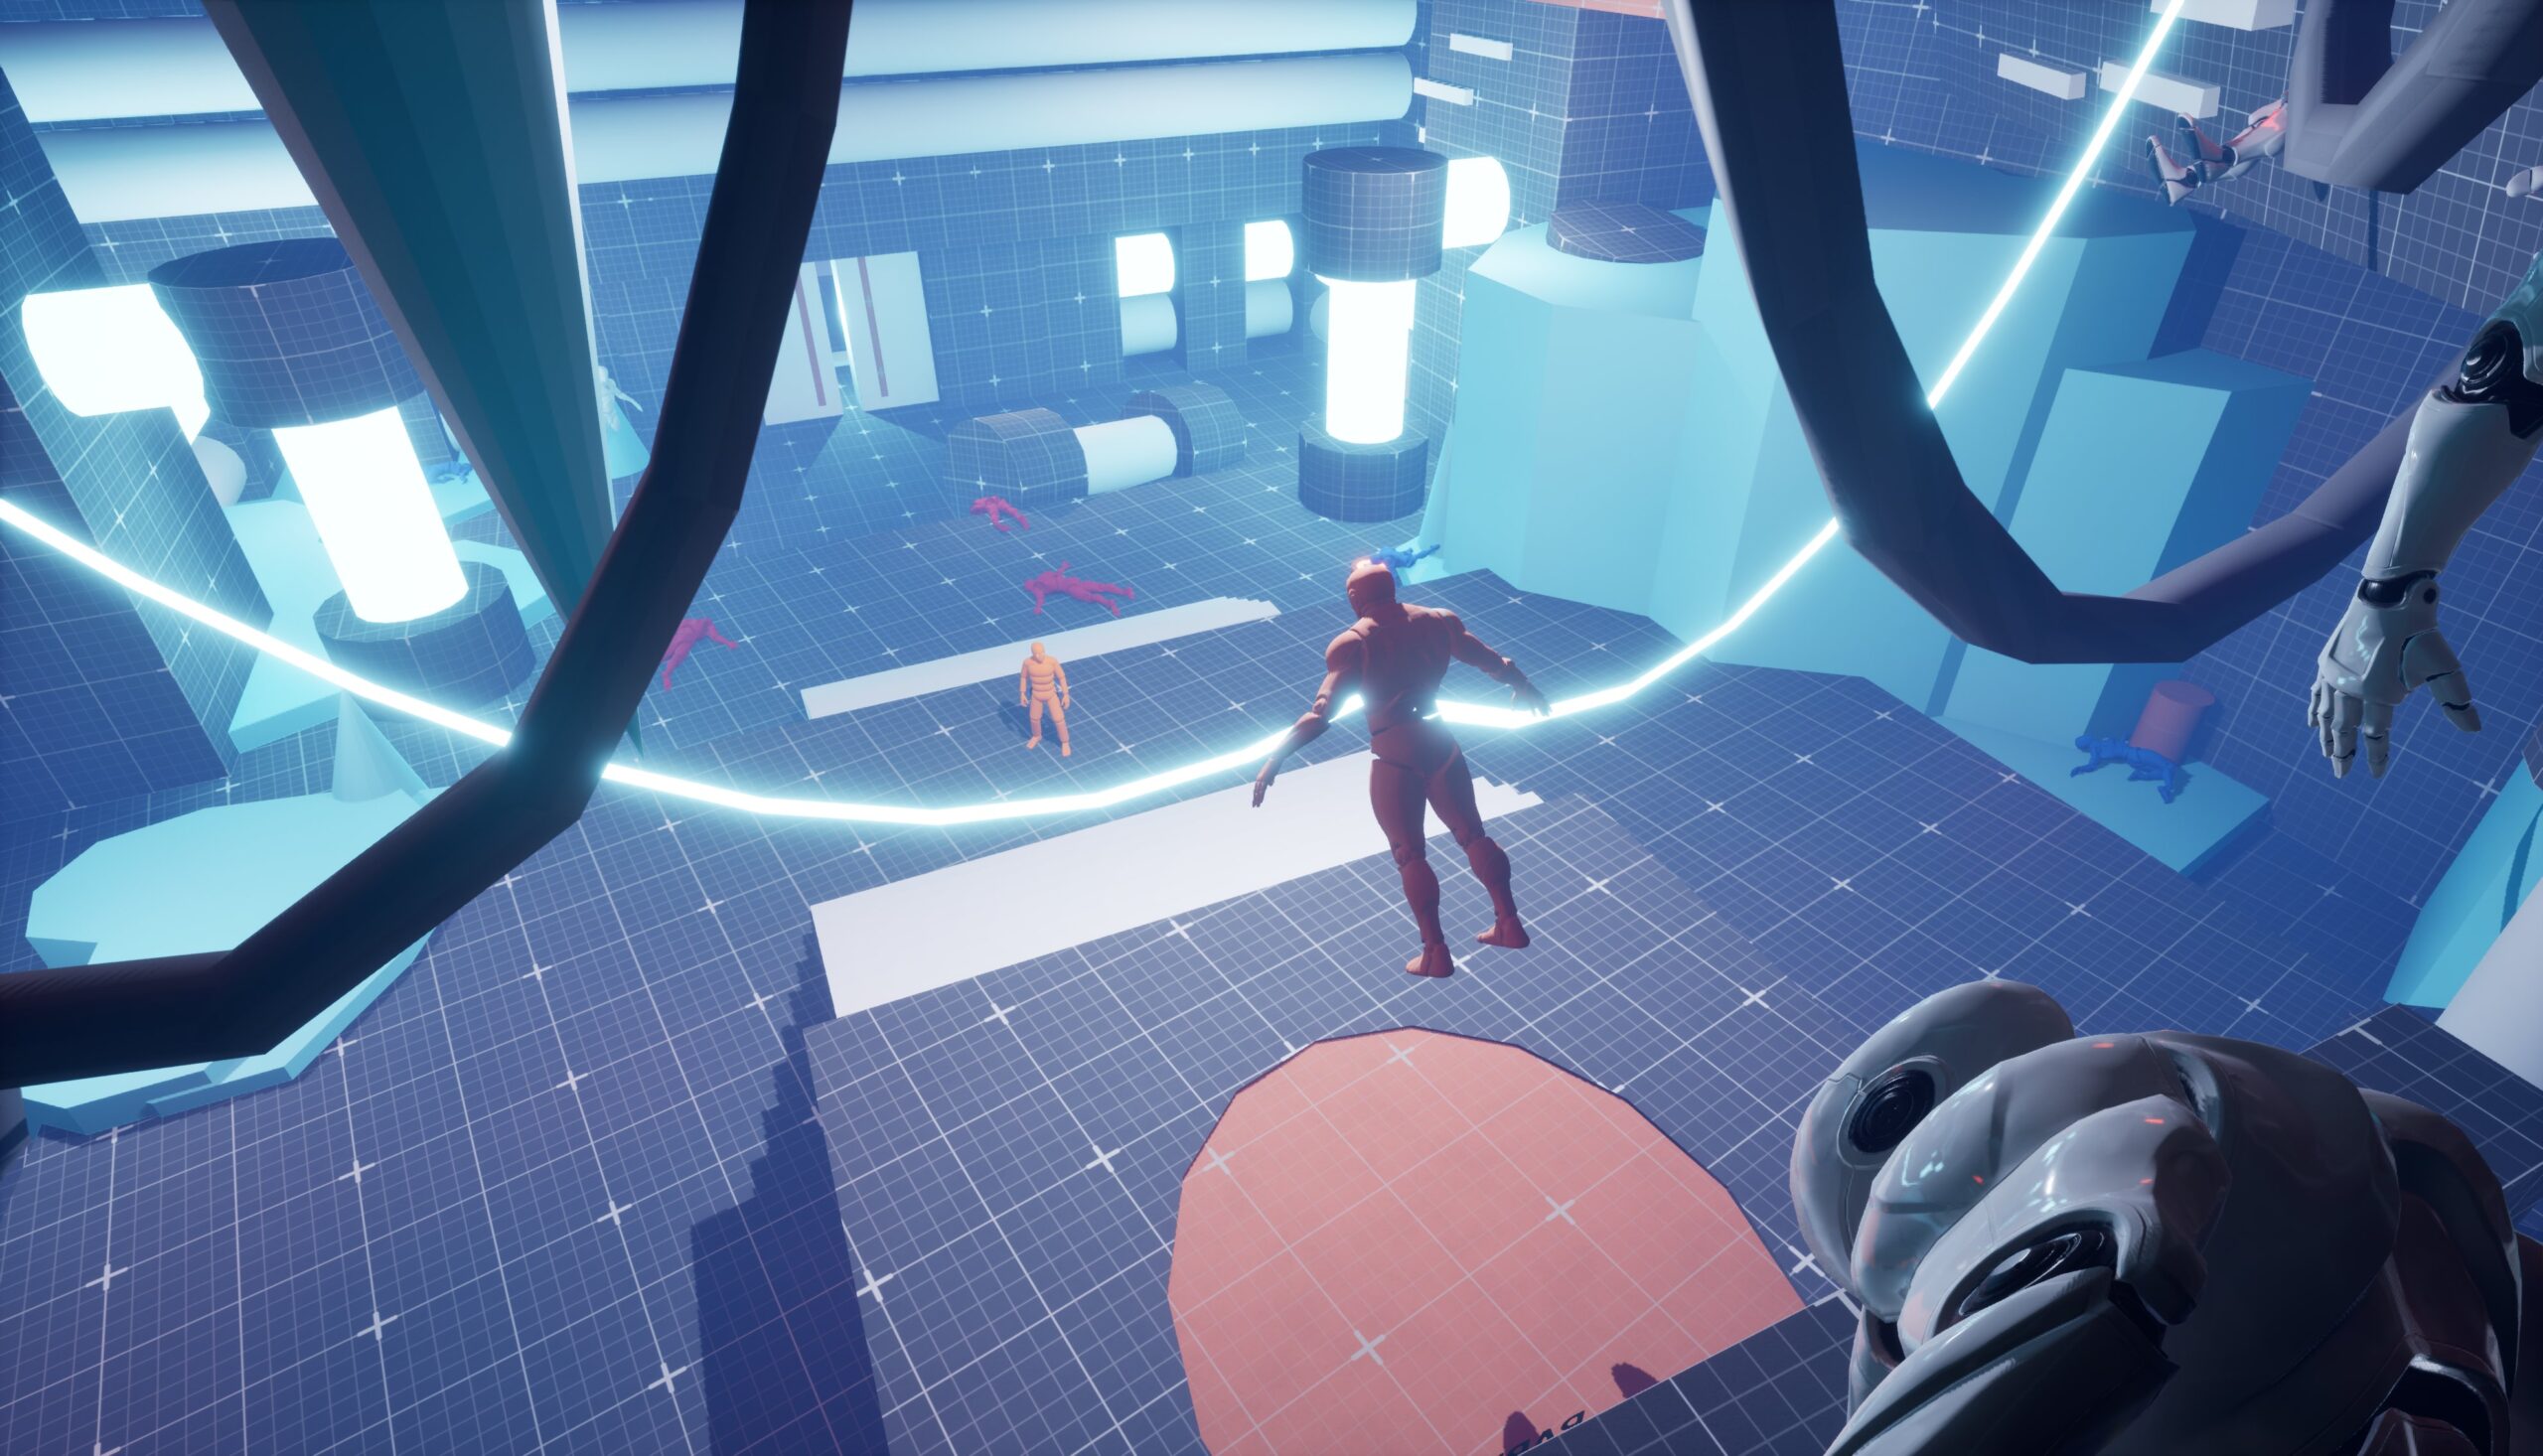
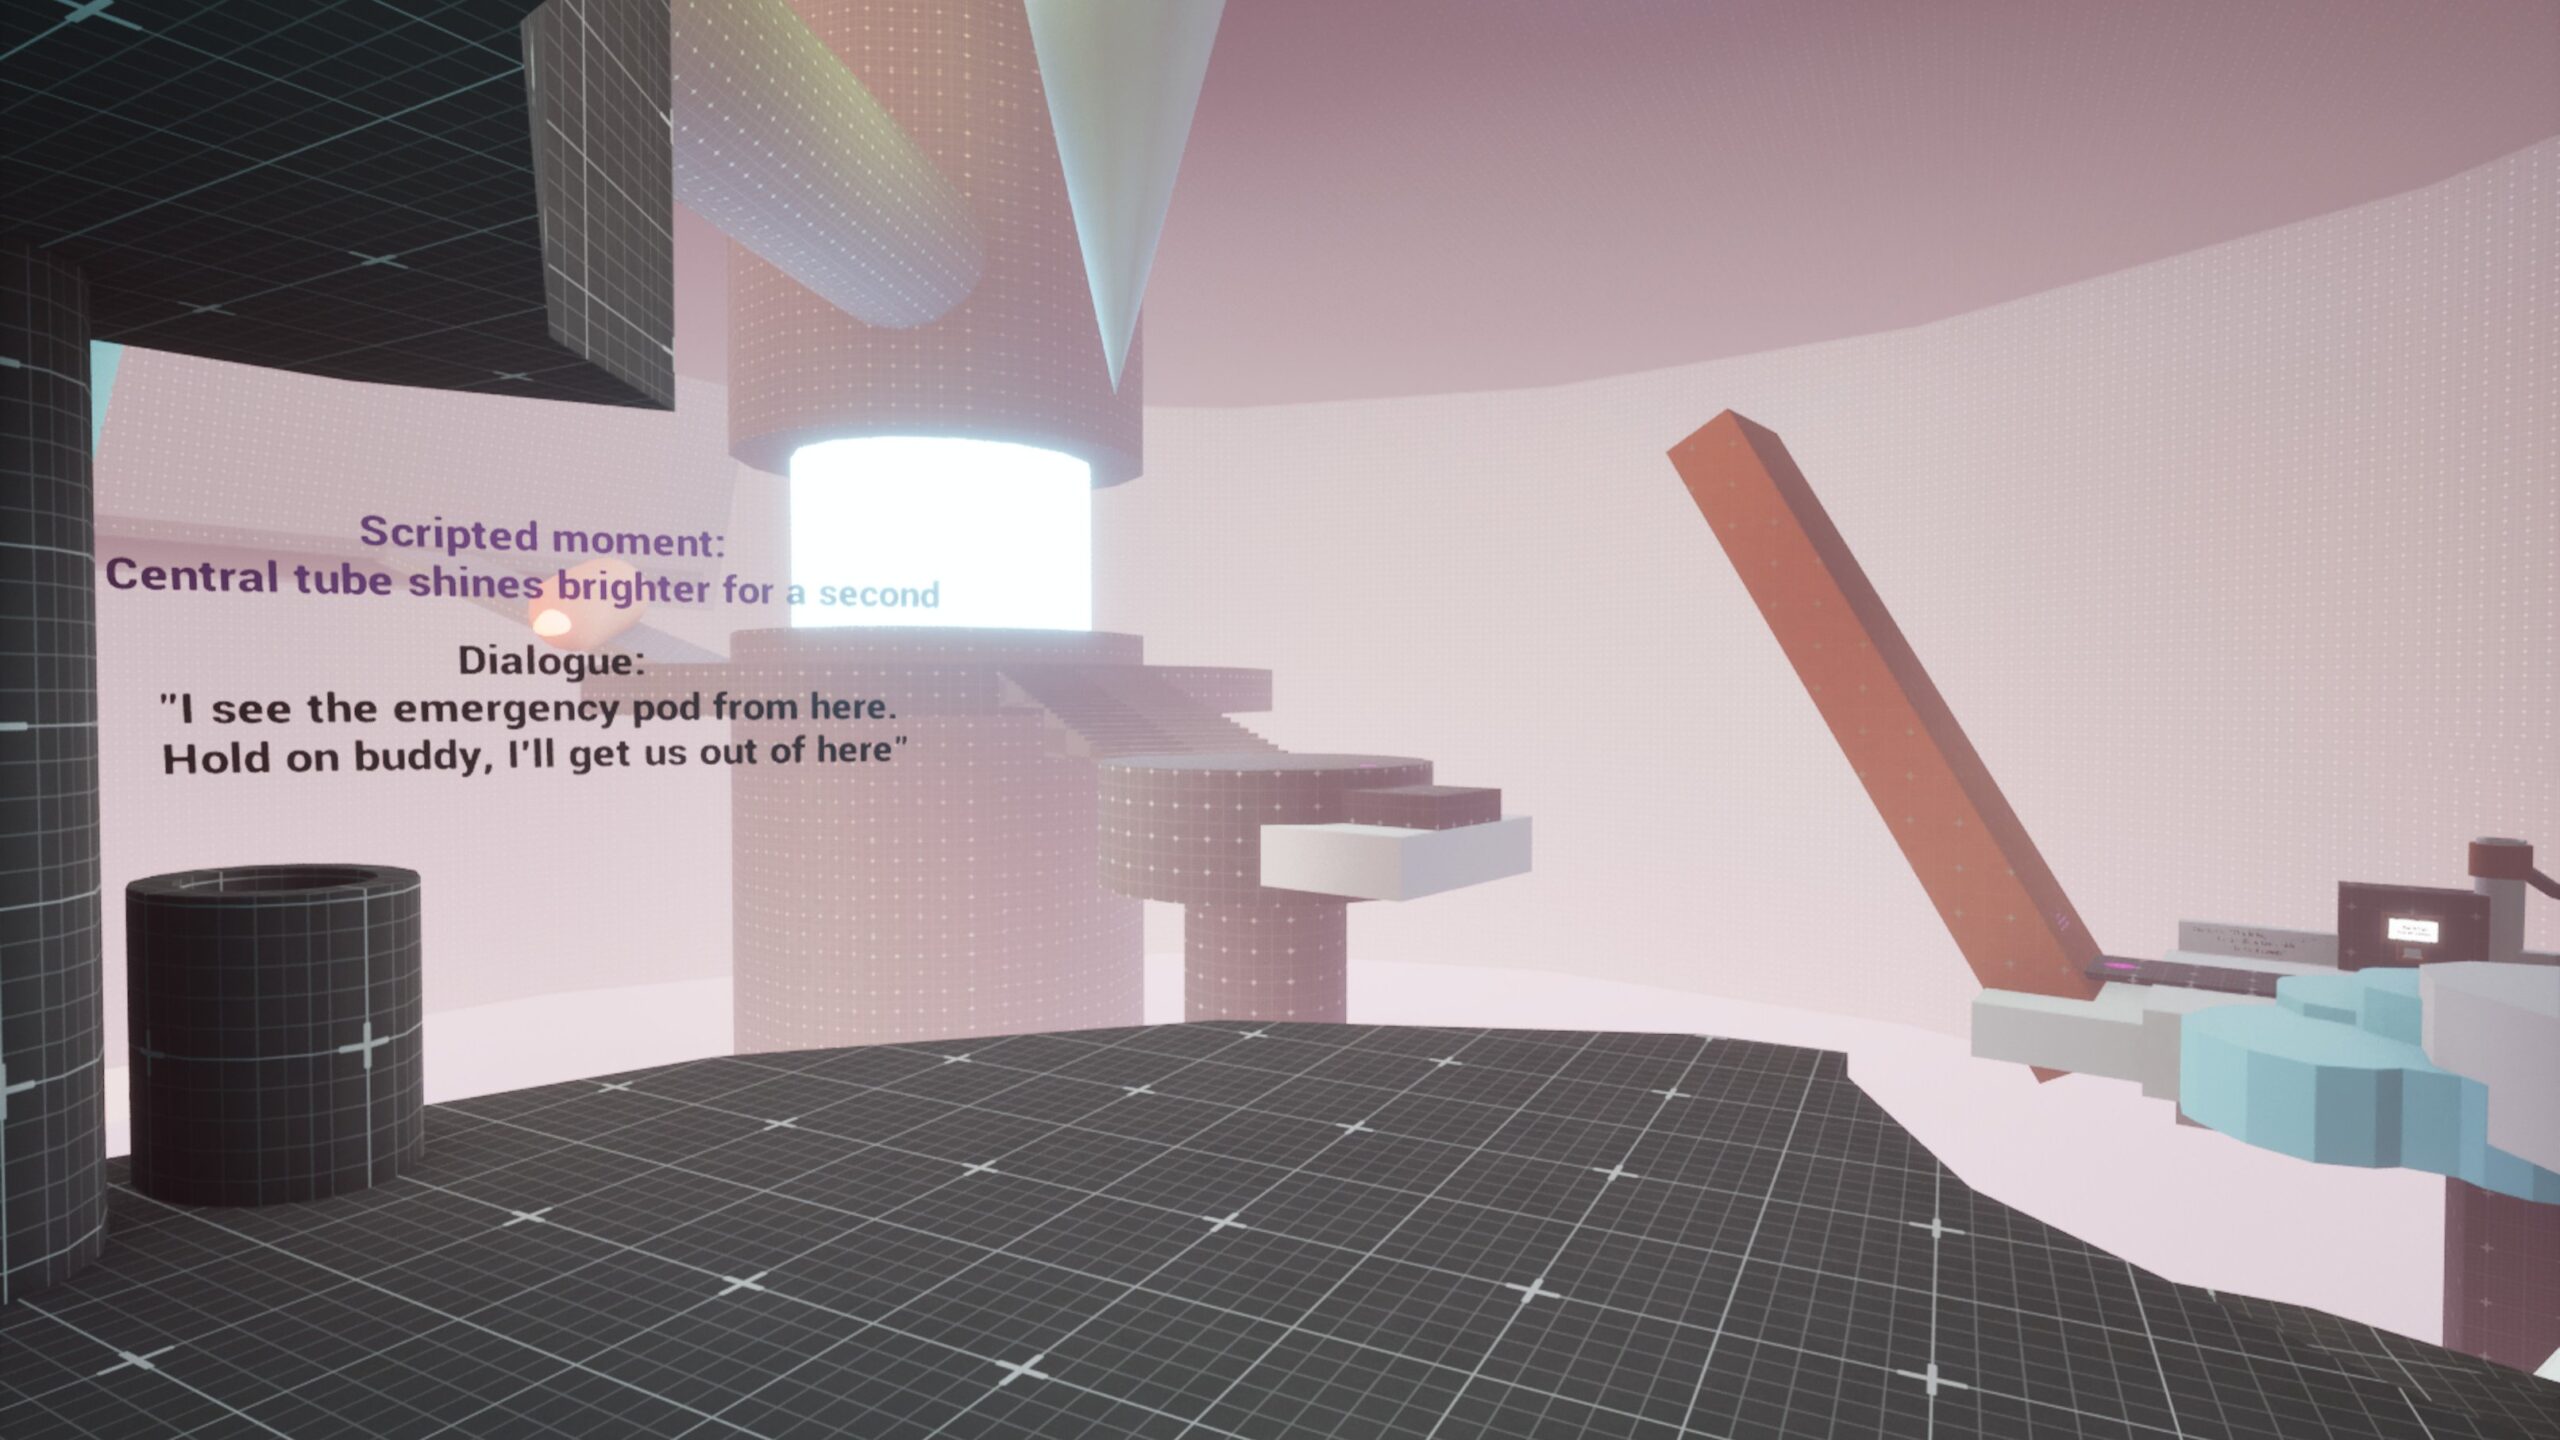
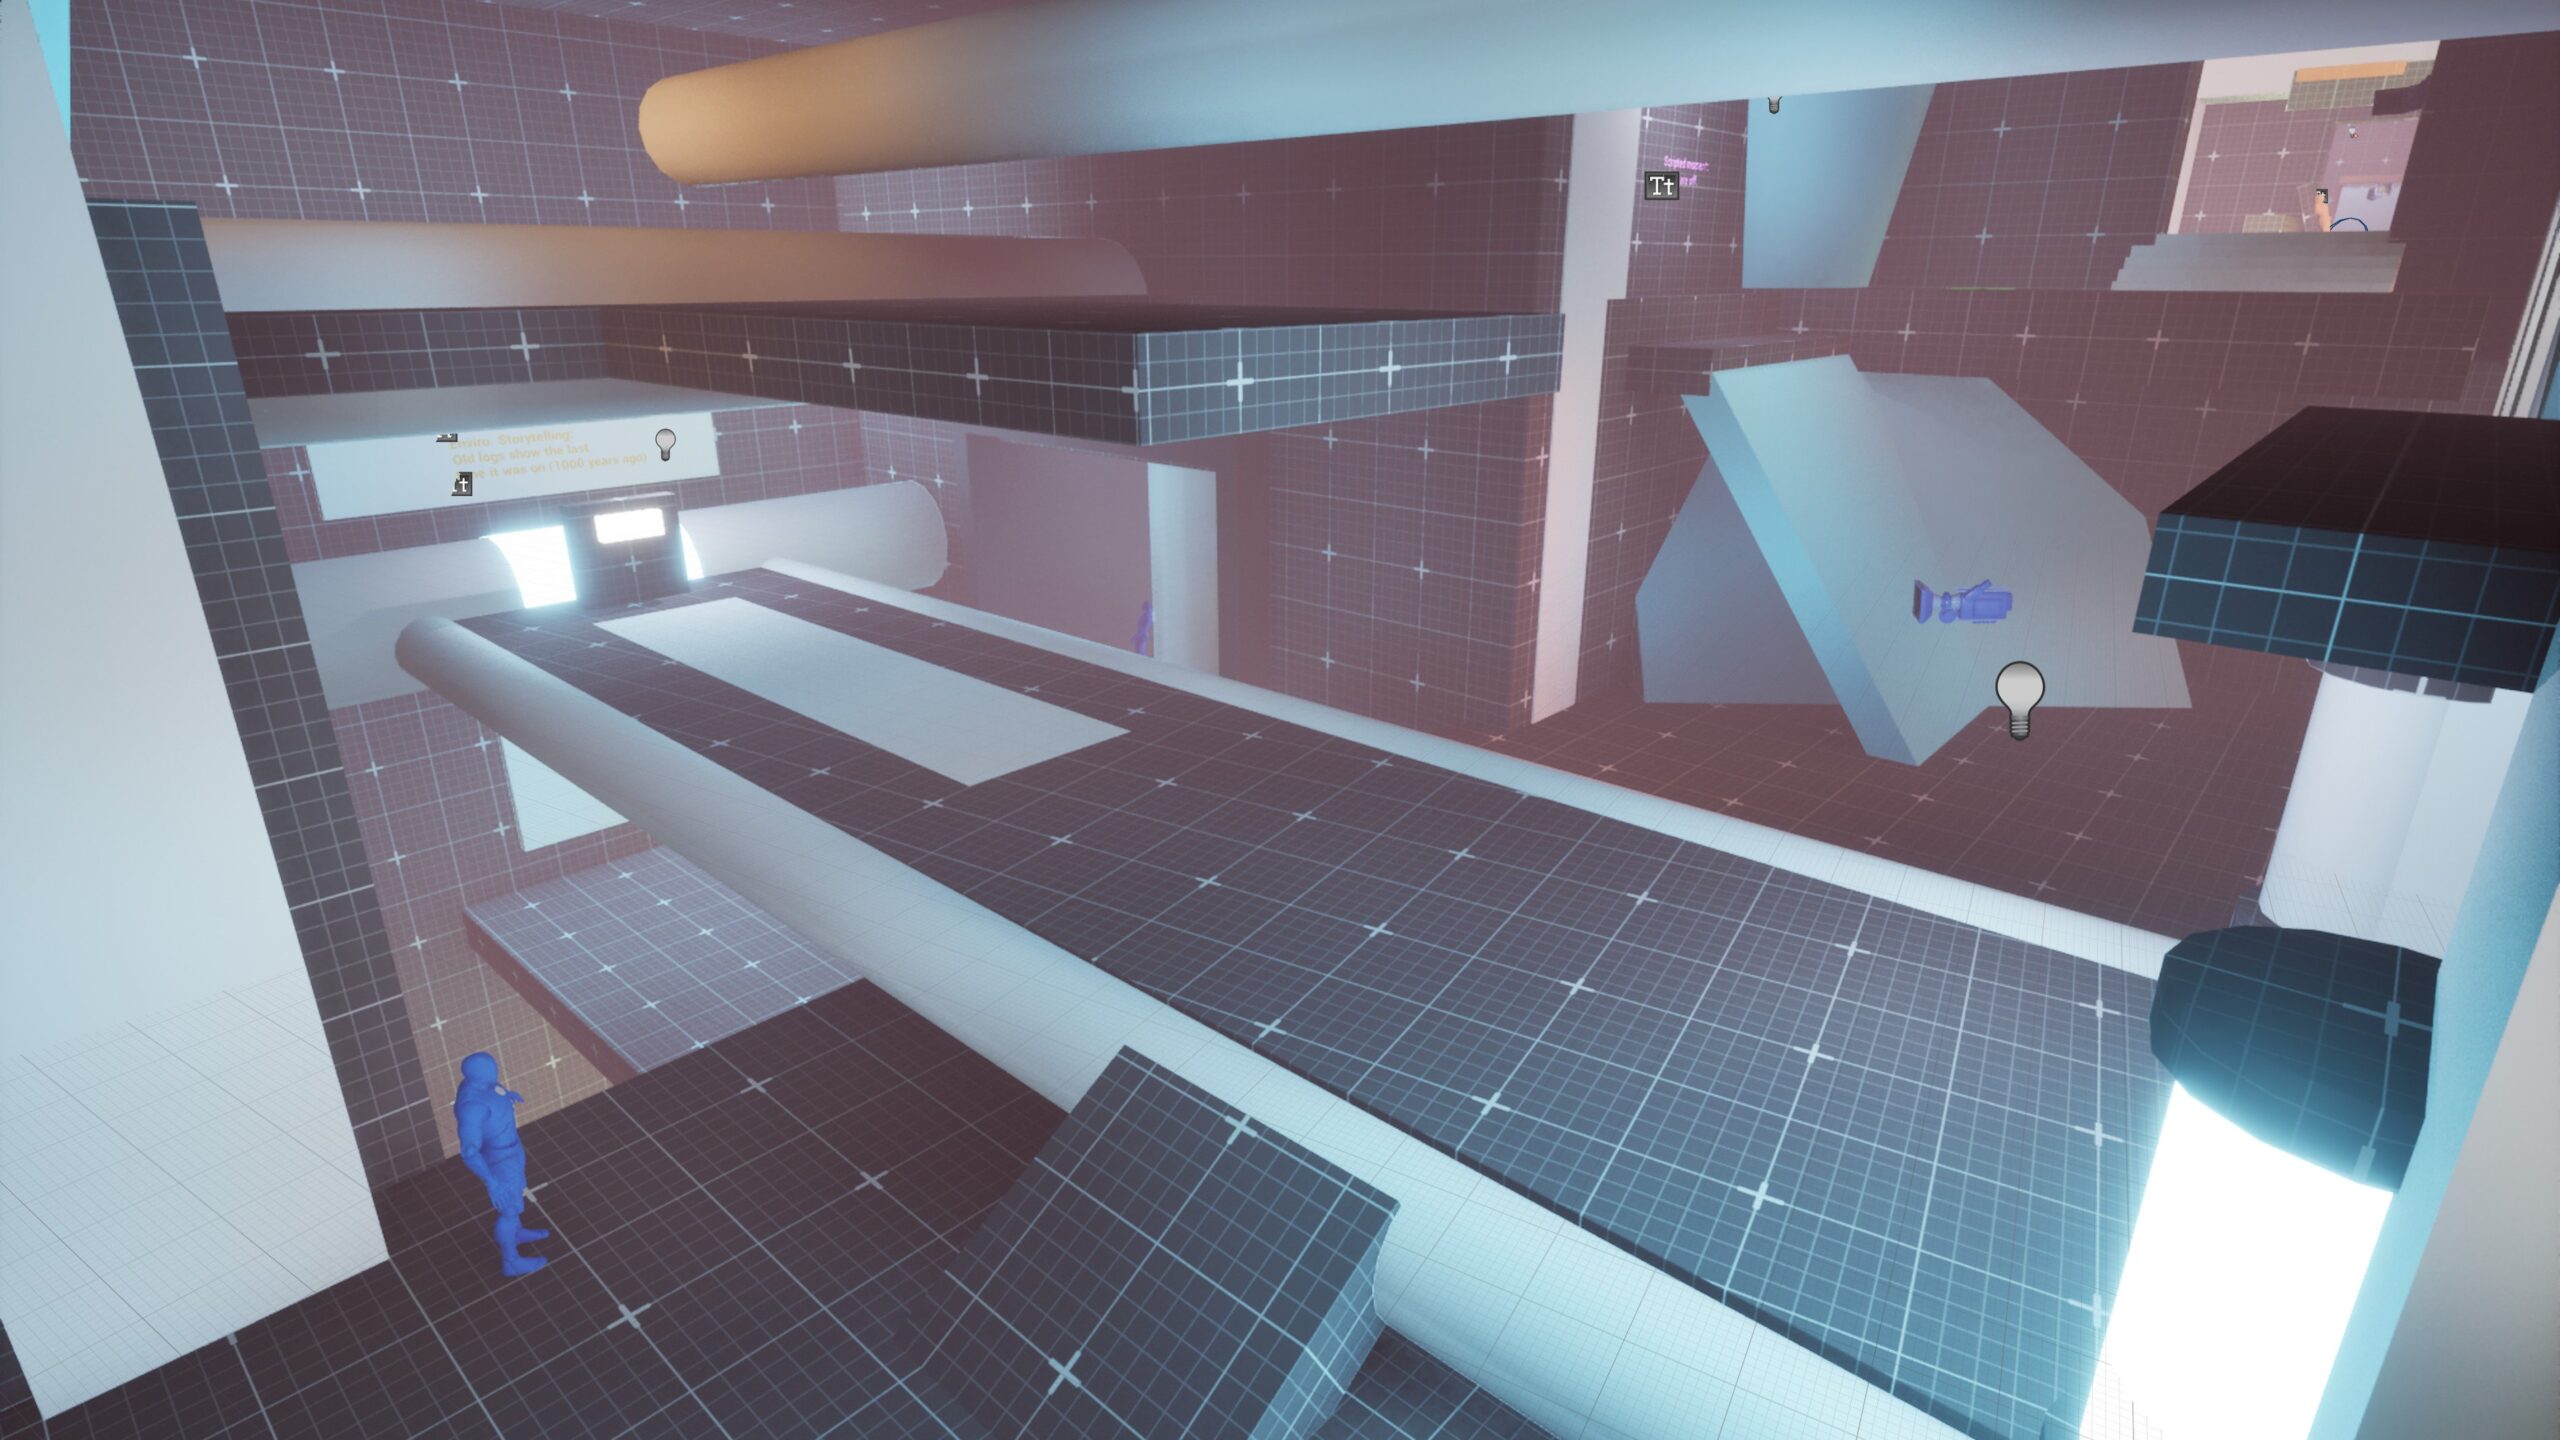
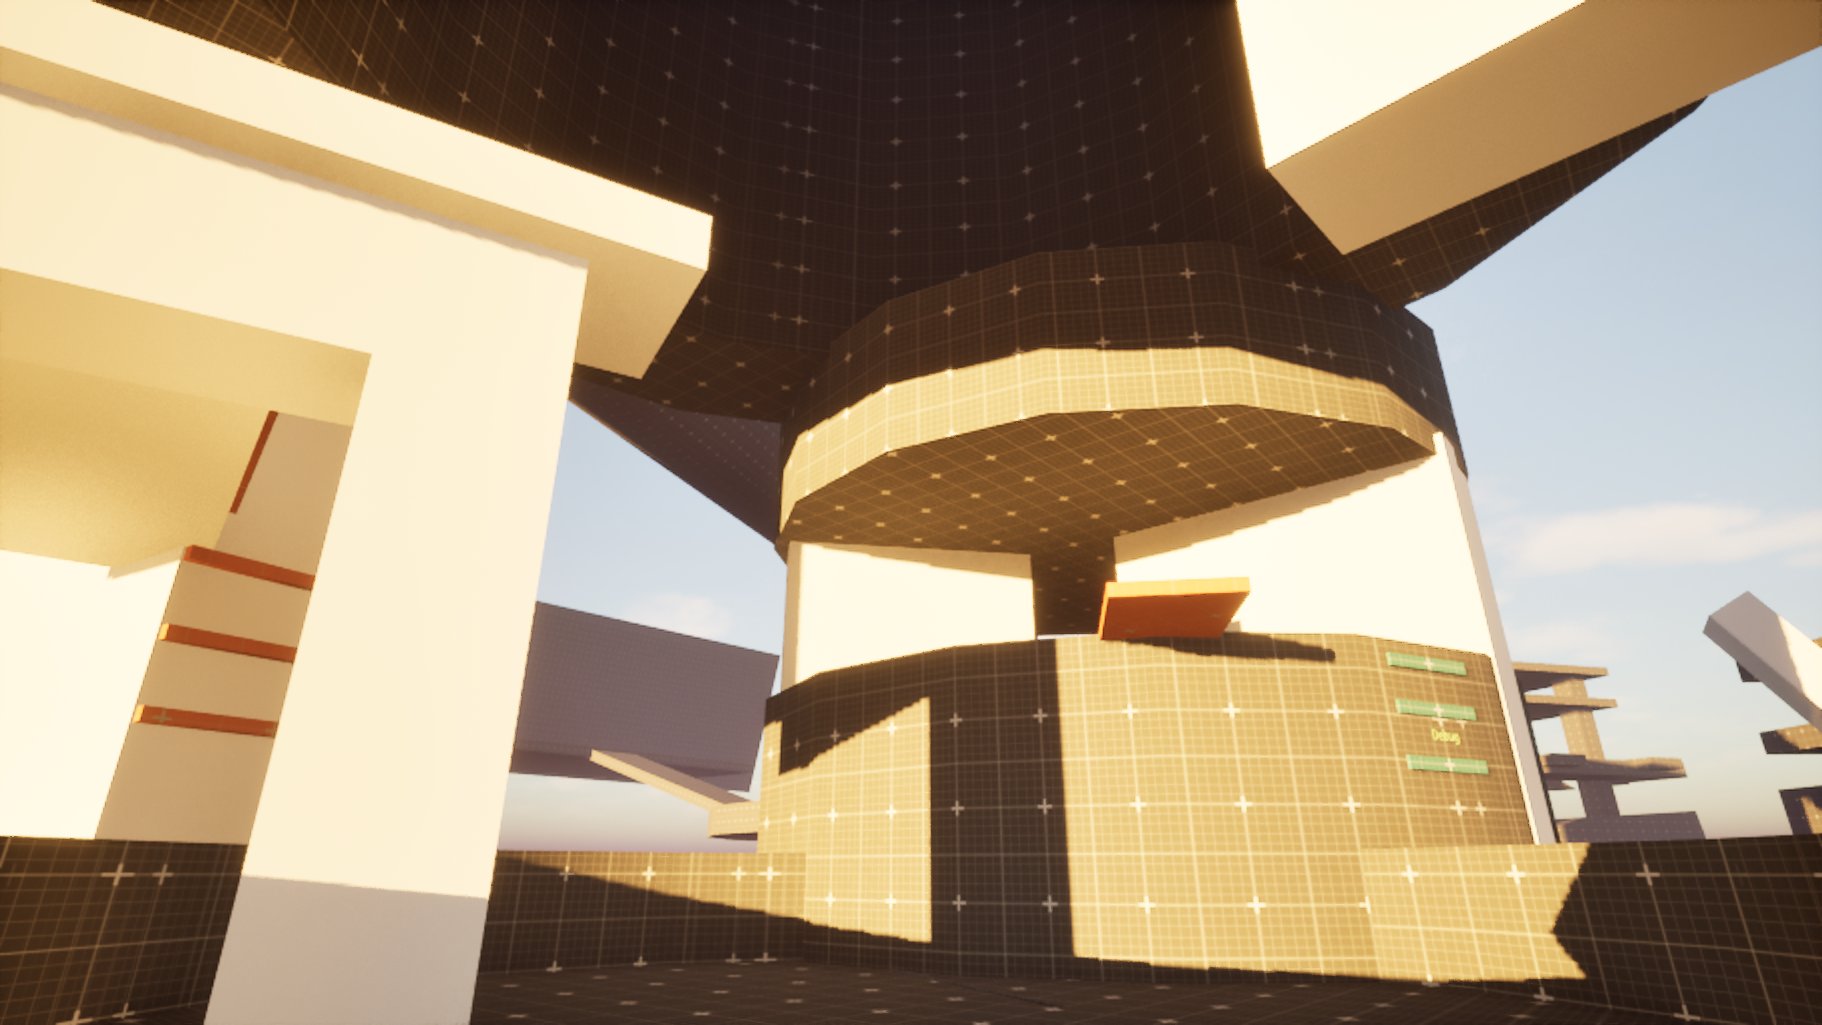
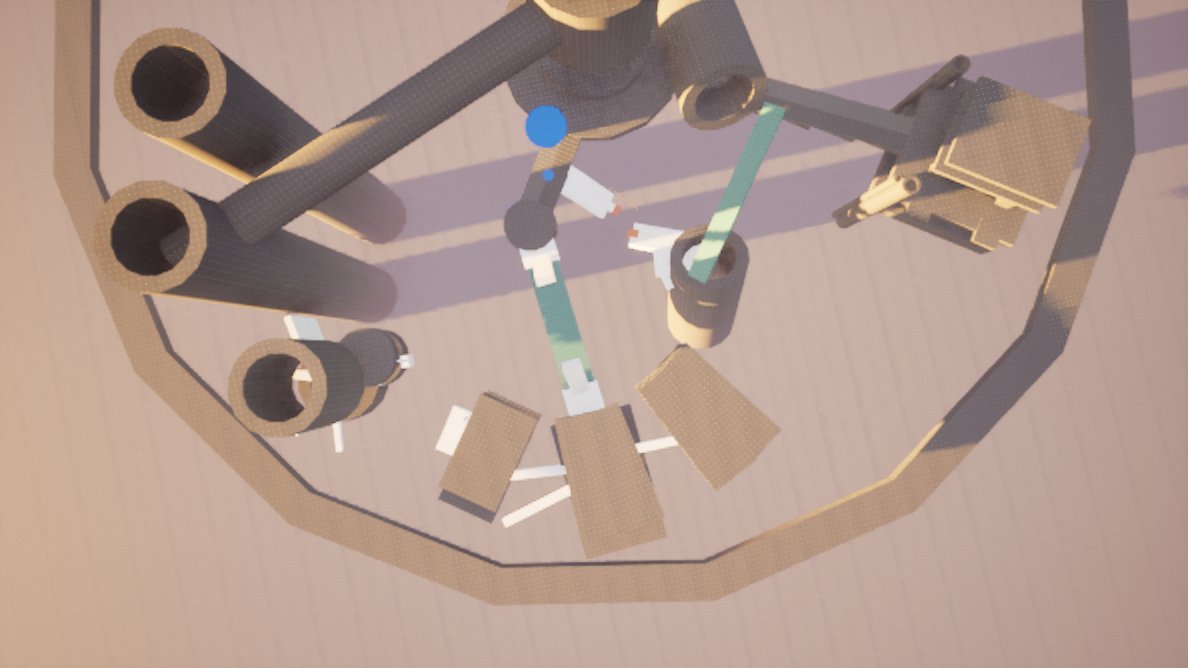
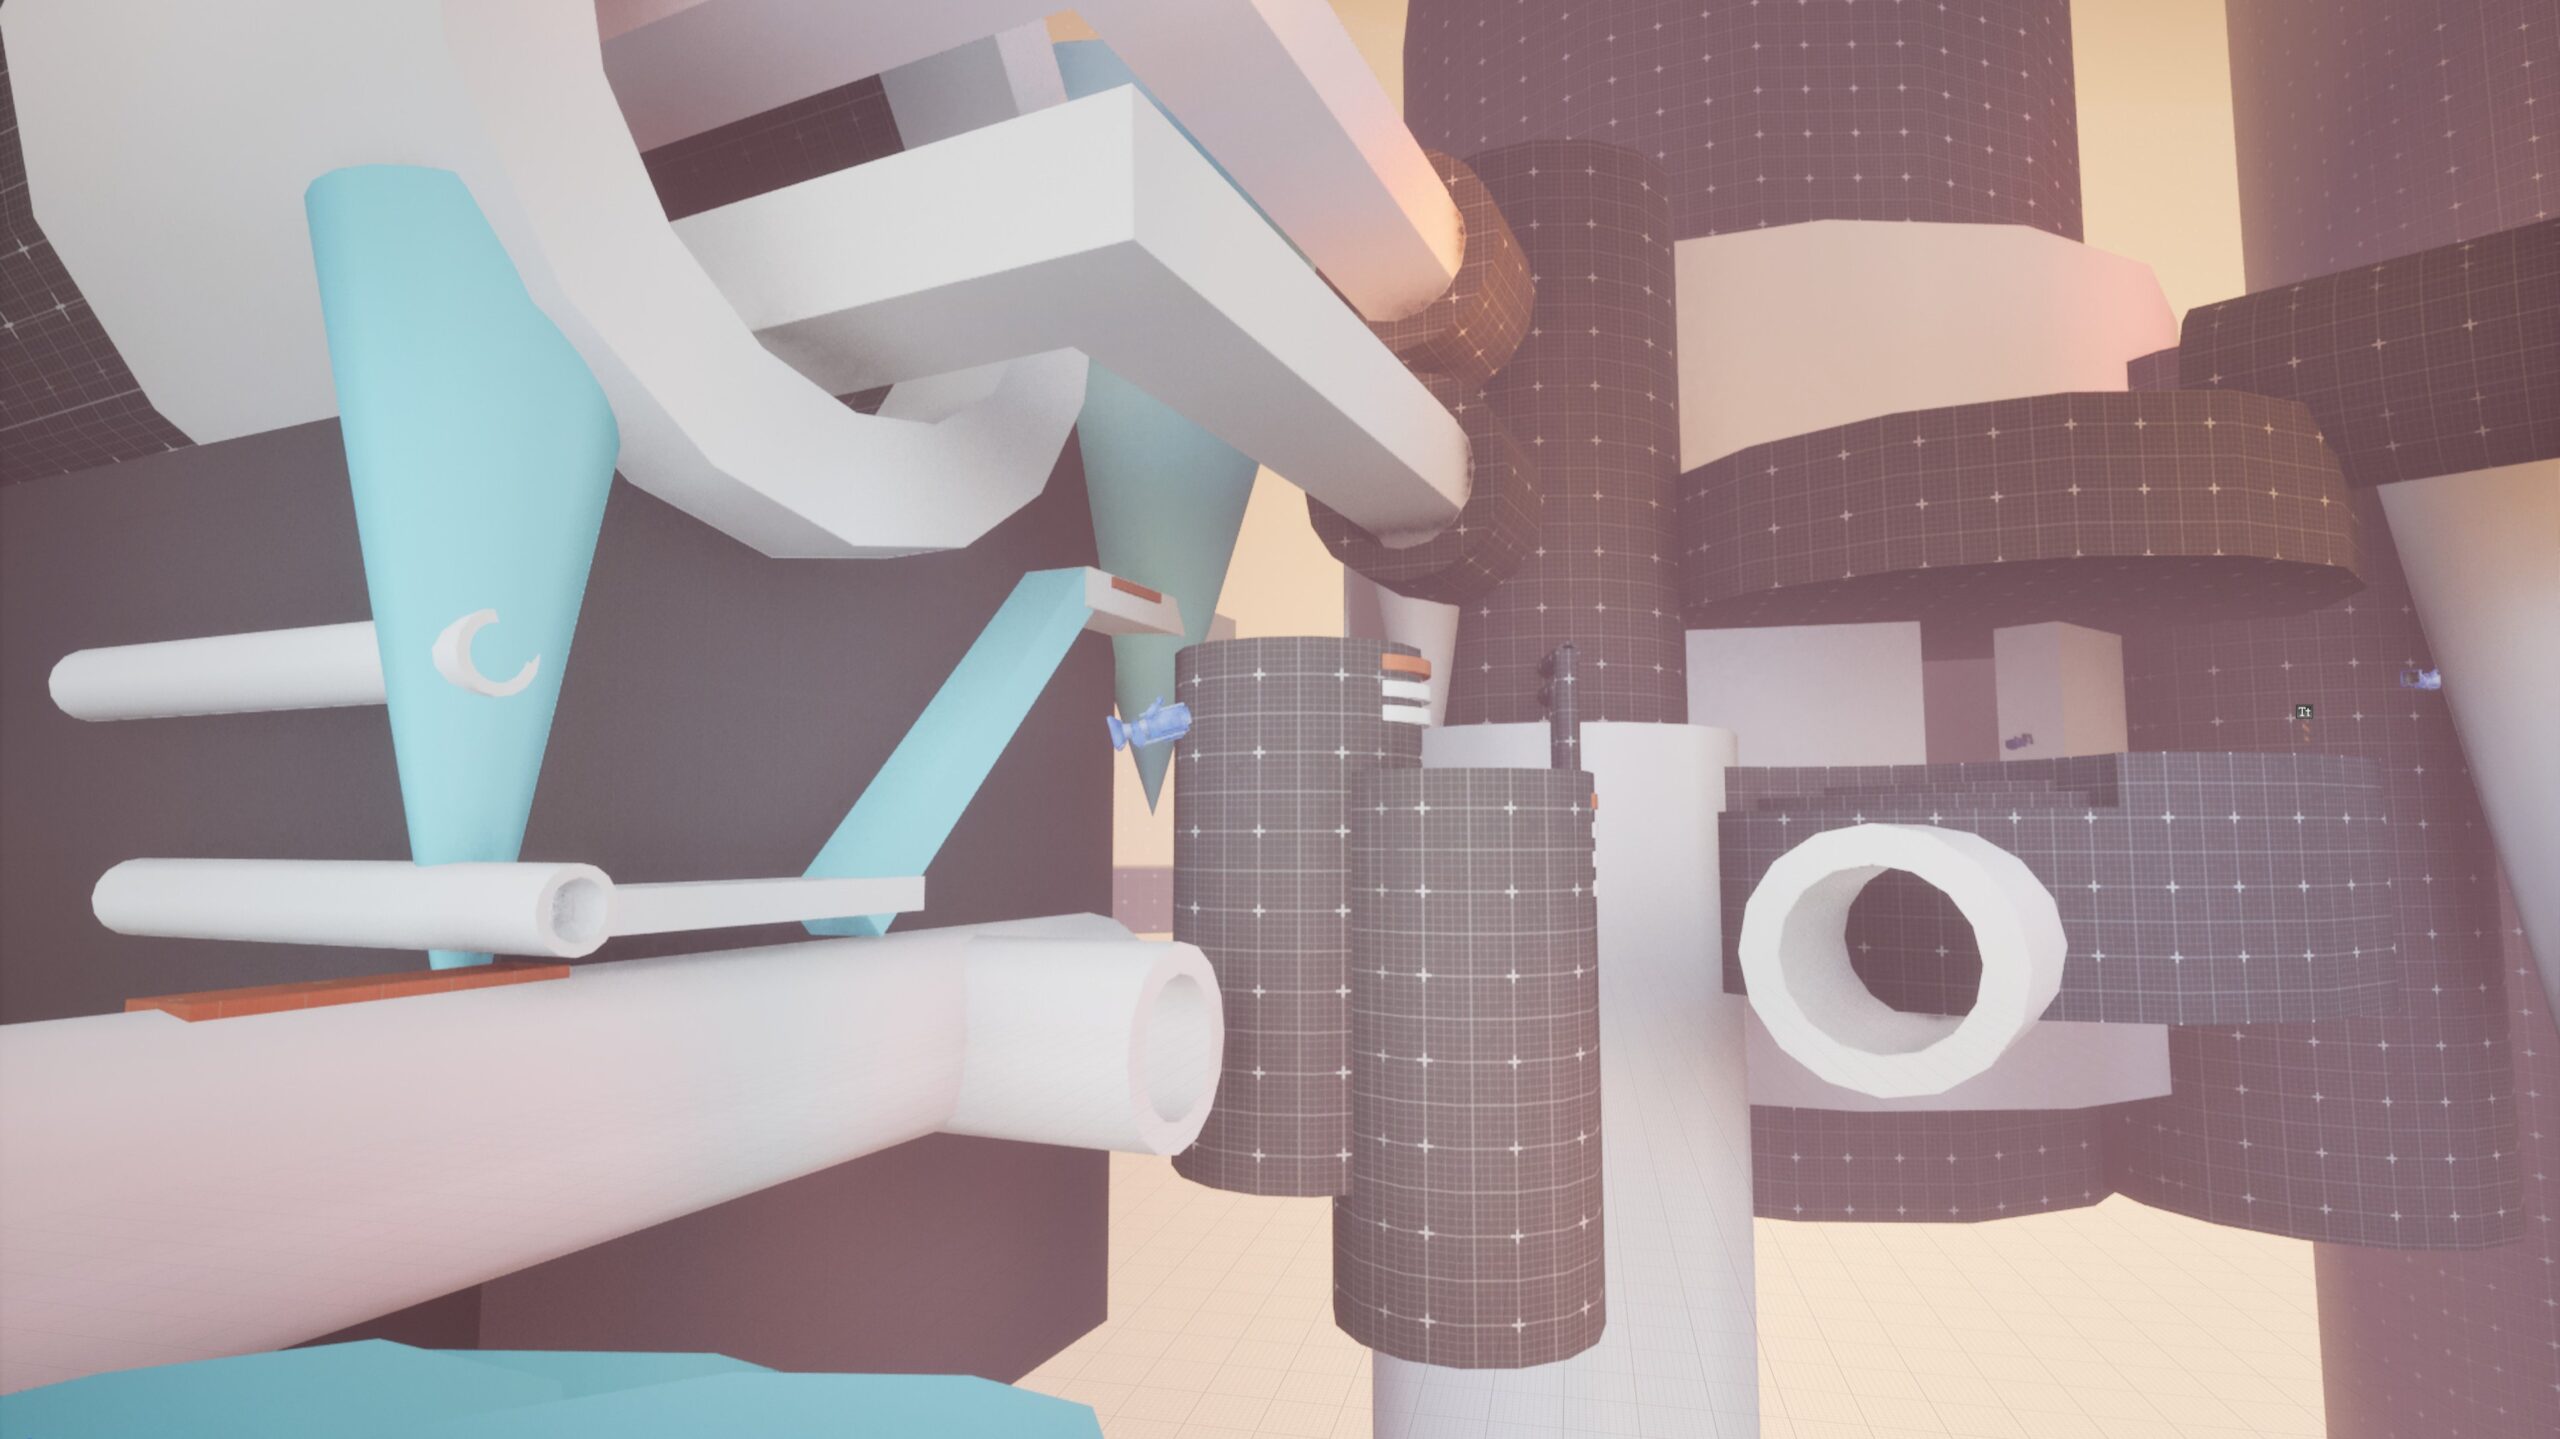
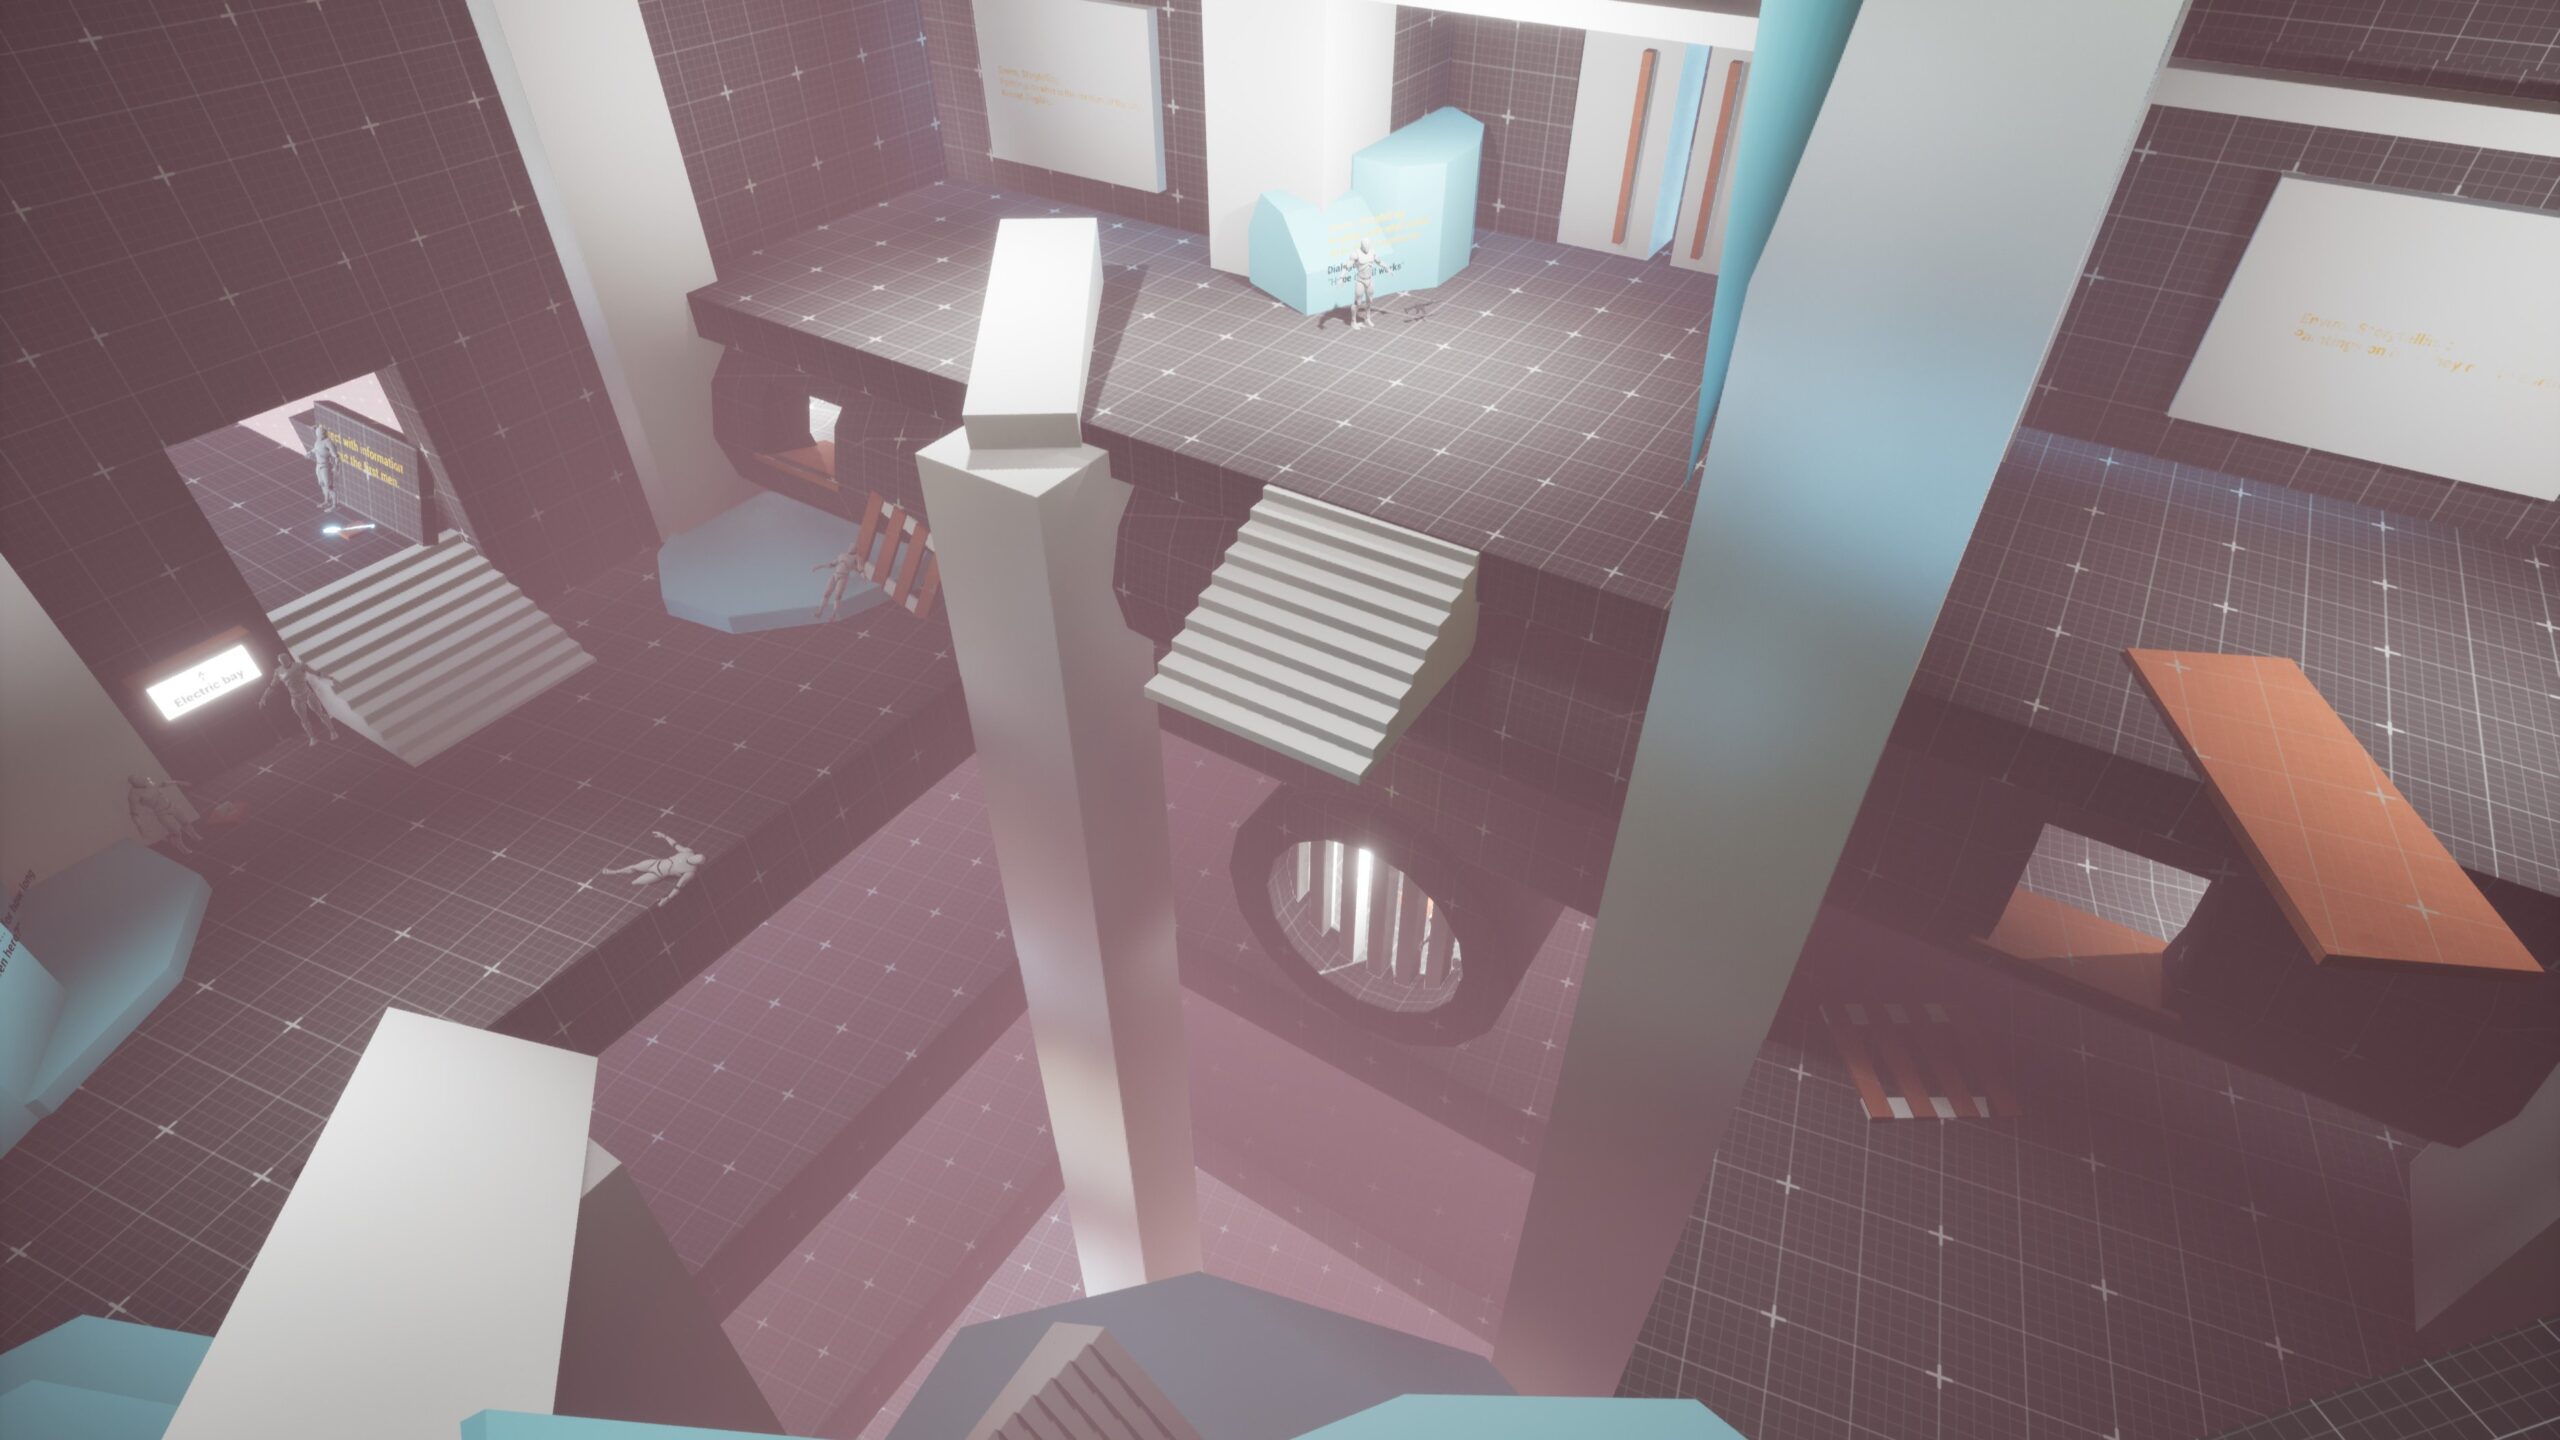
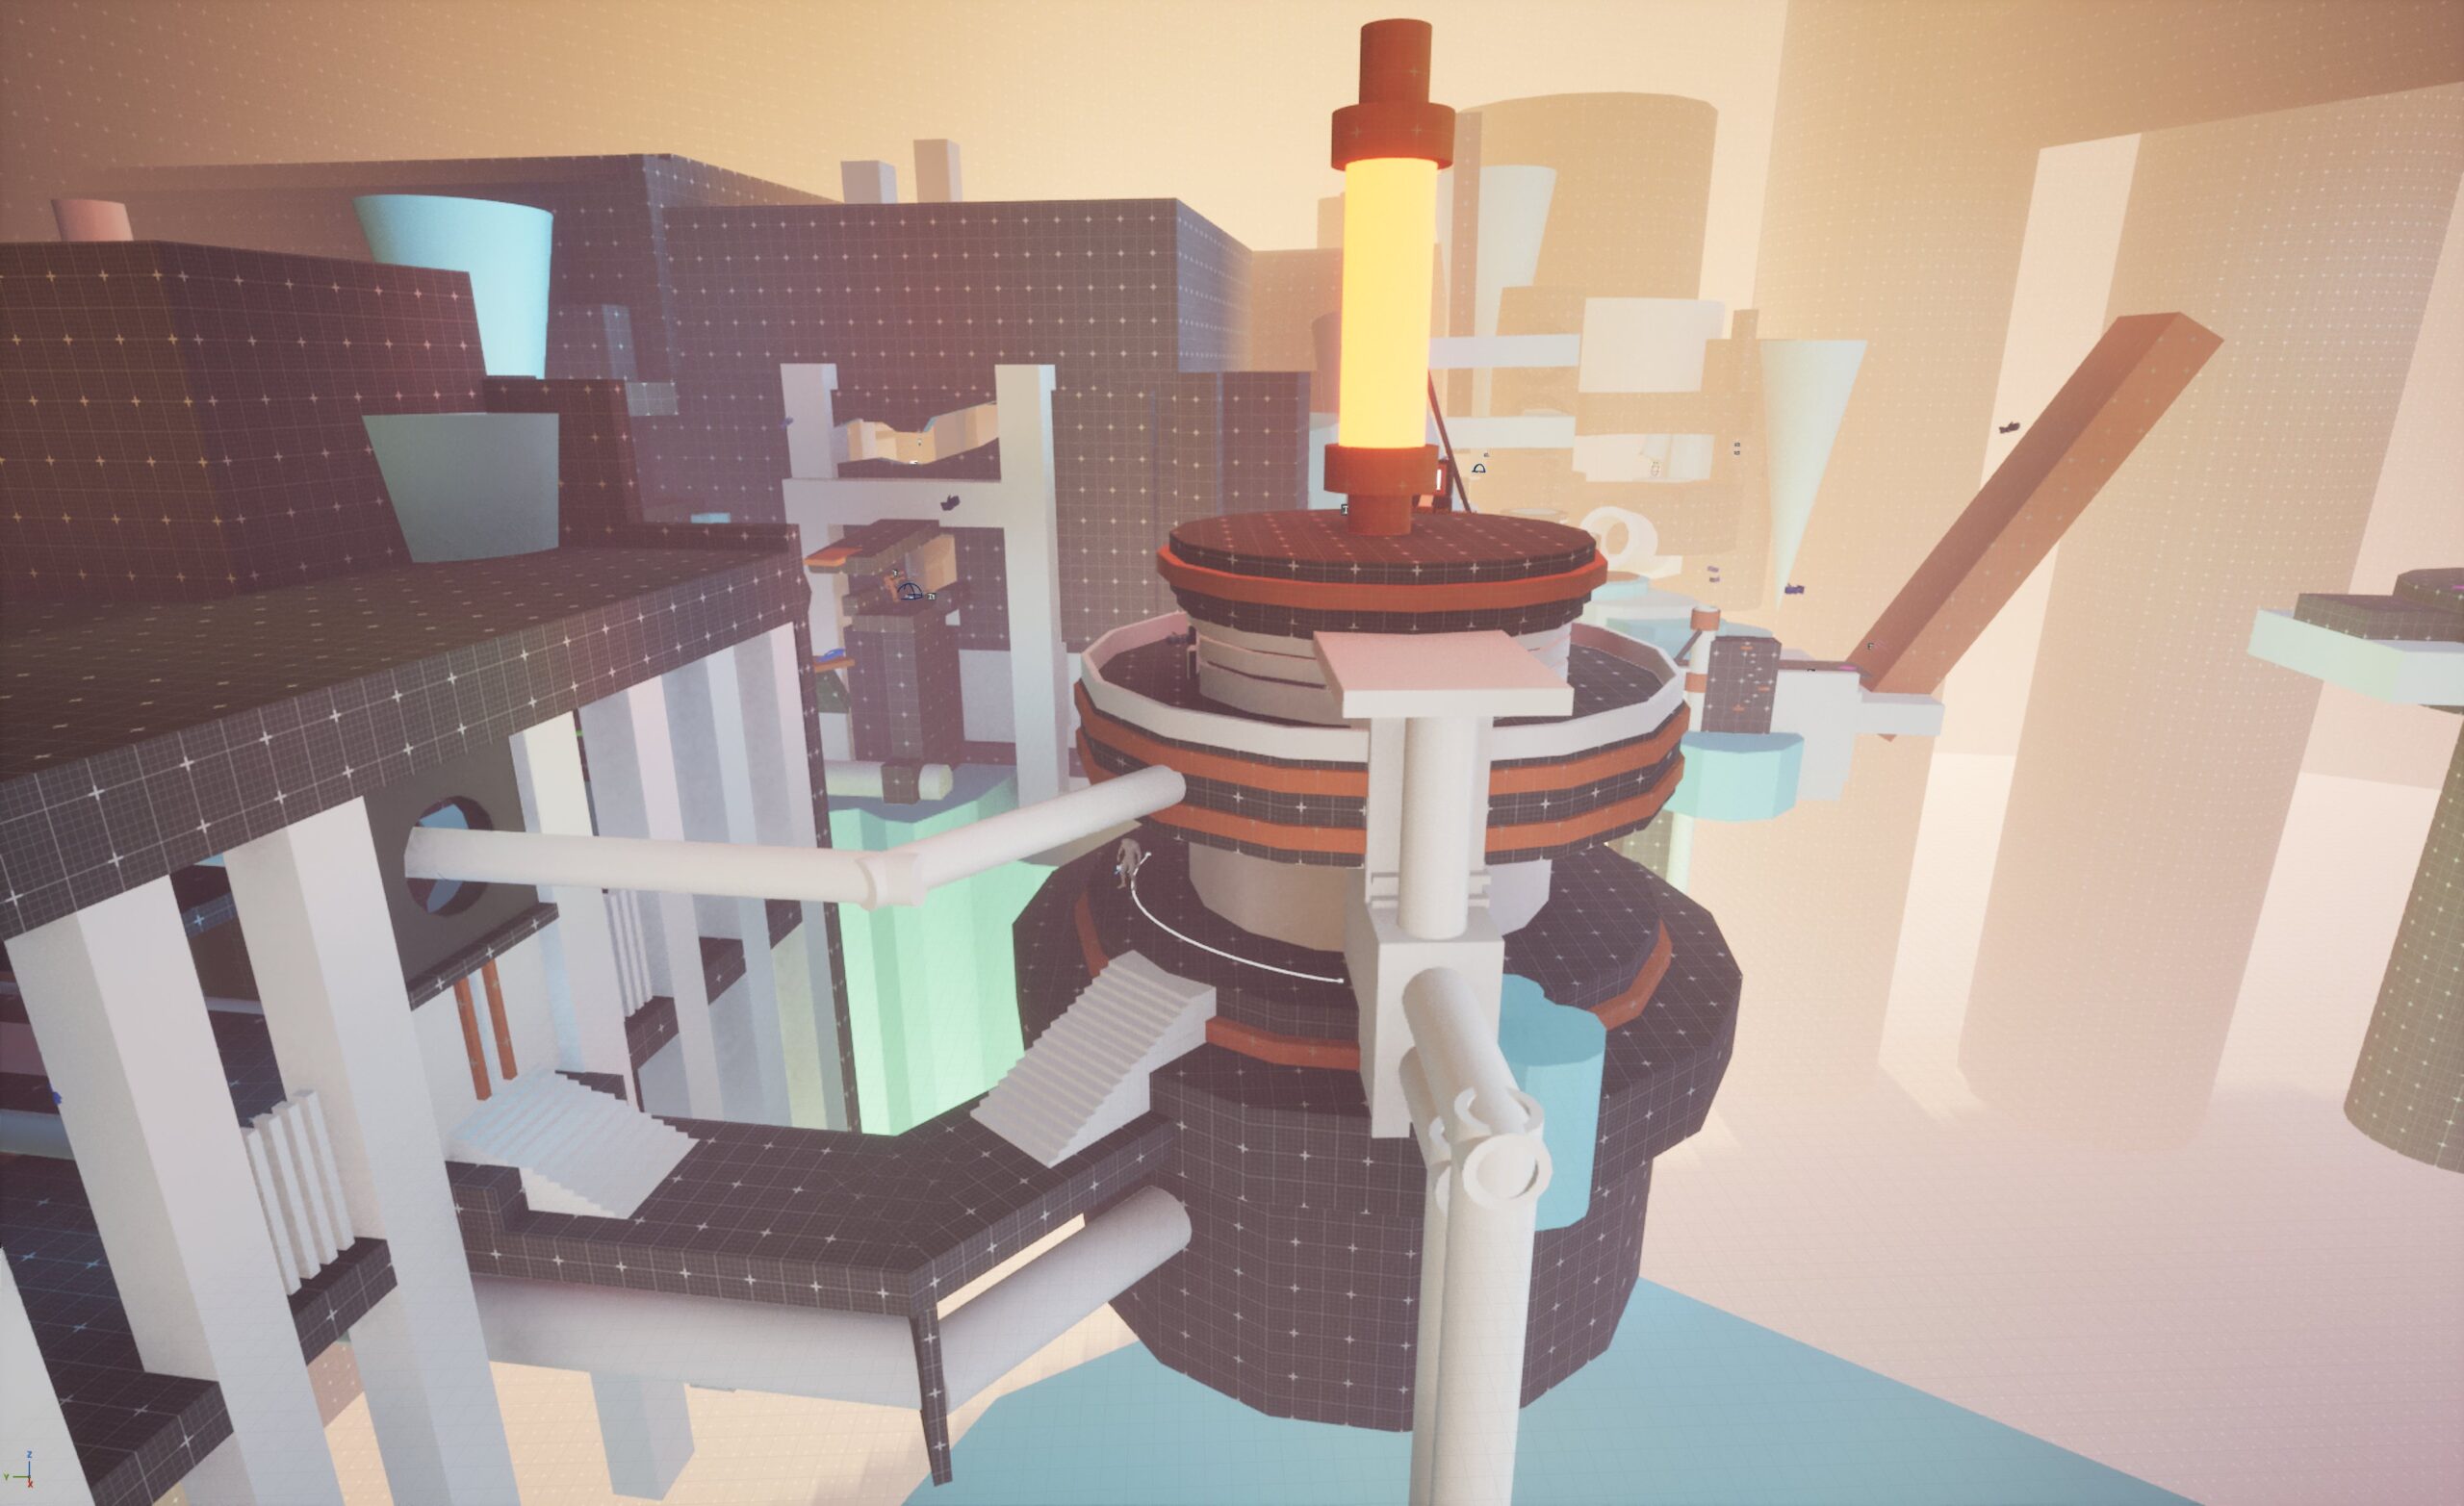
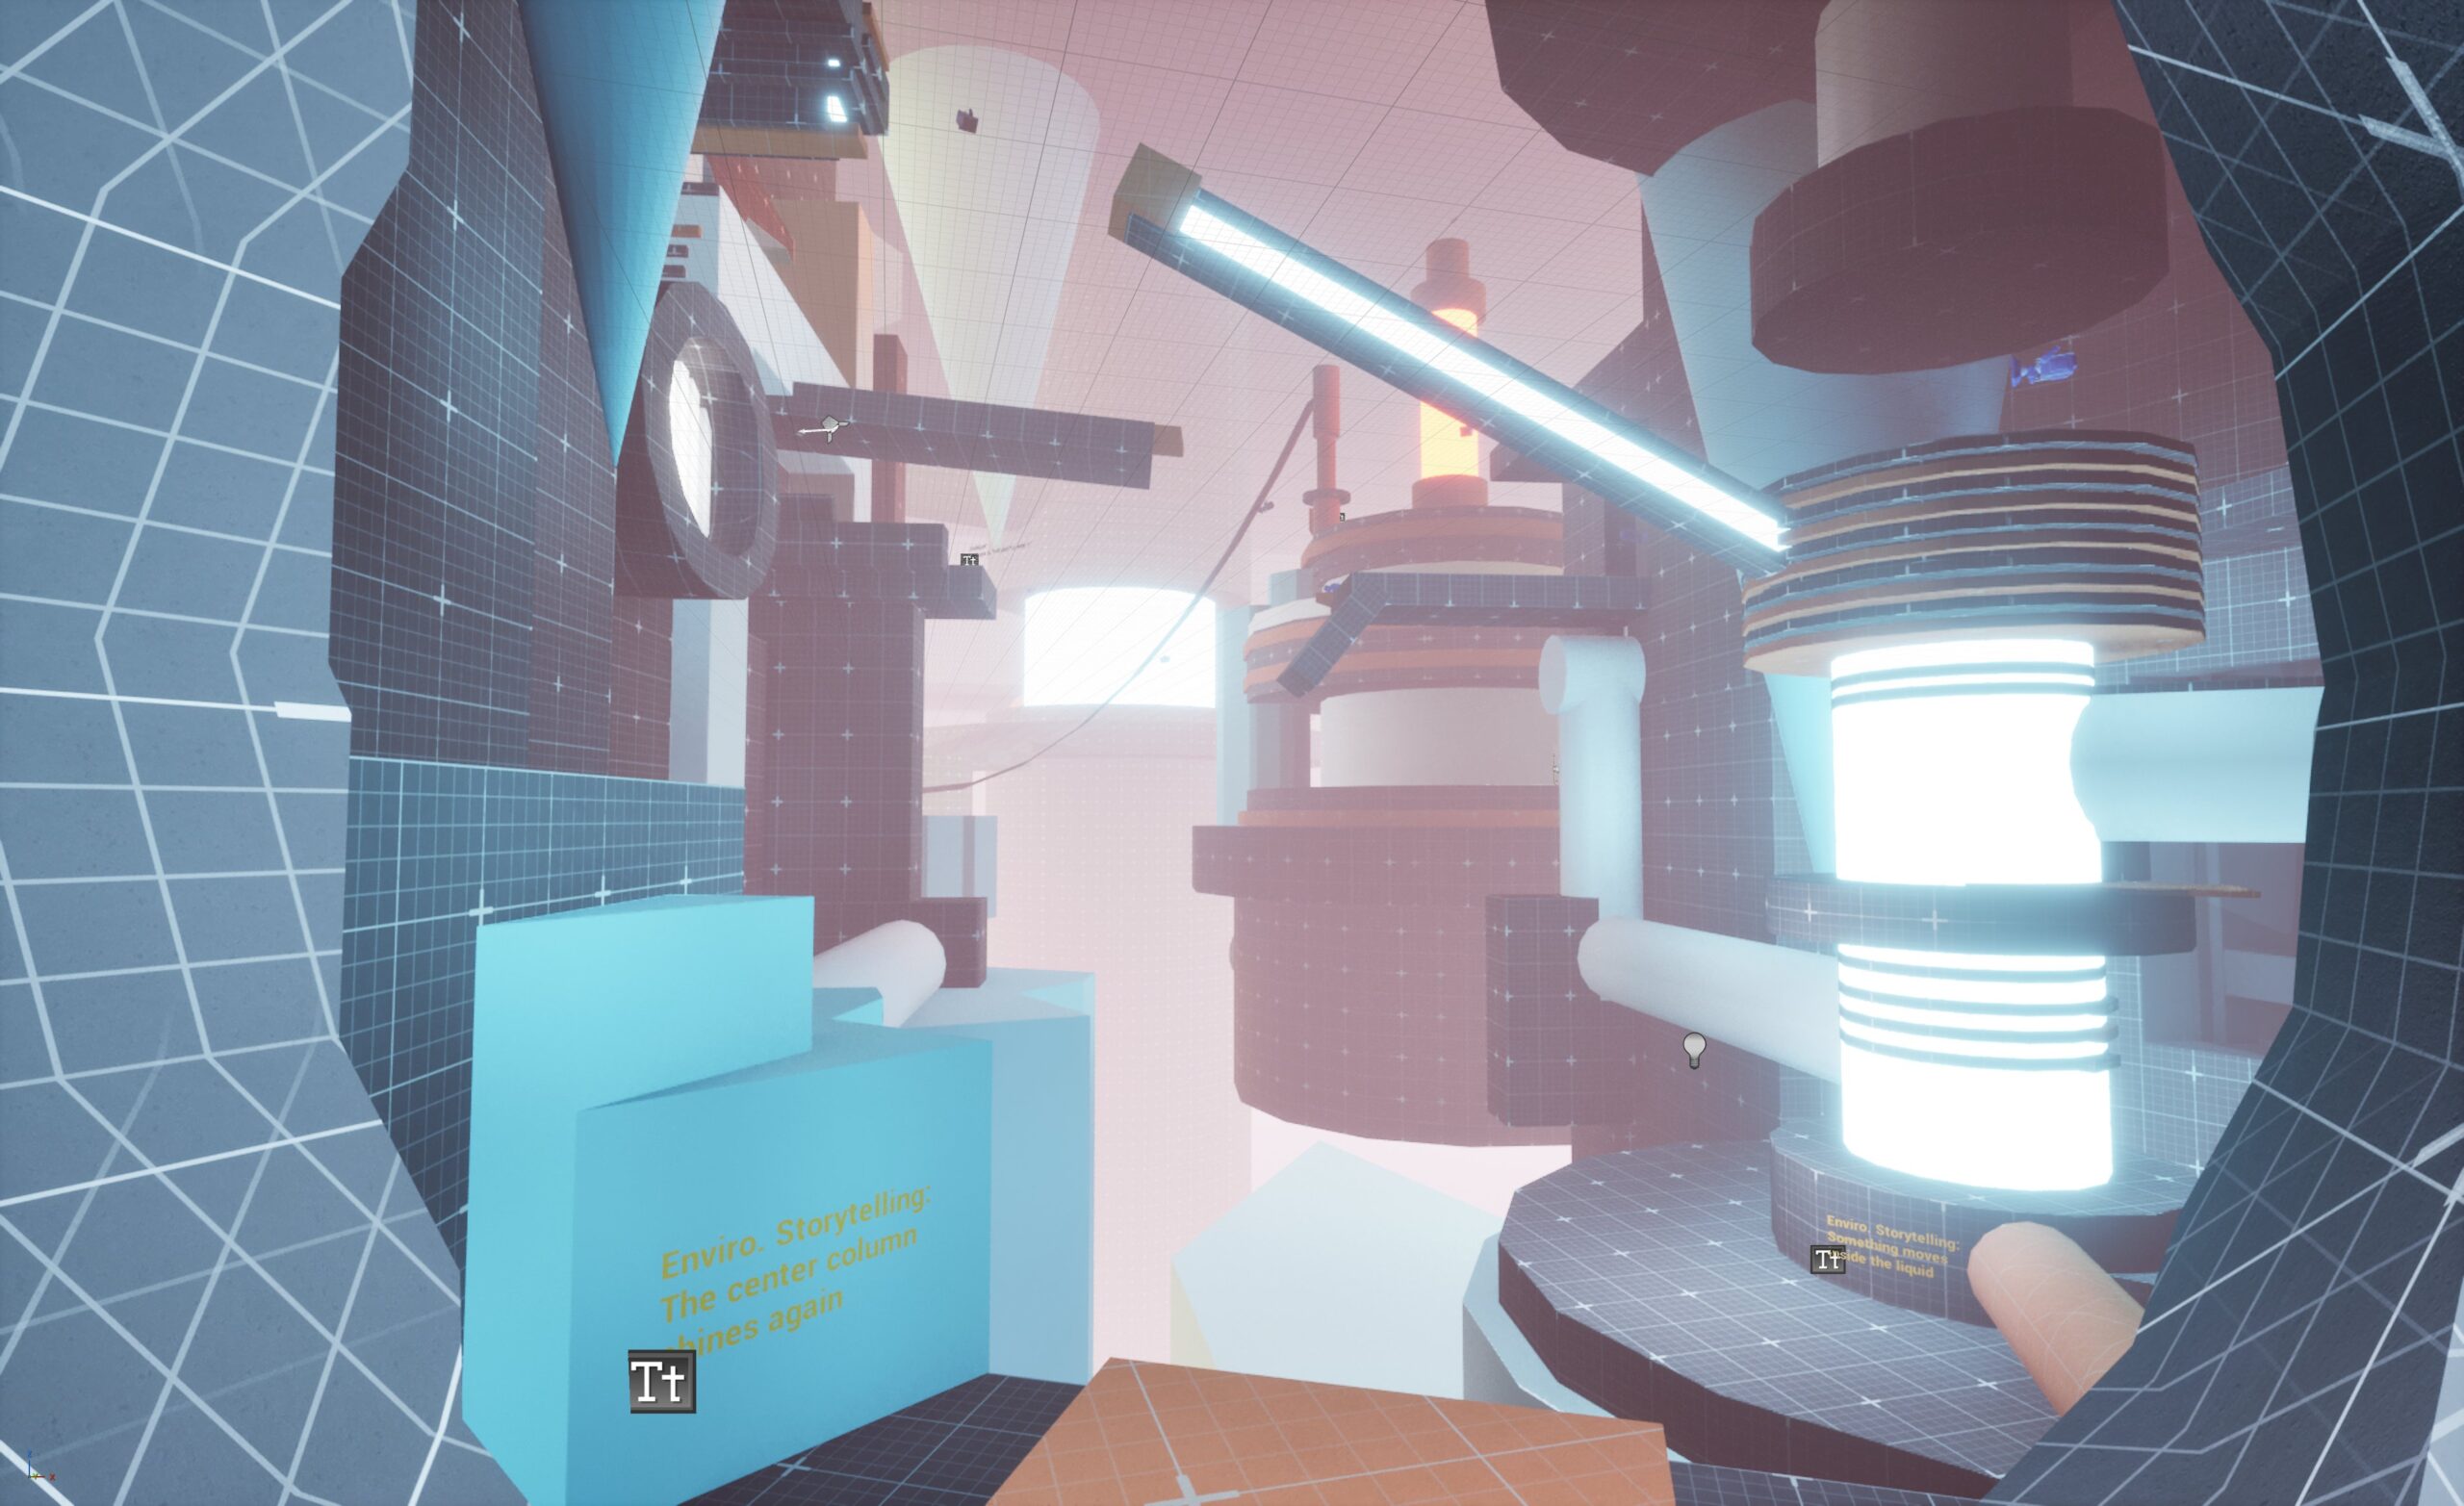
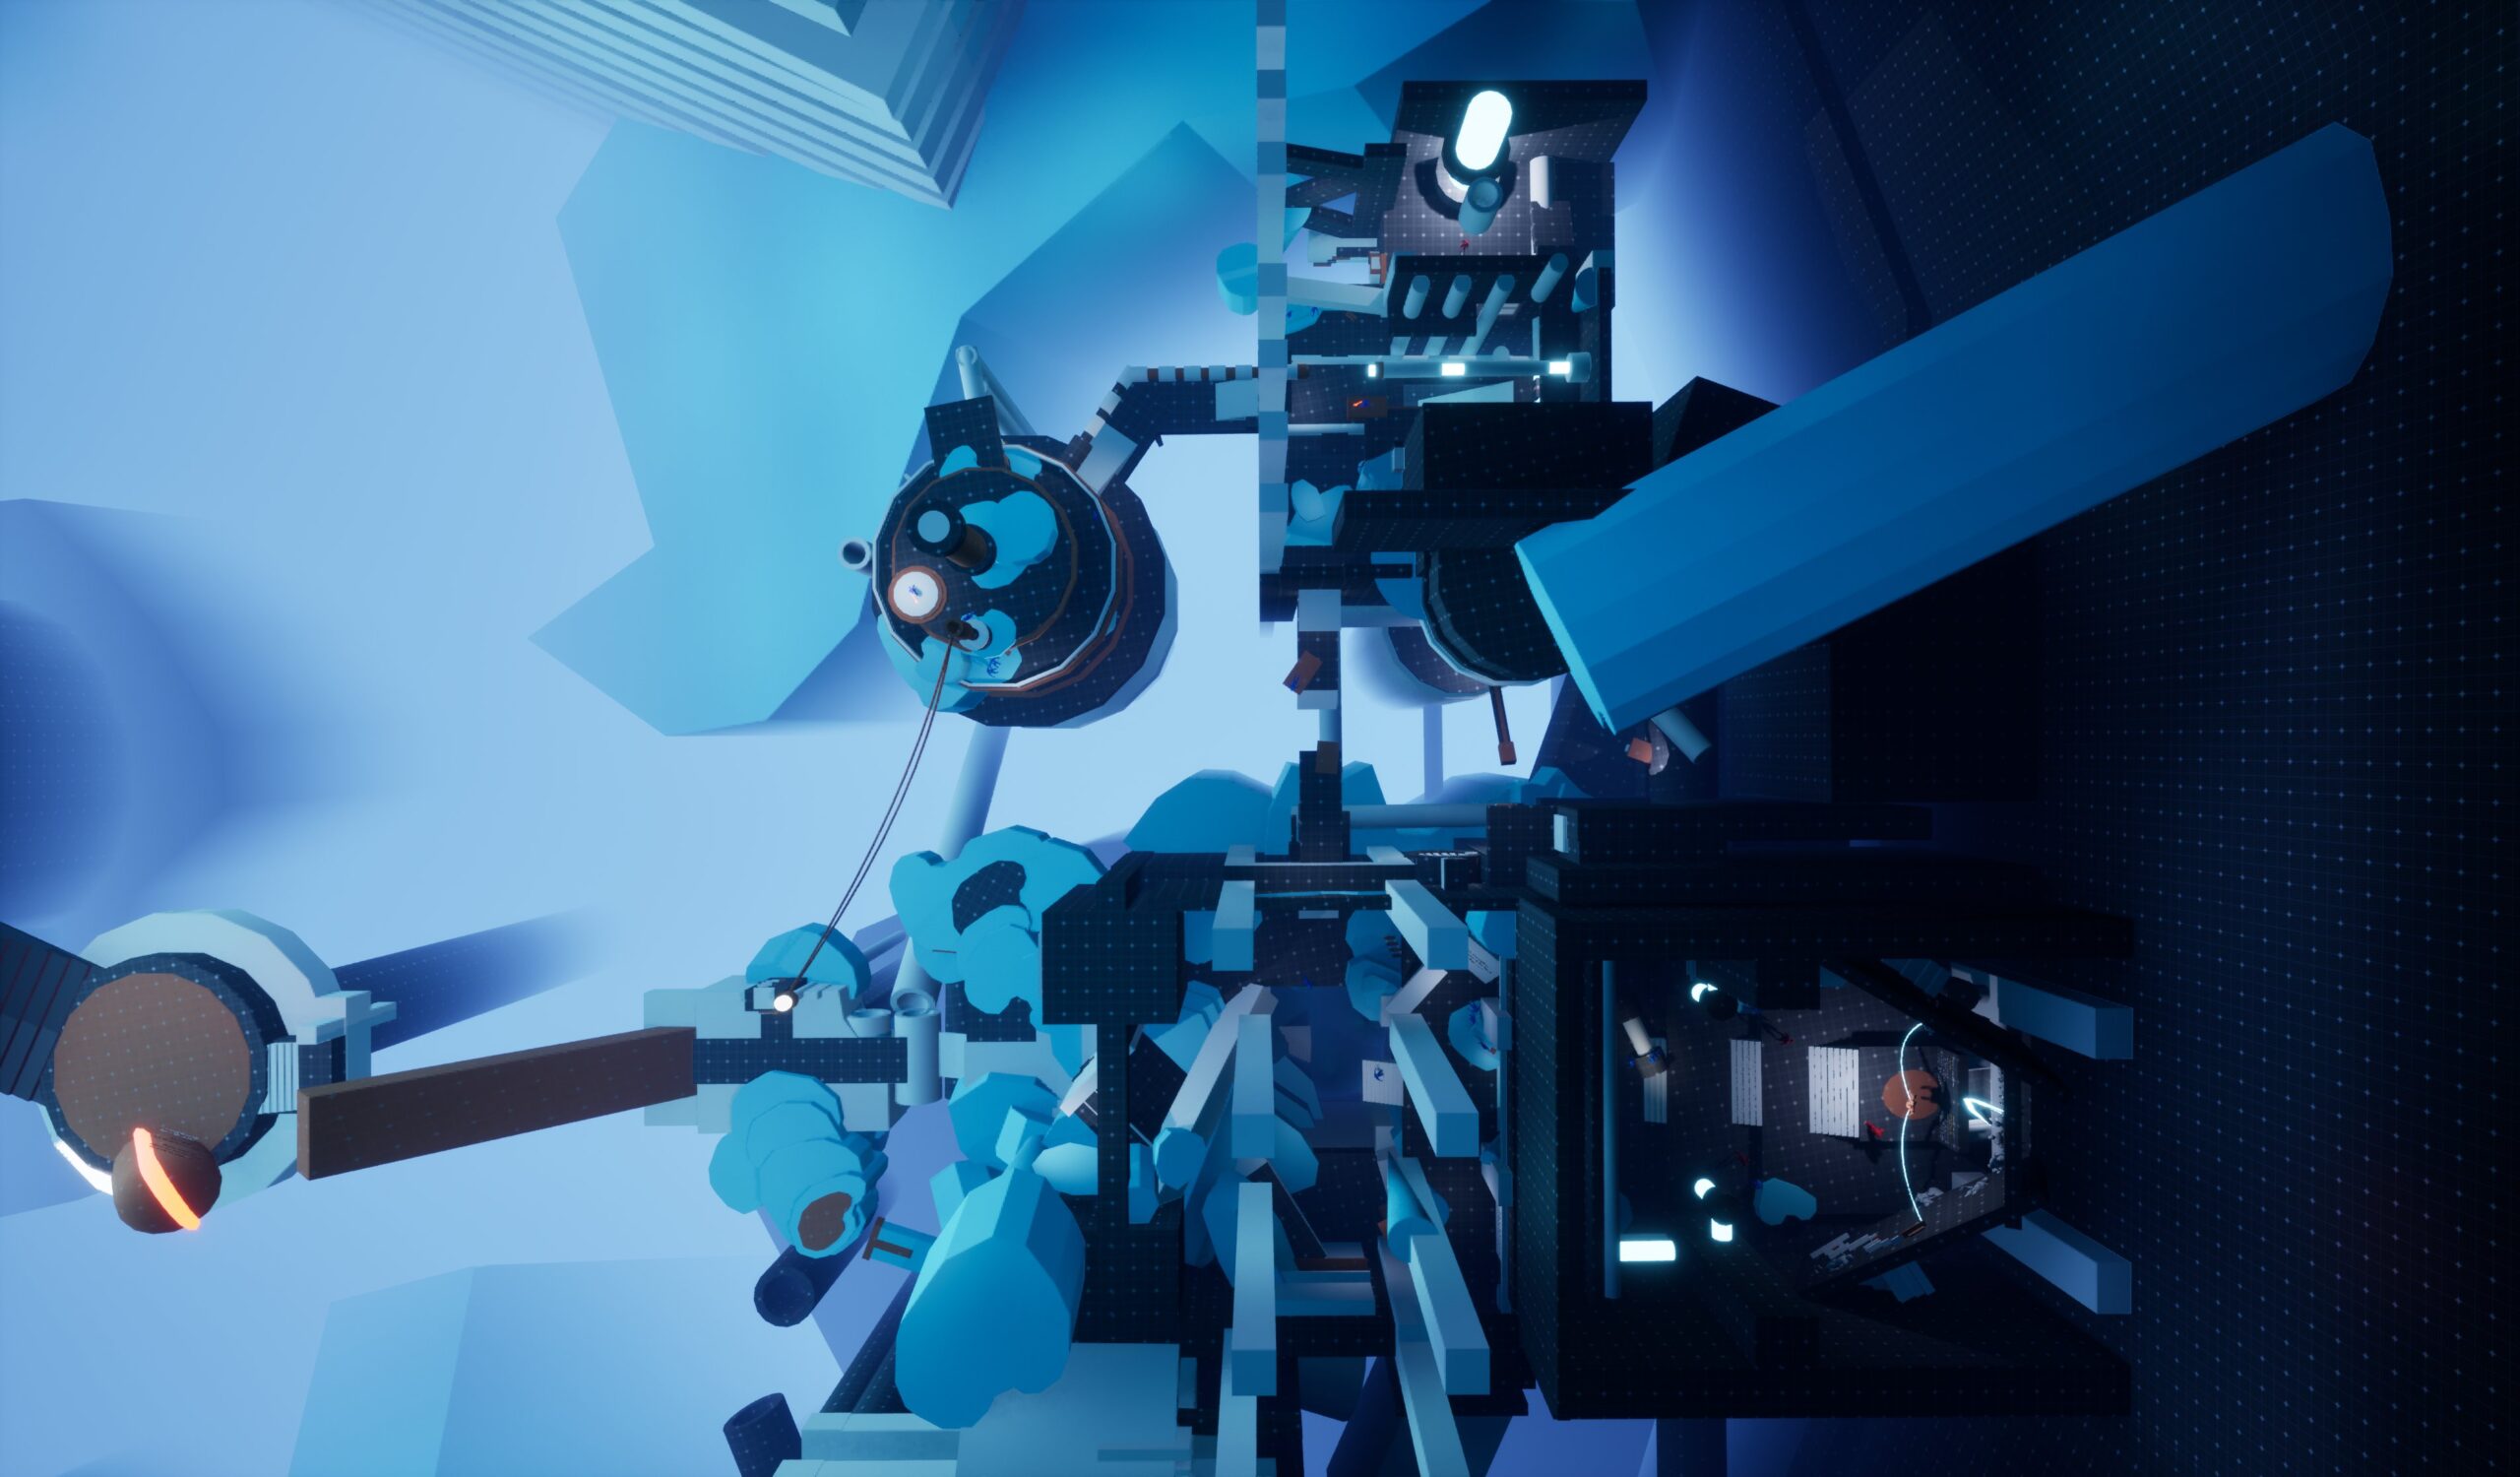
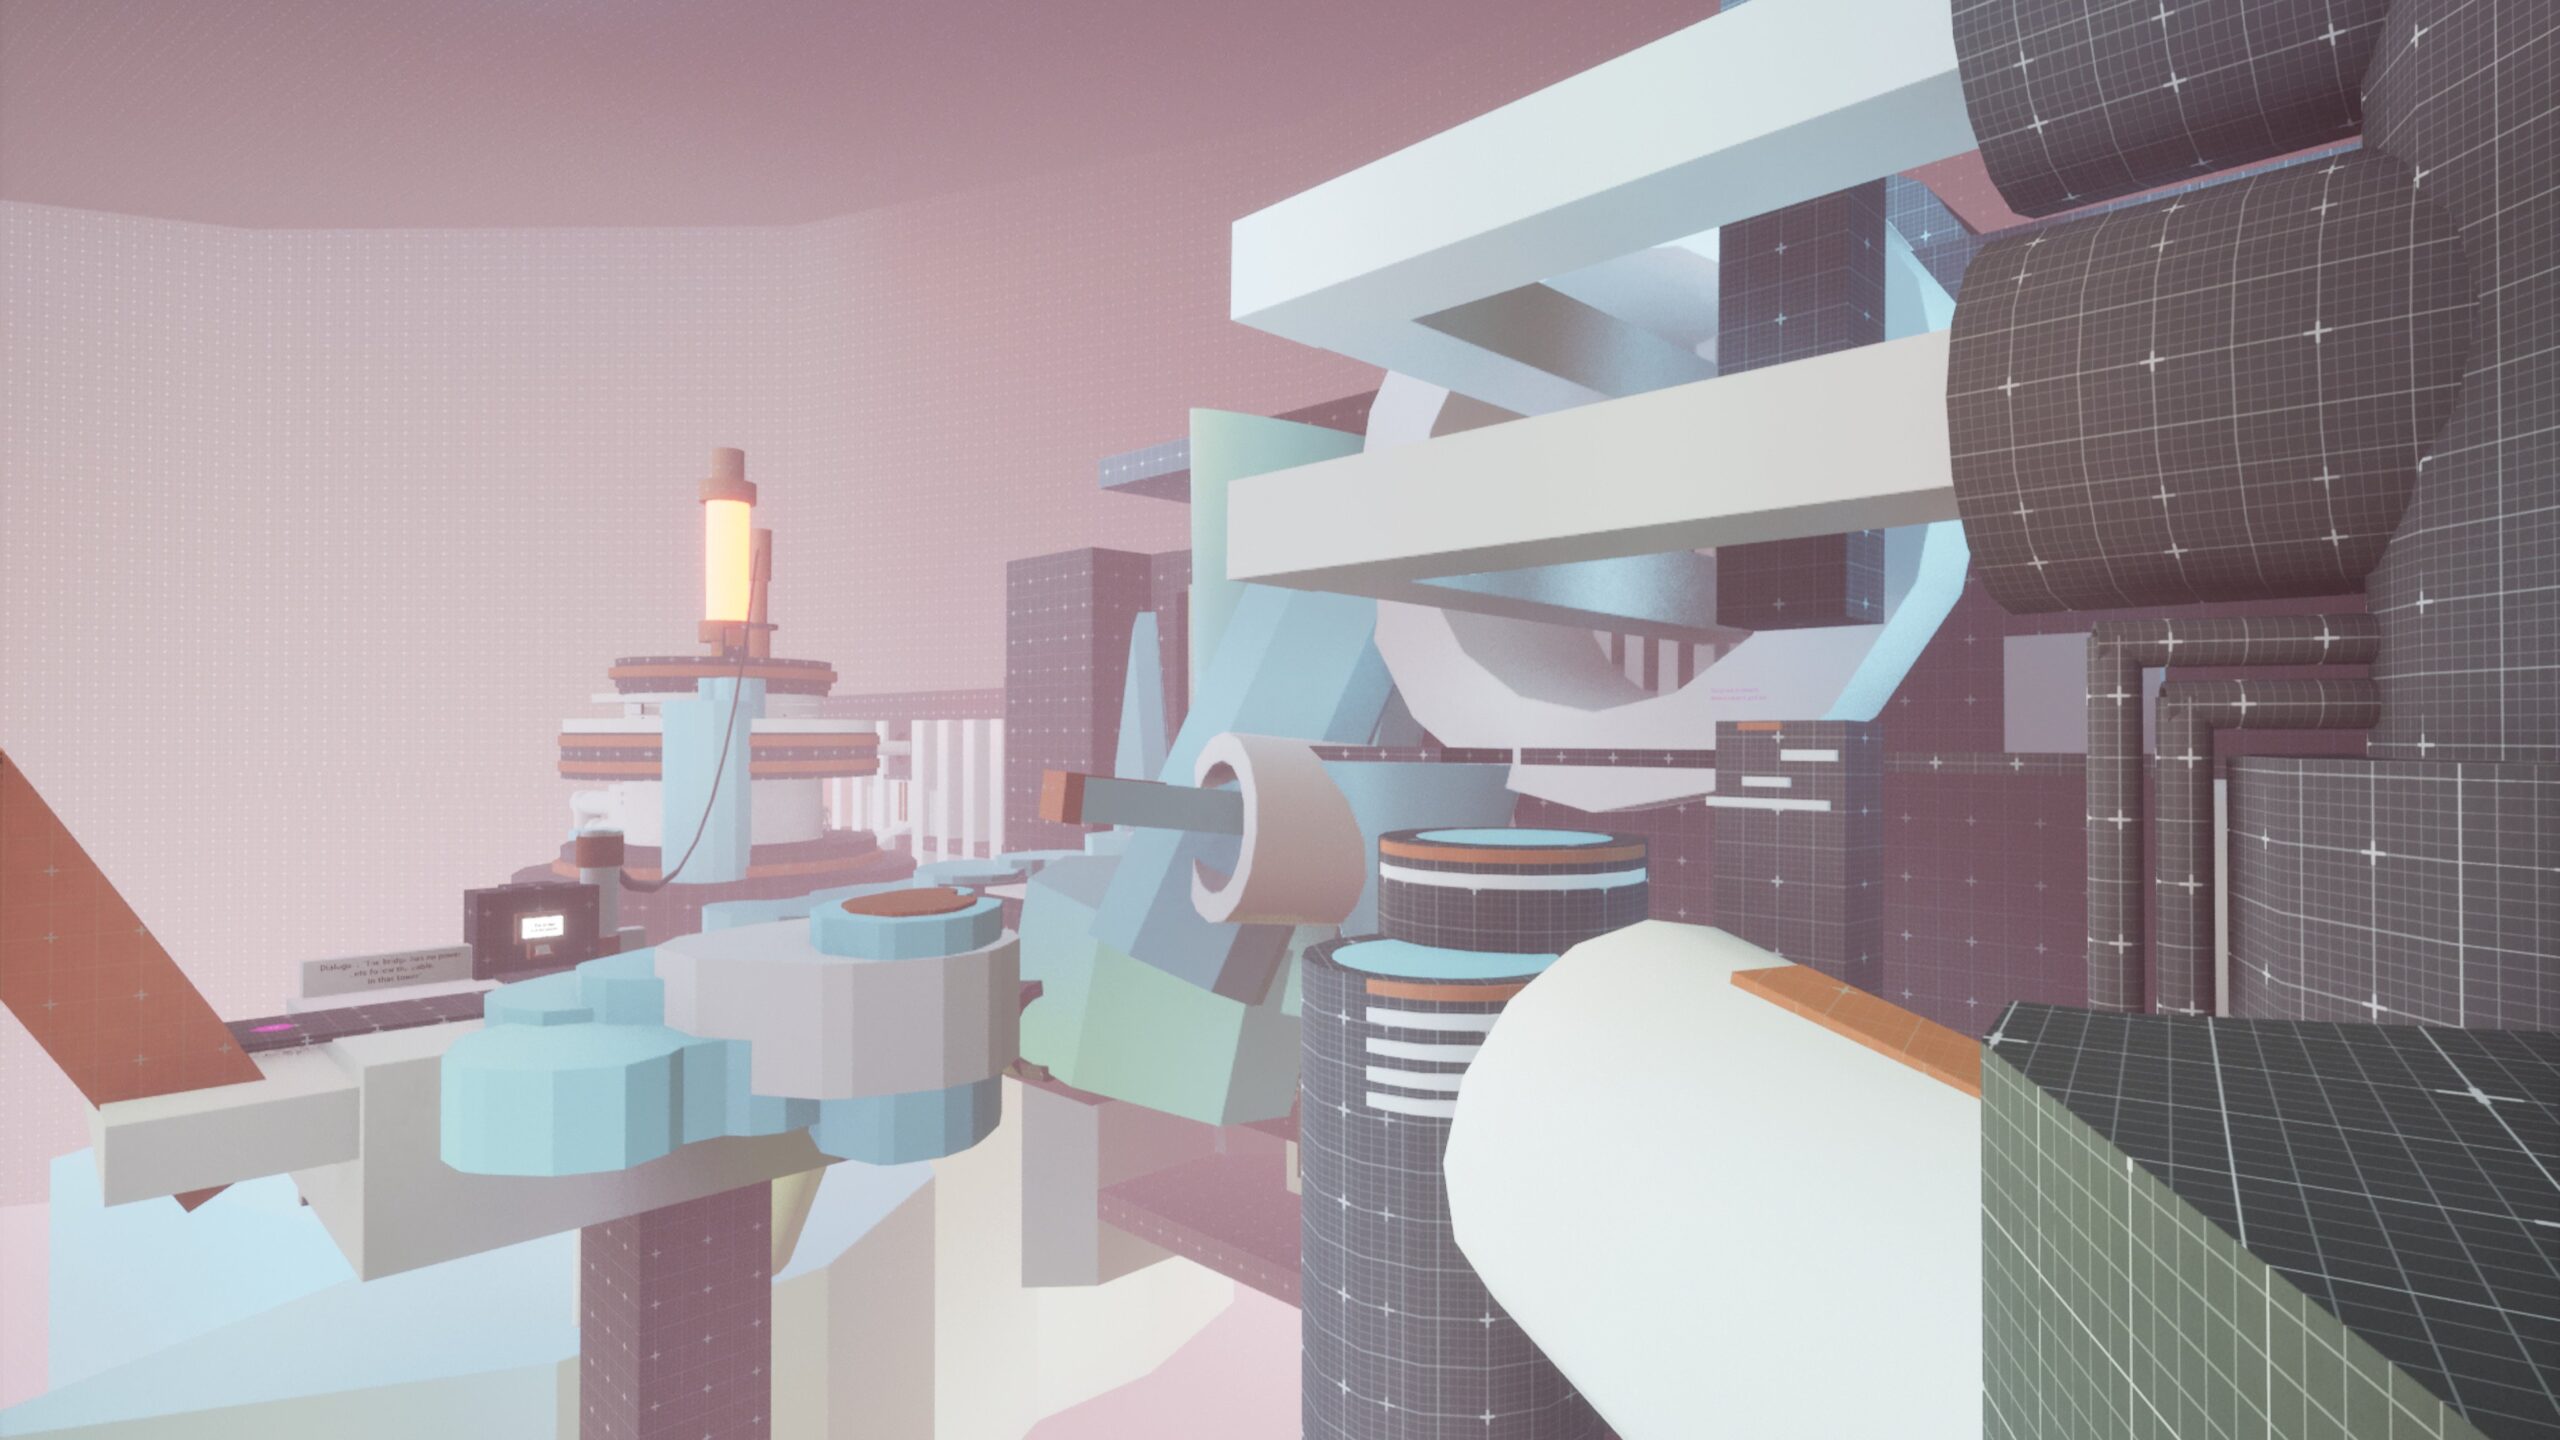
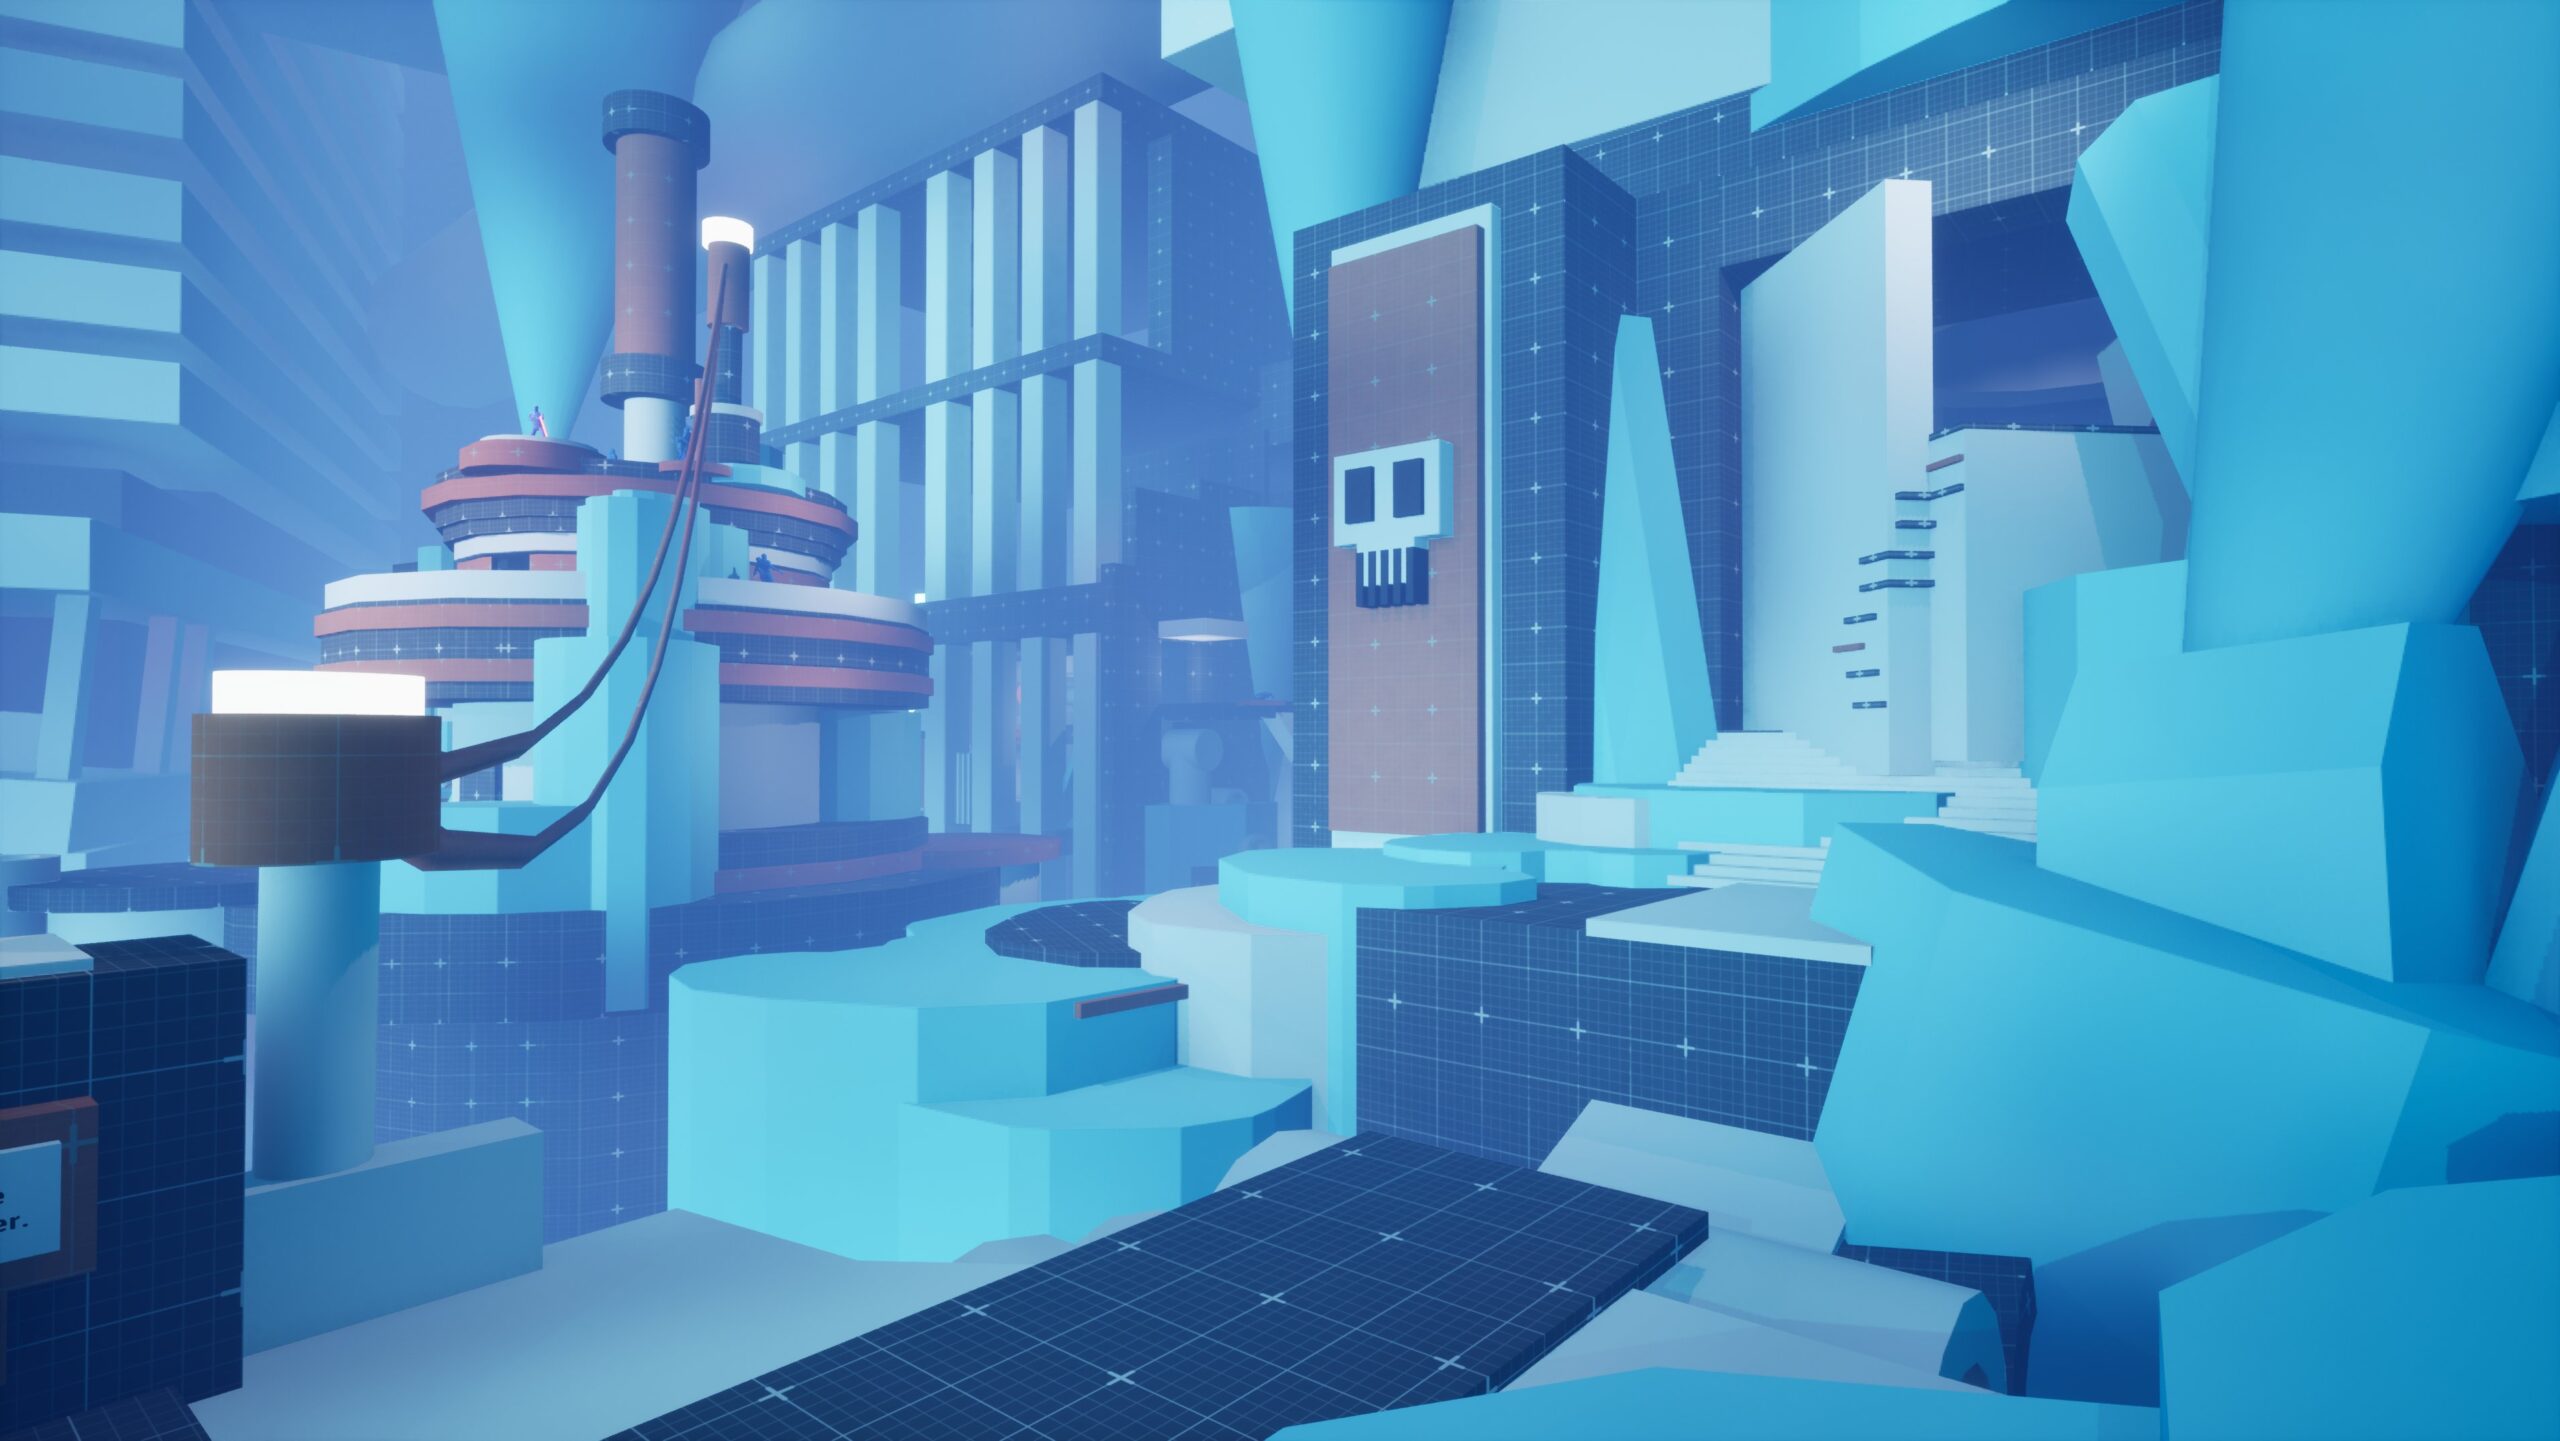
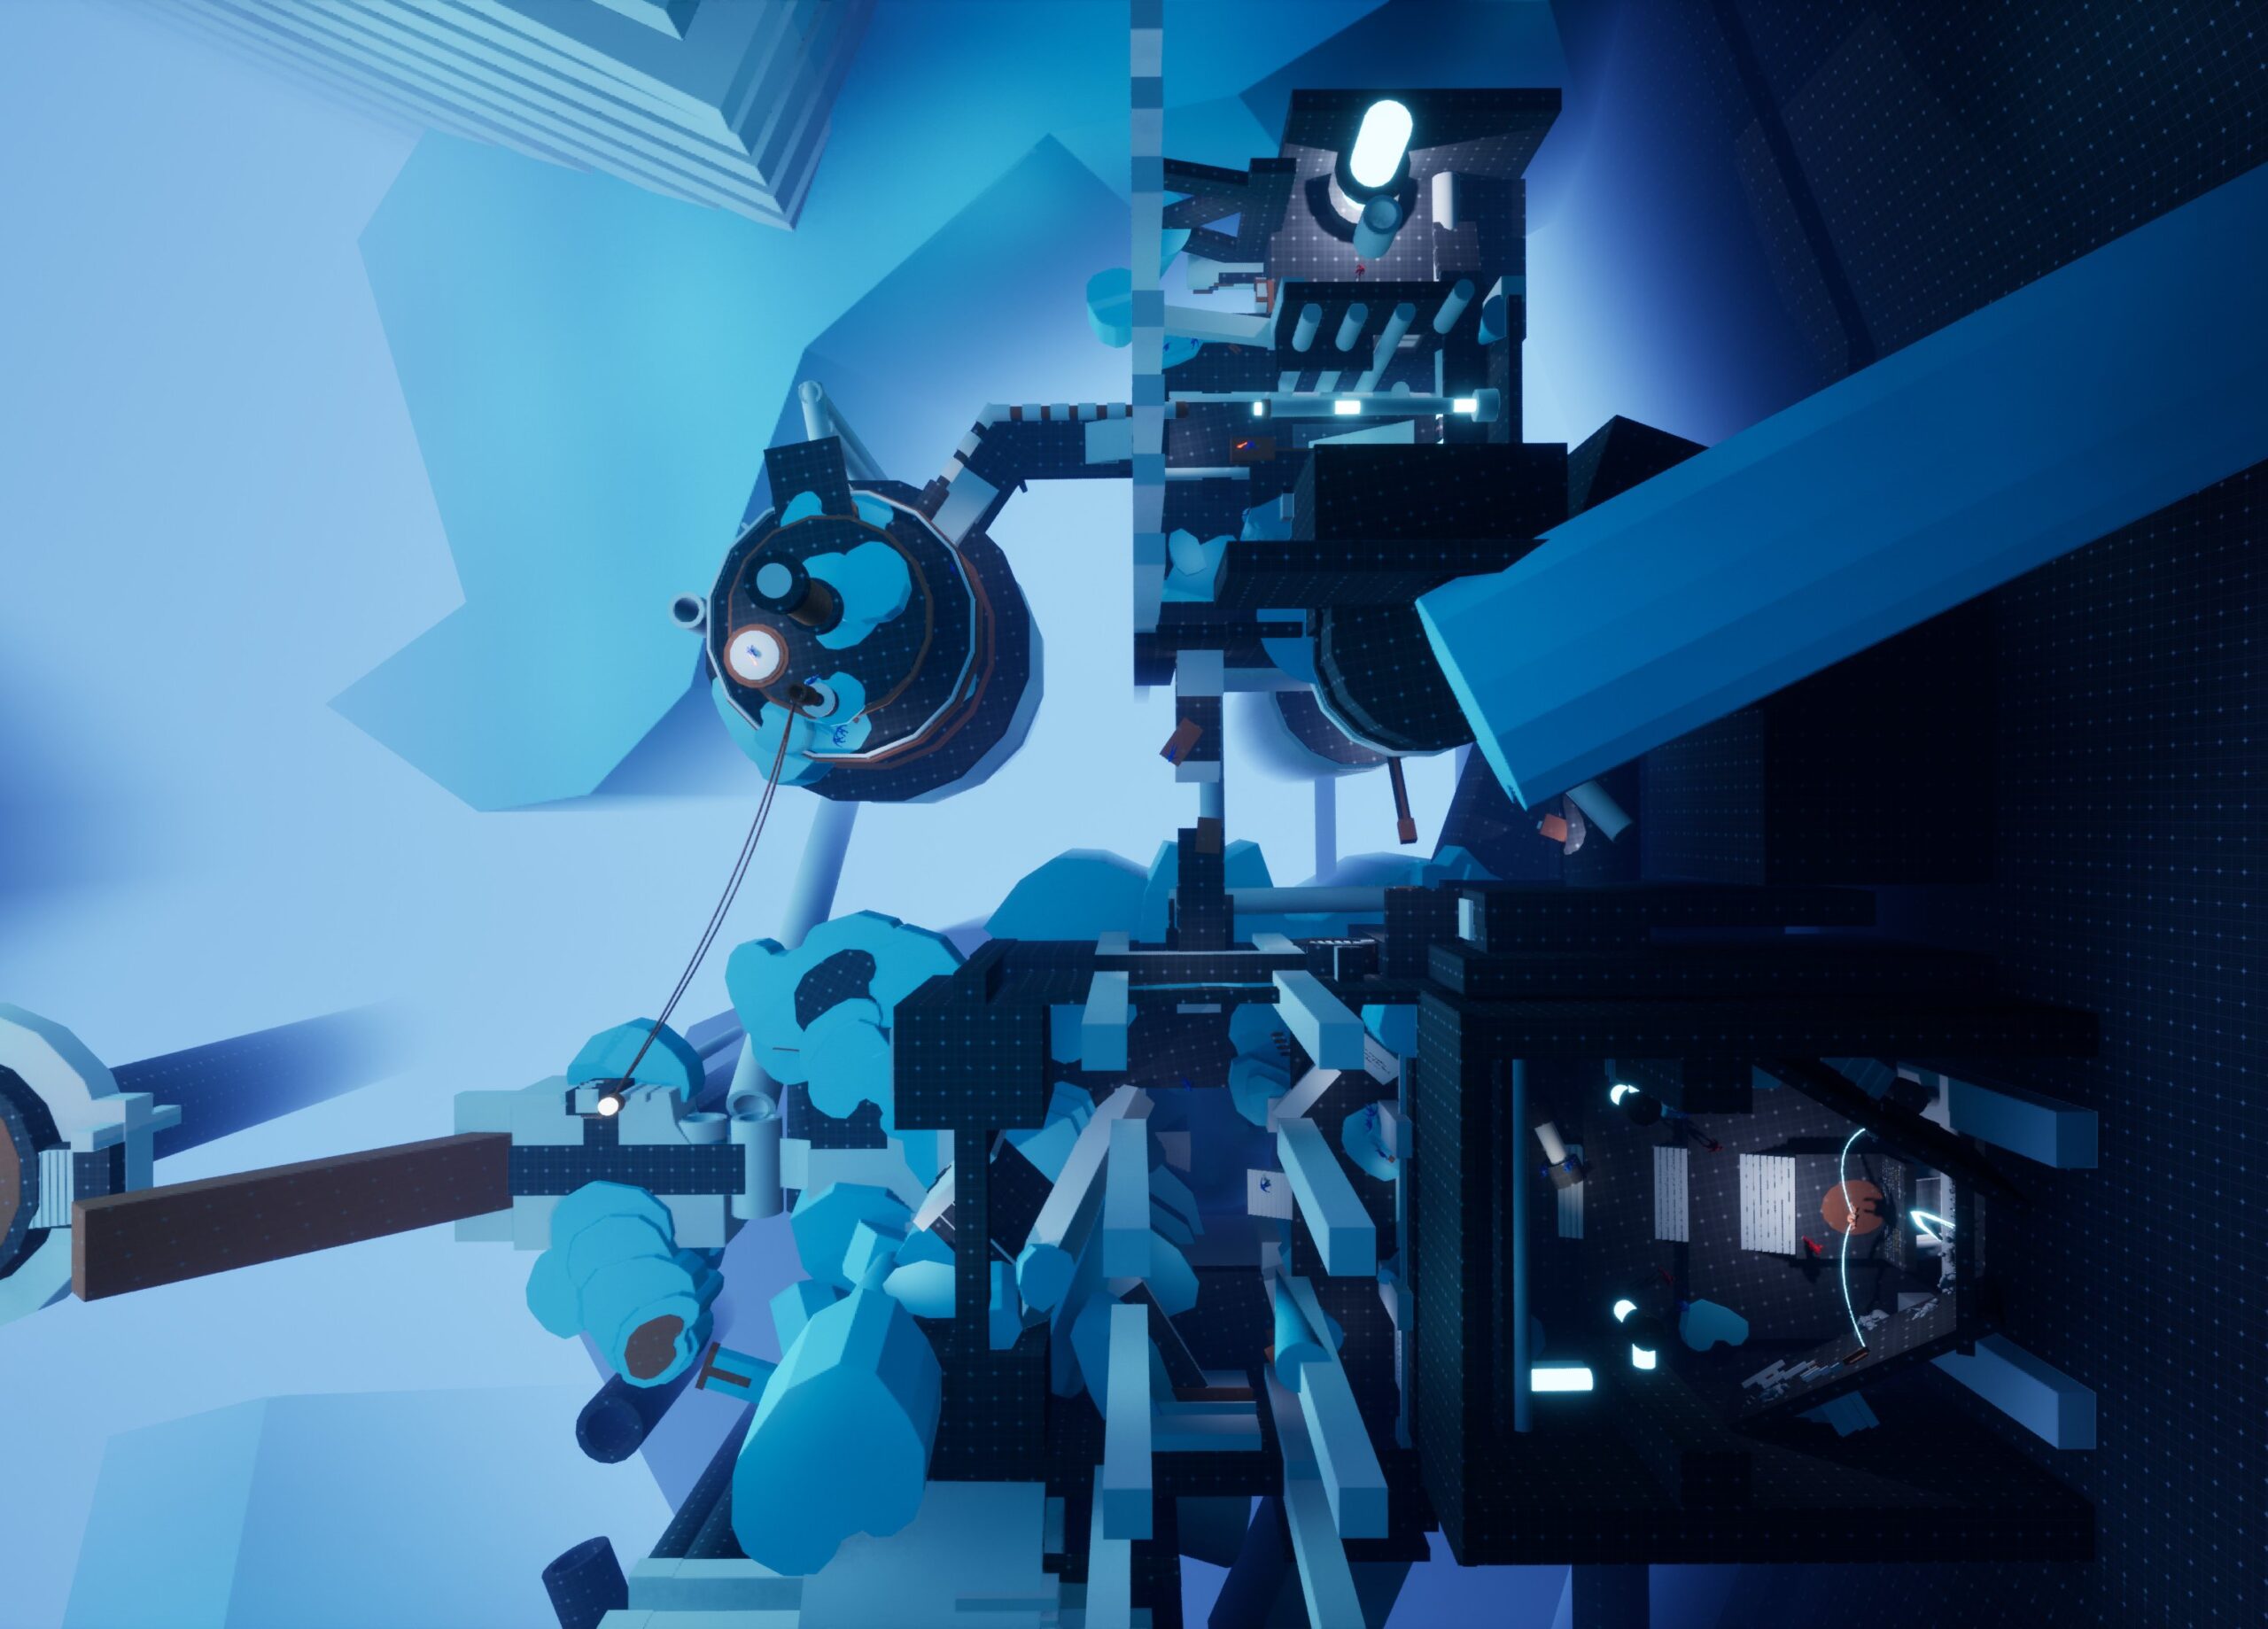
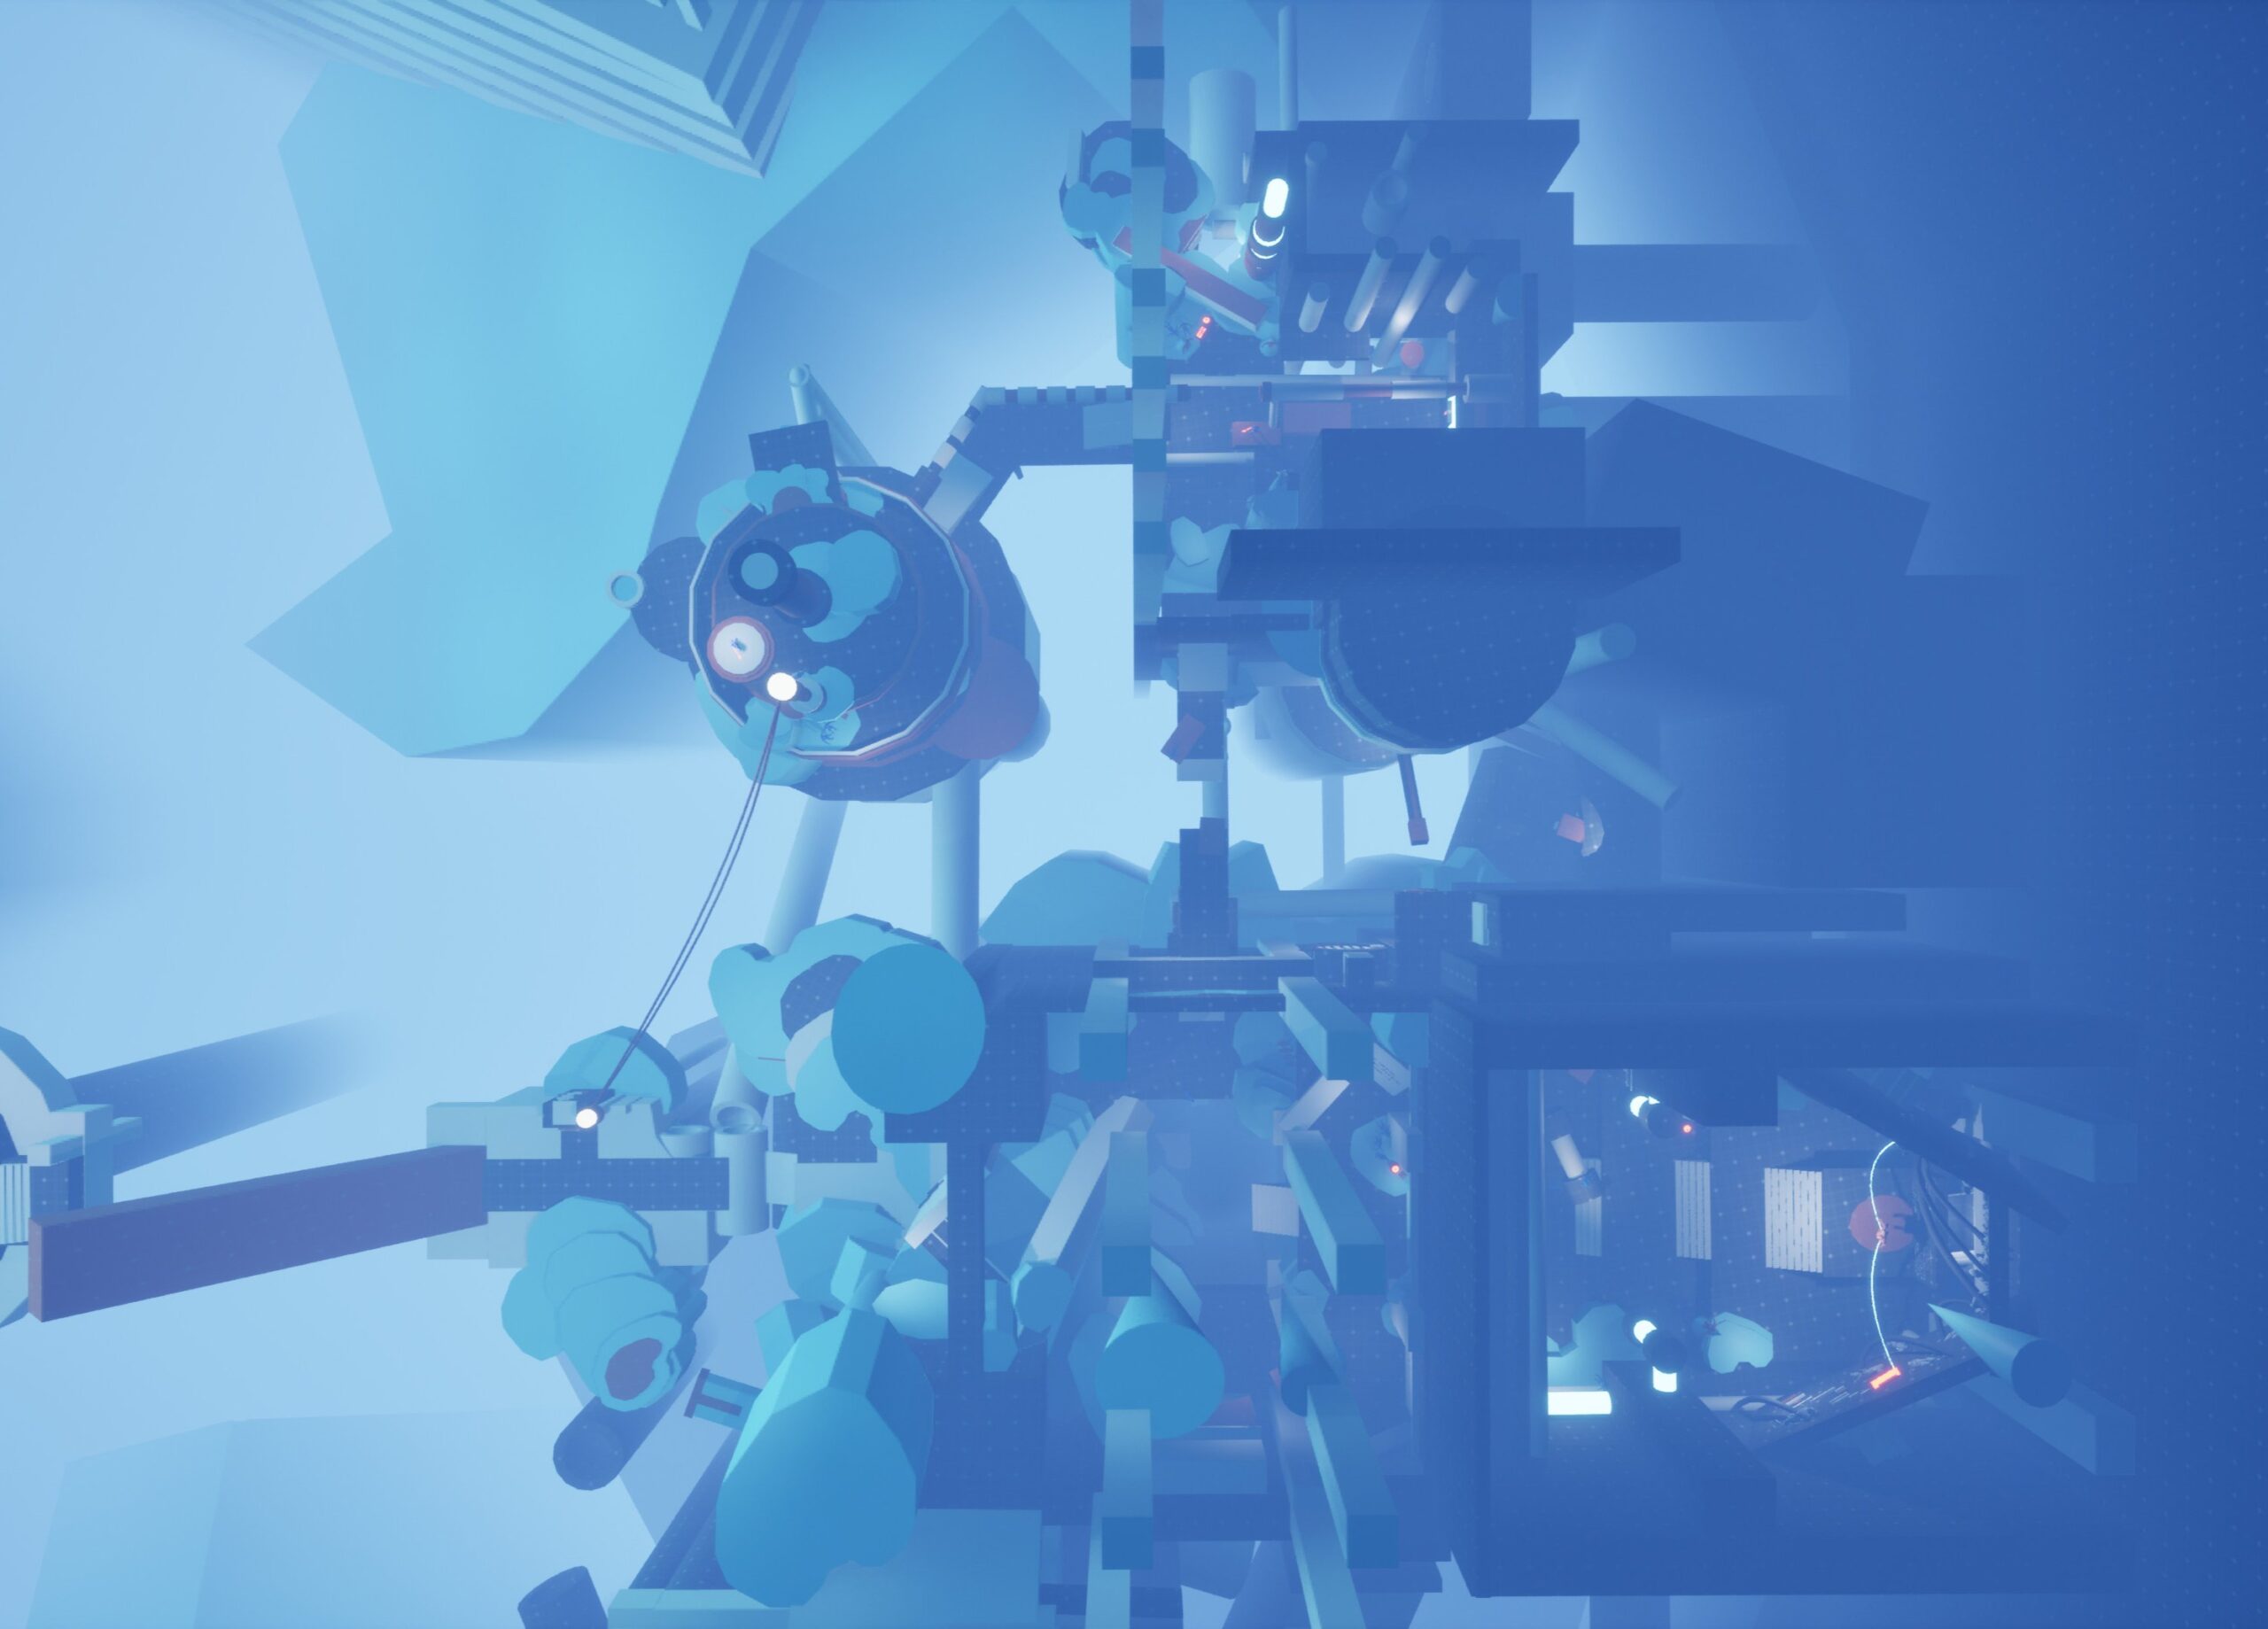
Level detail: The temple is structured in a circular shape around a central tower, which serves as the final objective of the level. This creates an excellent Point of Interest (POI) that is visible from multiple locations, helping players maintain their orientation.
Technique: This landmark is framed on-screen at the beginning, middle, and end of the level. Specifically, it can be seen:
- At the start of Beat 2: Squeezing through the broken wall points the player directly toward the crashed pod and the central tower.
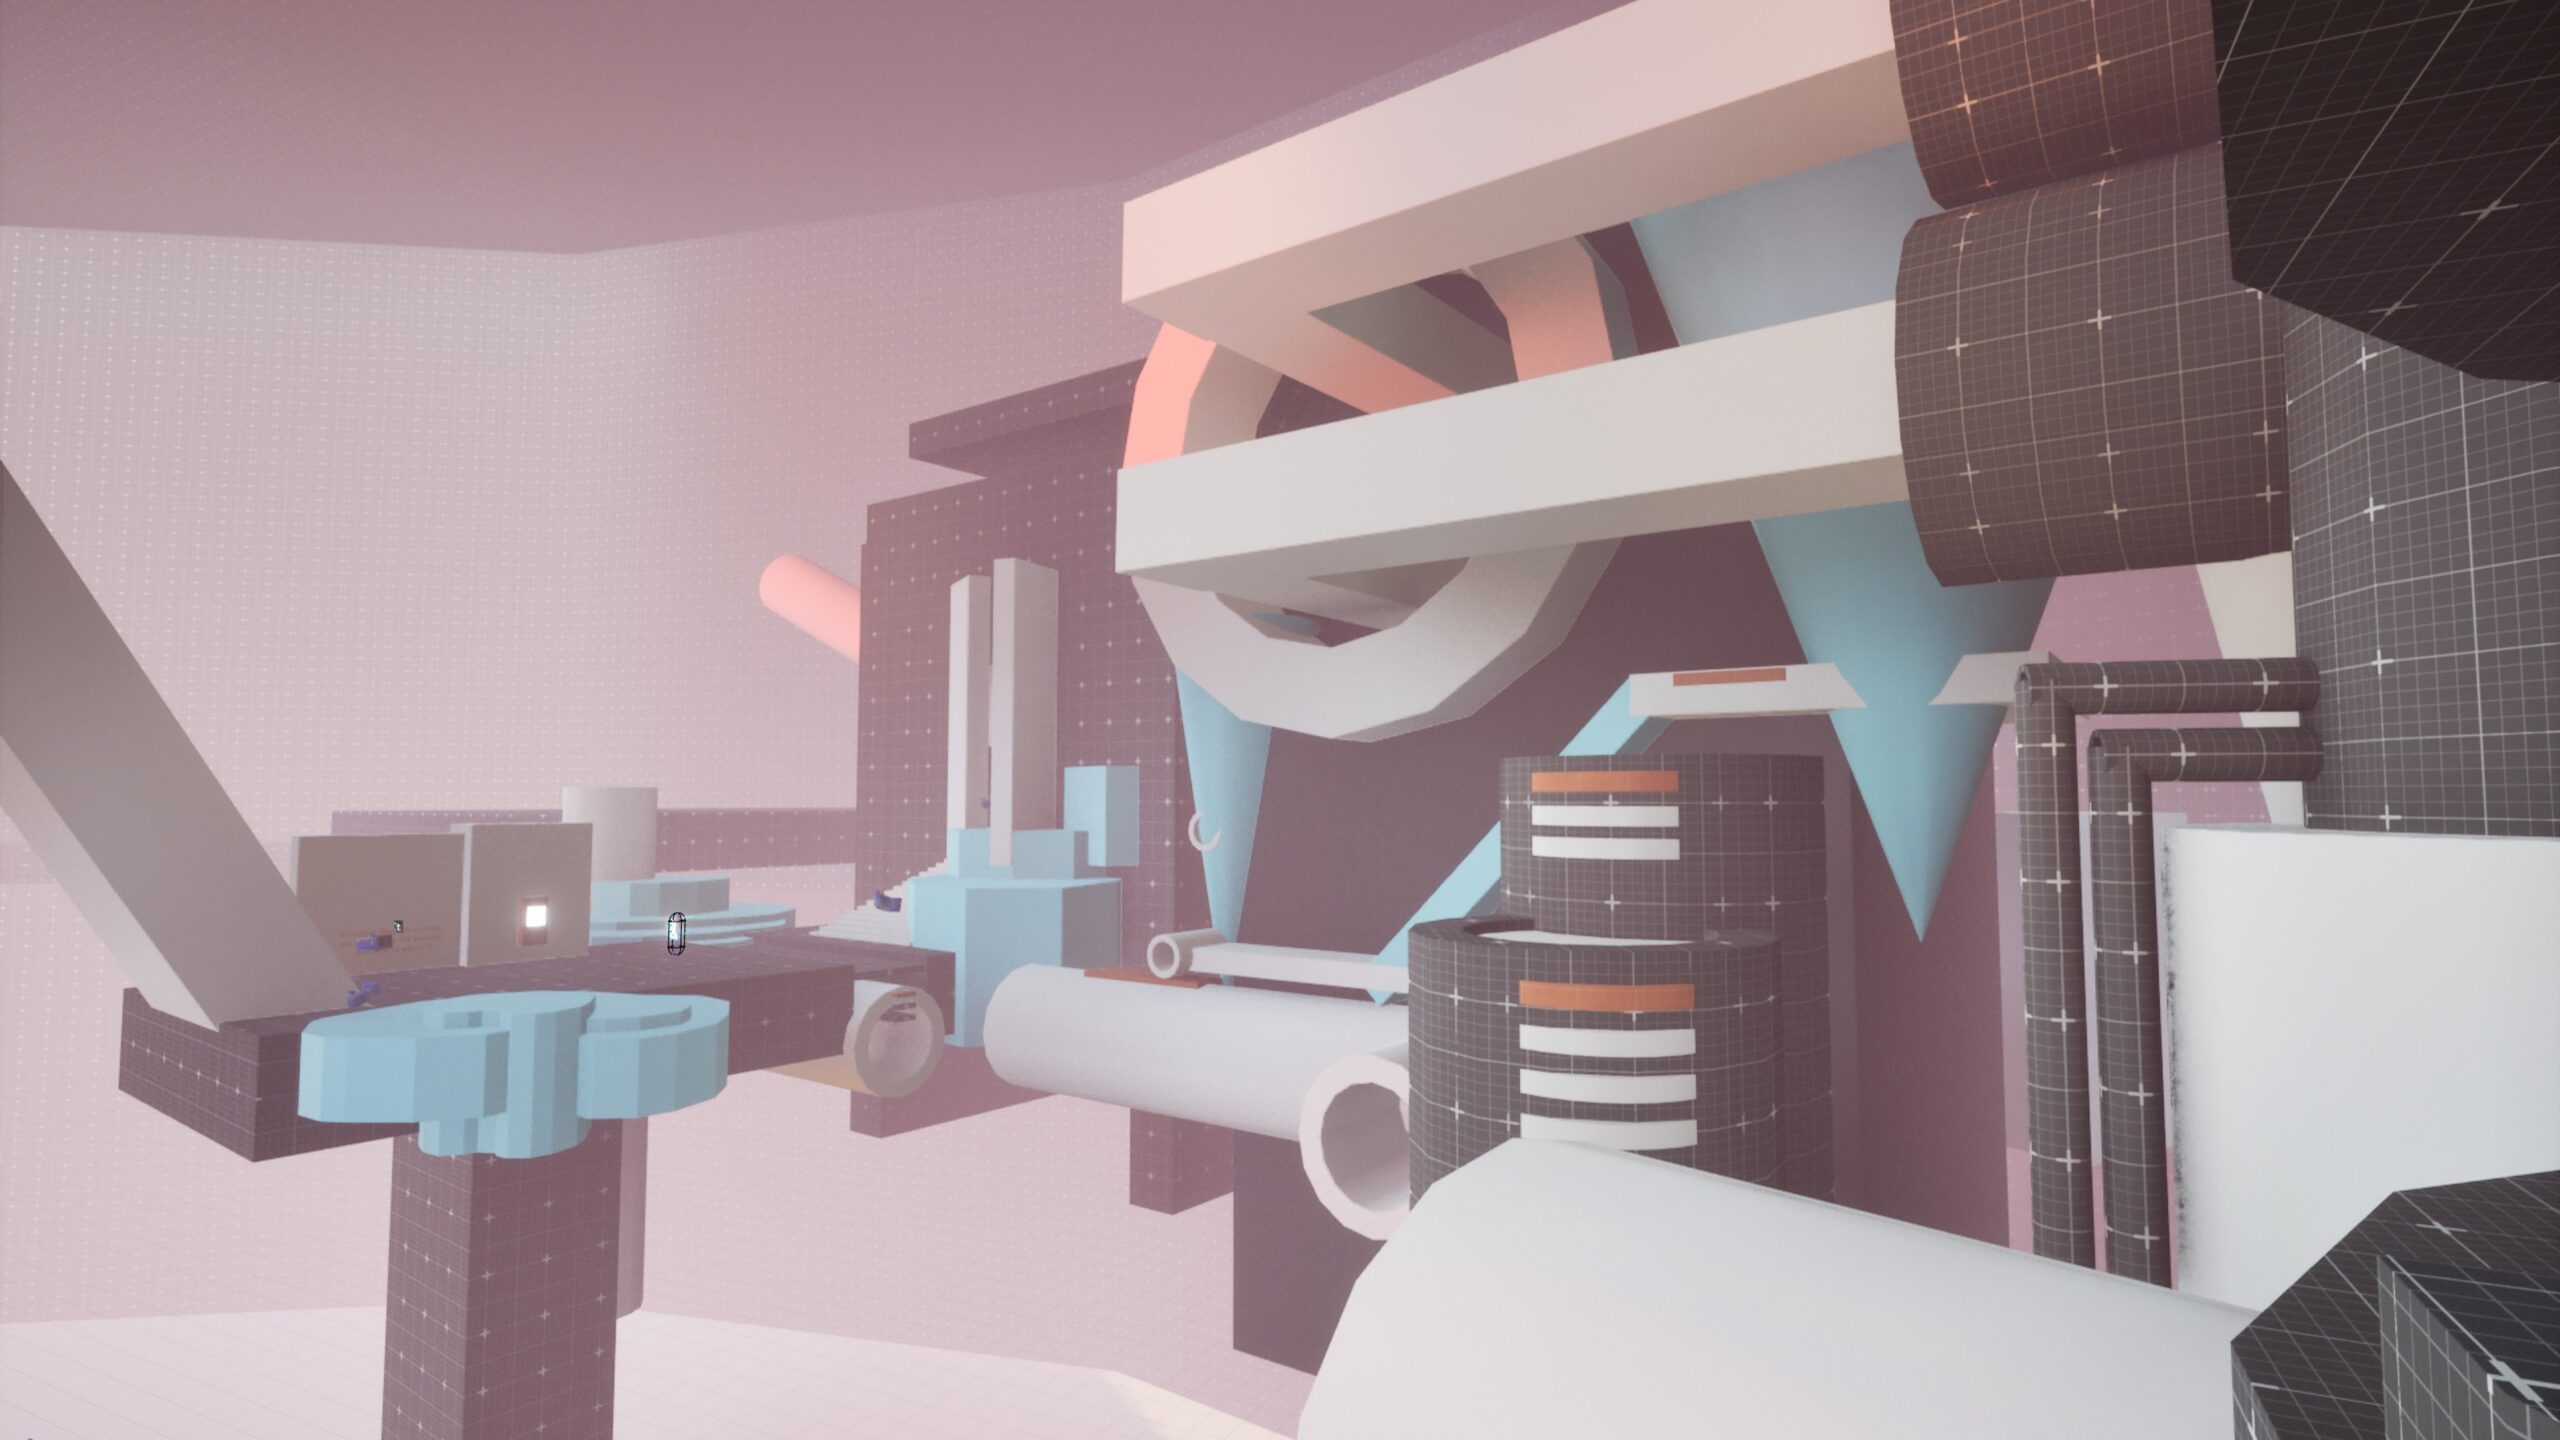
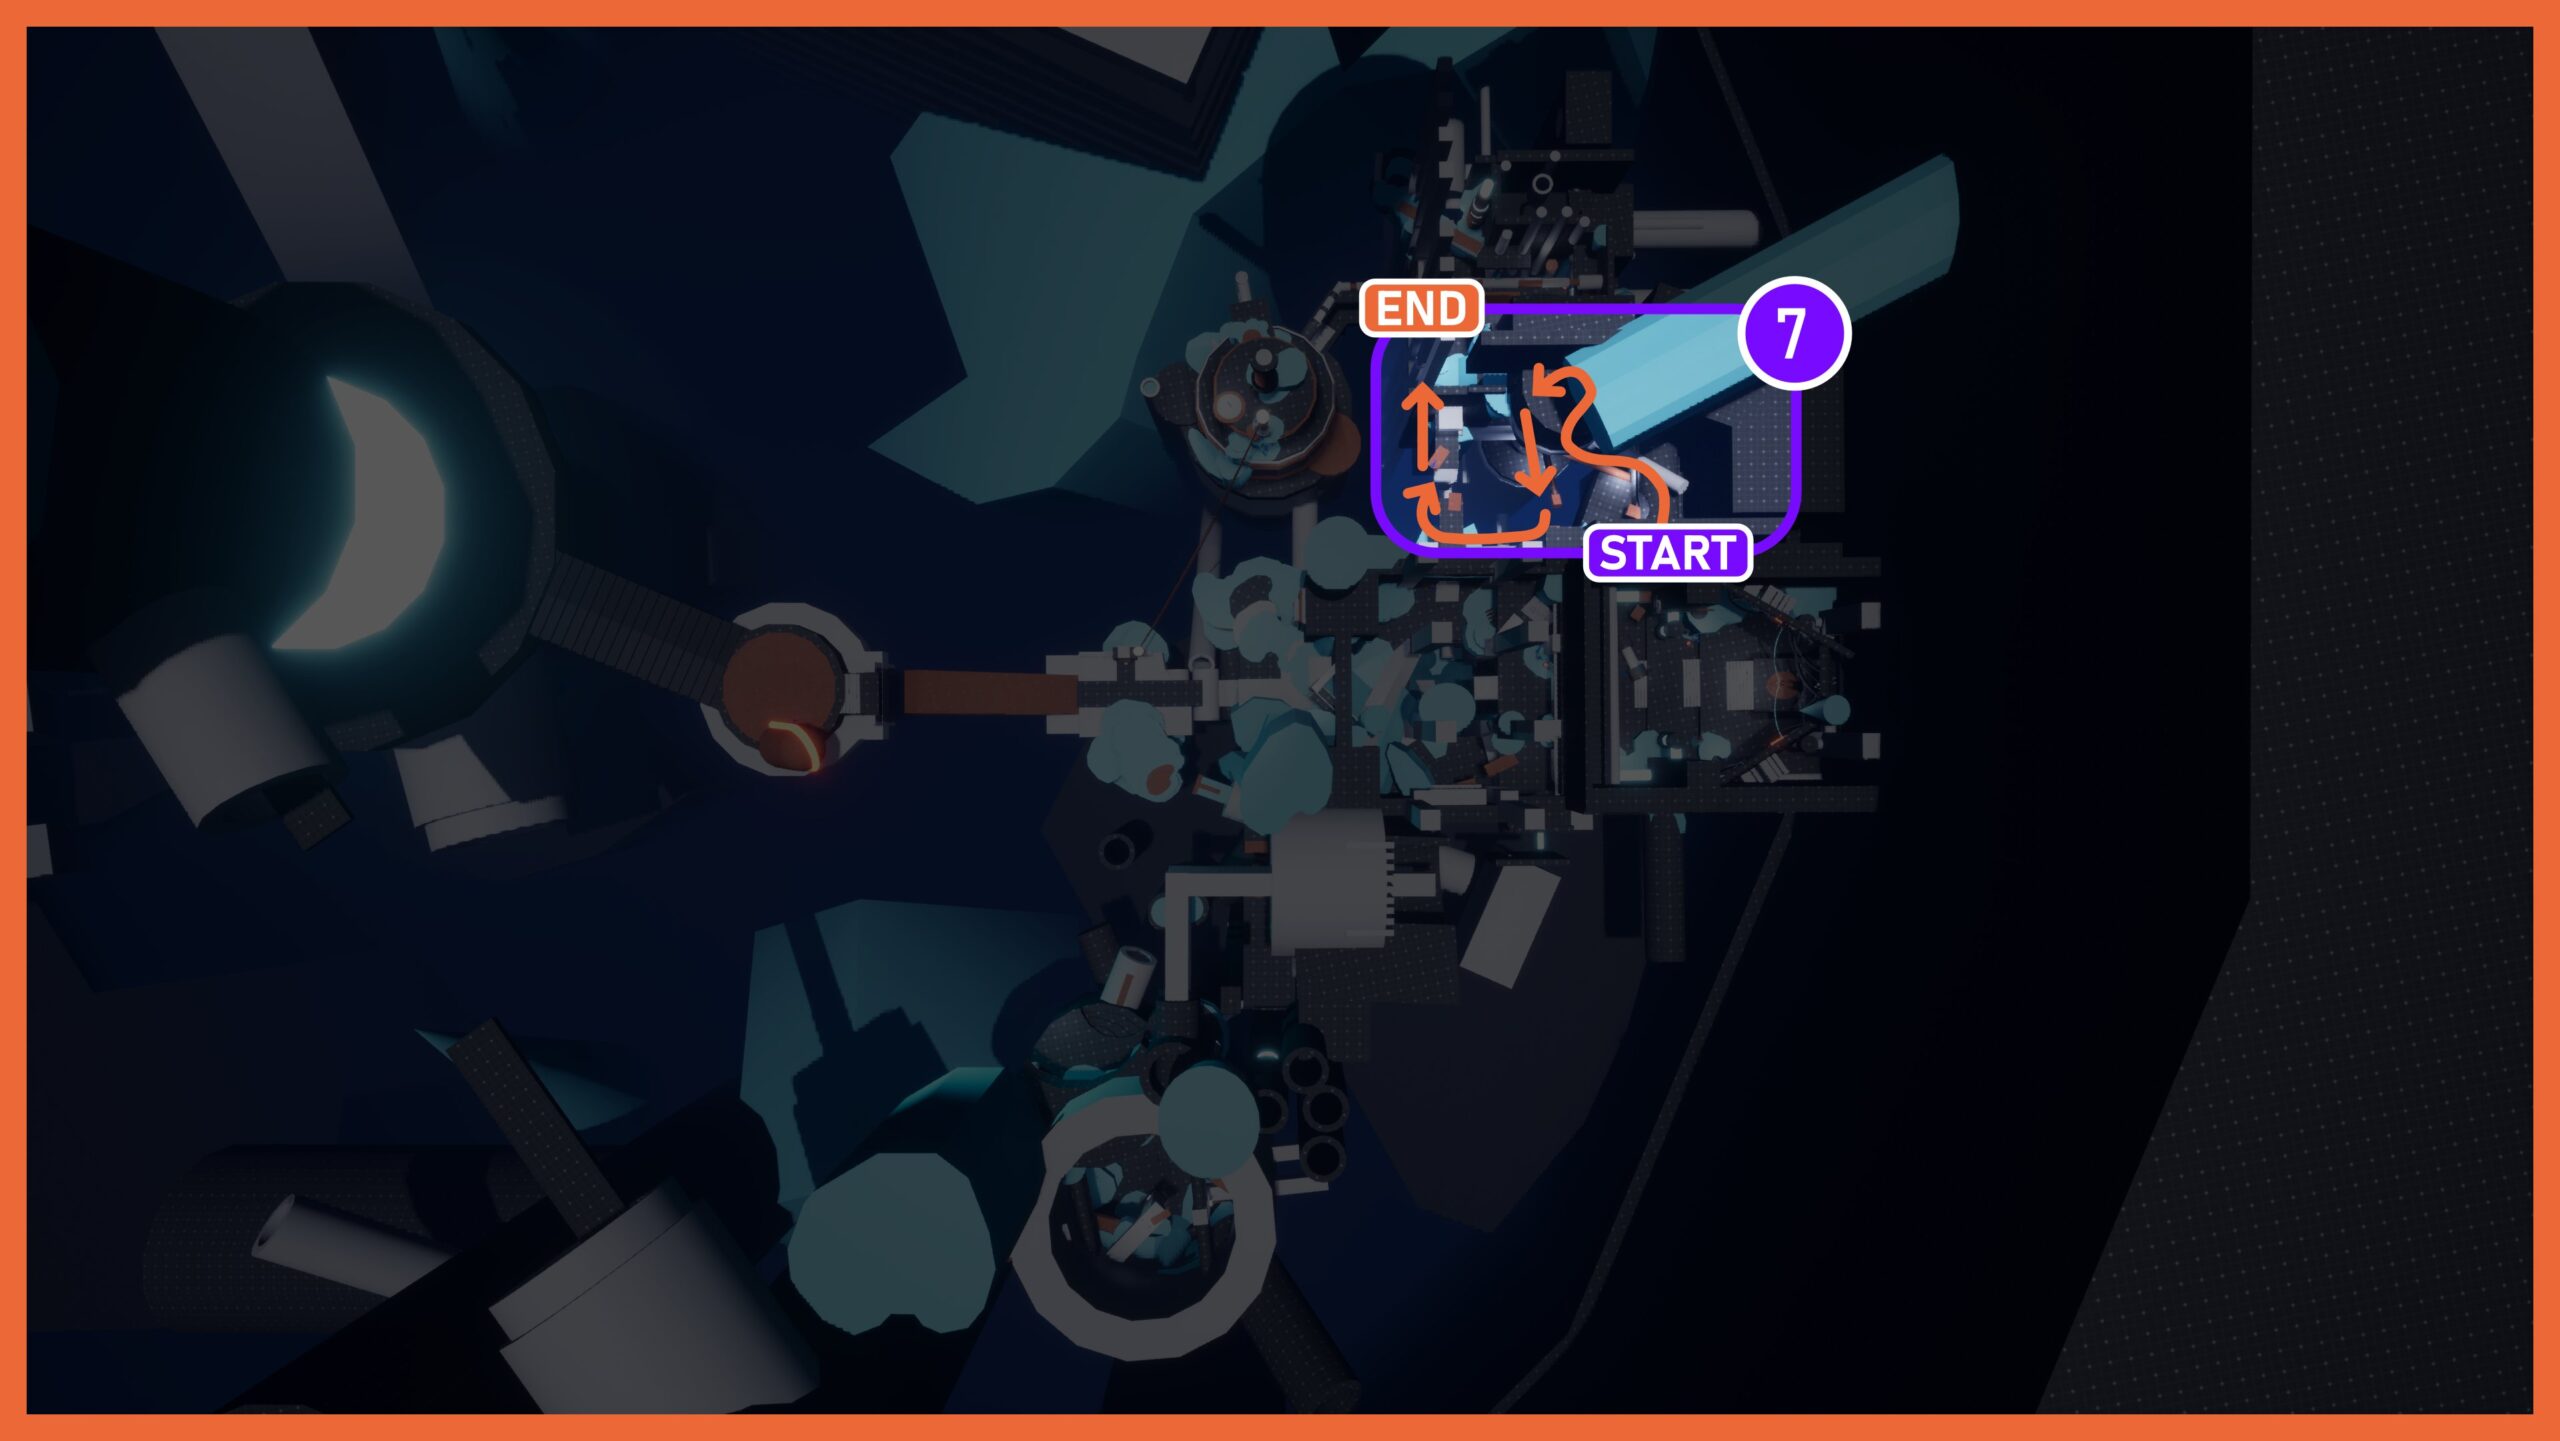
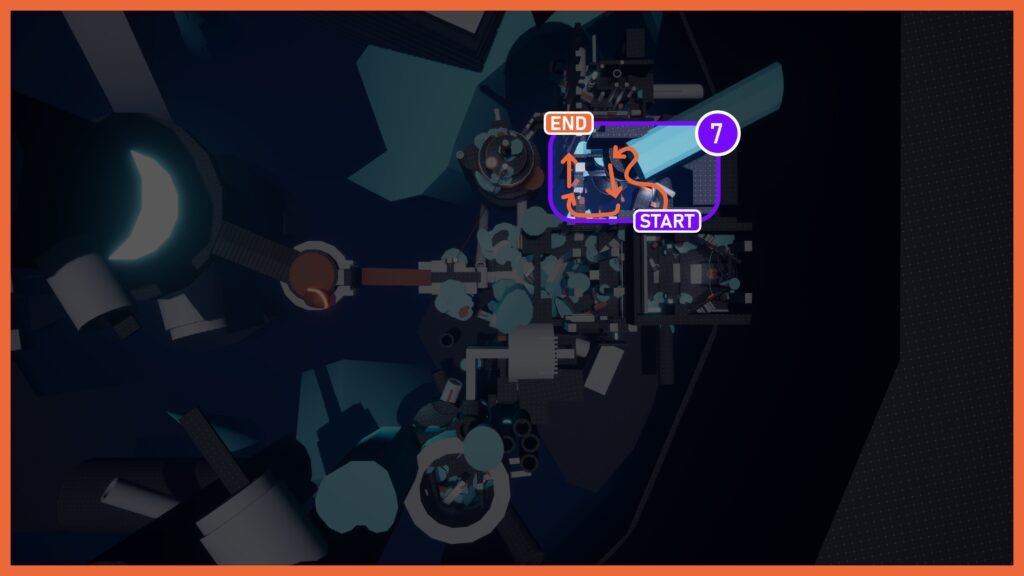
- At the start of Beat 7: After escaping the trap, the negative space between the two buildings leaves the central tower clearly visible.
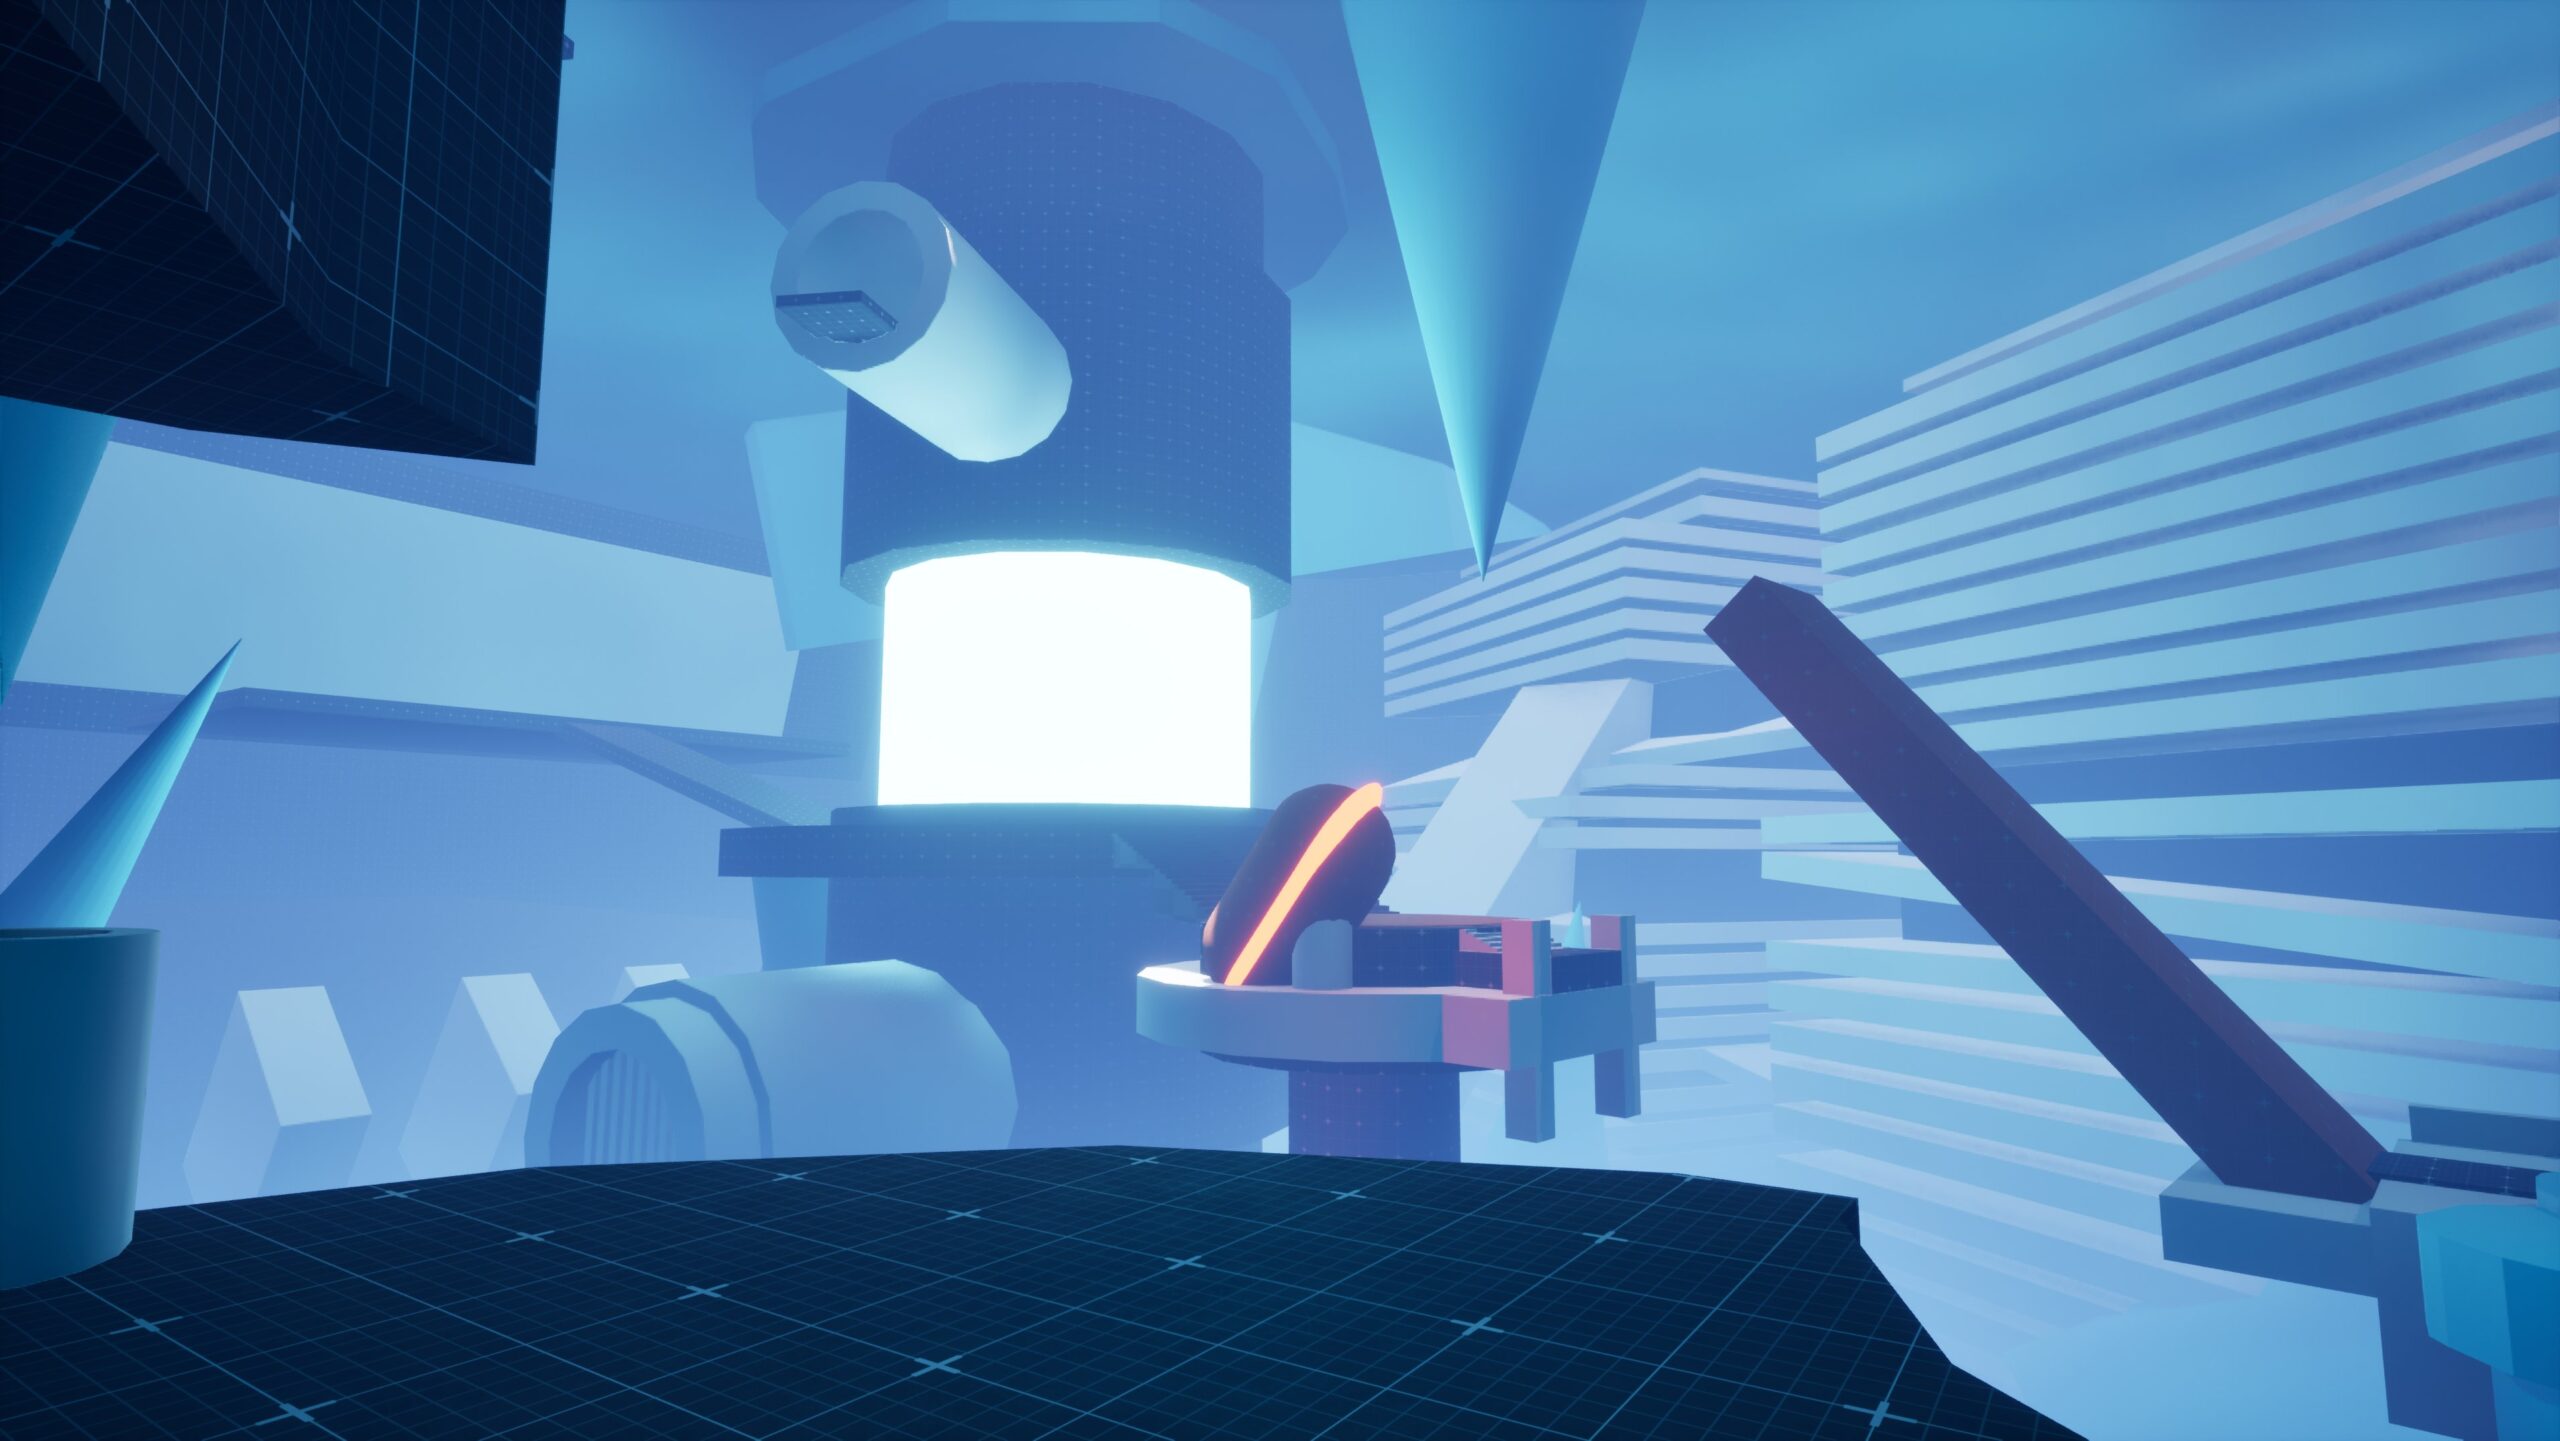
- At the start of Beat 11: The highest floor of the factory tower offers a perfect frame pointing toward the end of the mission.
Weapon tailored encounters
Level detail: As the player ventures deeper into the temple, the robotic zombie entities begin to awaken. To defend themselves, the player will unlock an arsenal that drives mechanical progression, shifting the dynamic from fearing the robots to completely overpowering them.
Technique: The weapon introduction order and their corresponding combat space philosophies are designed as follows:
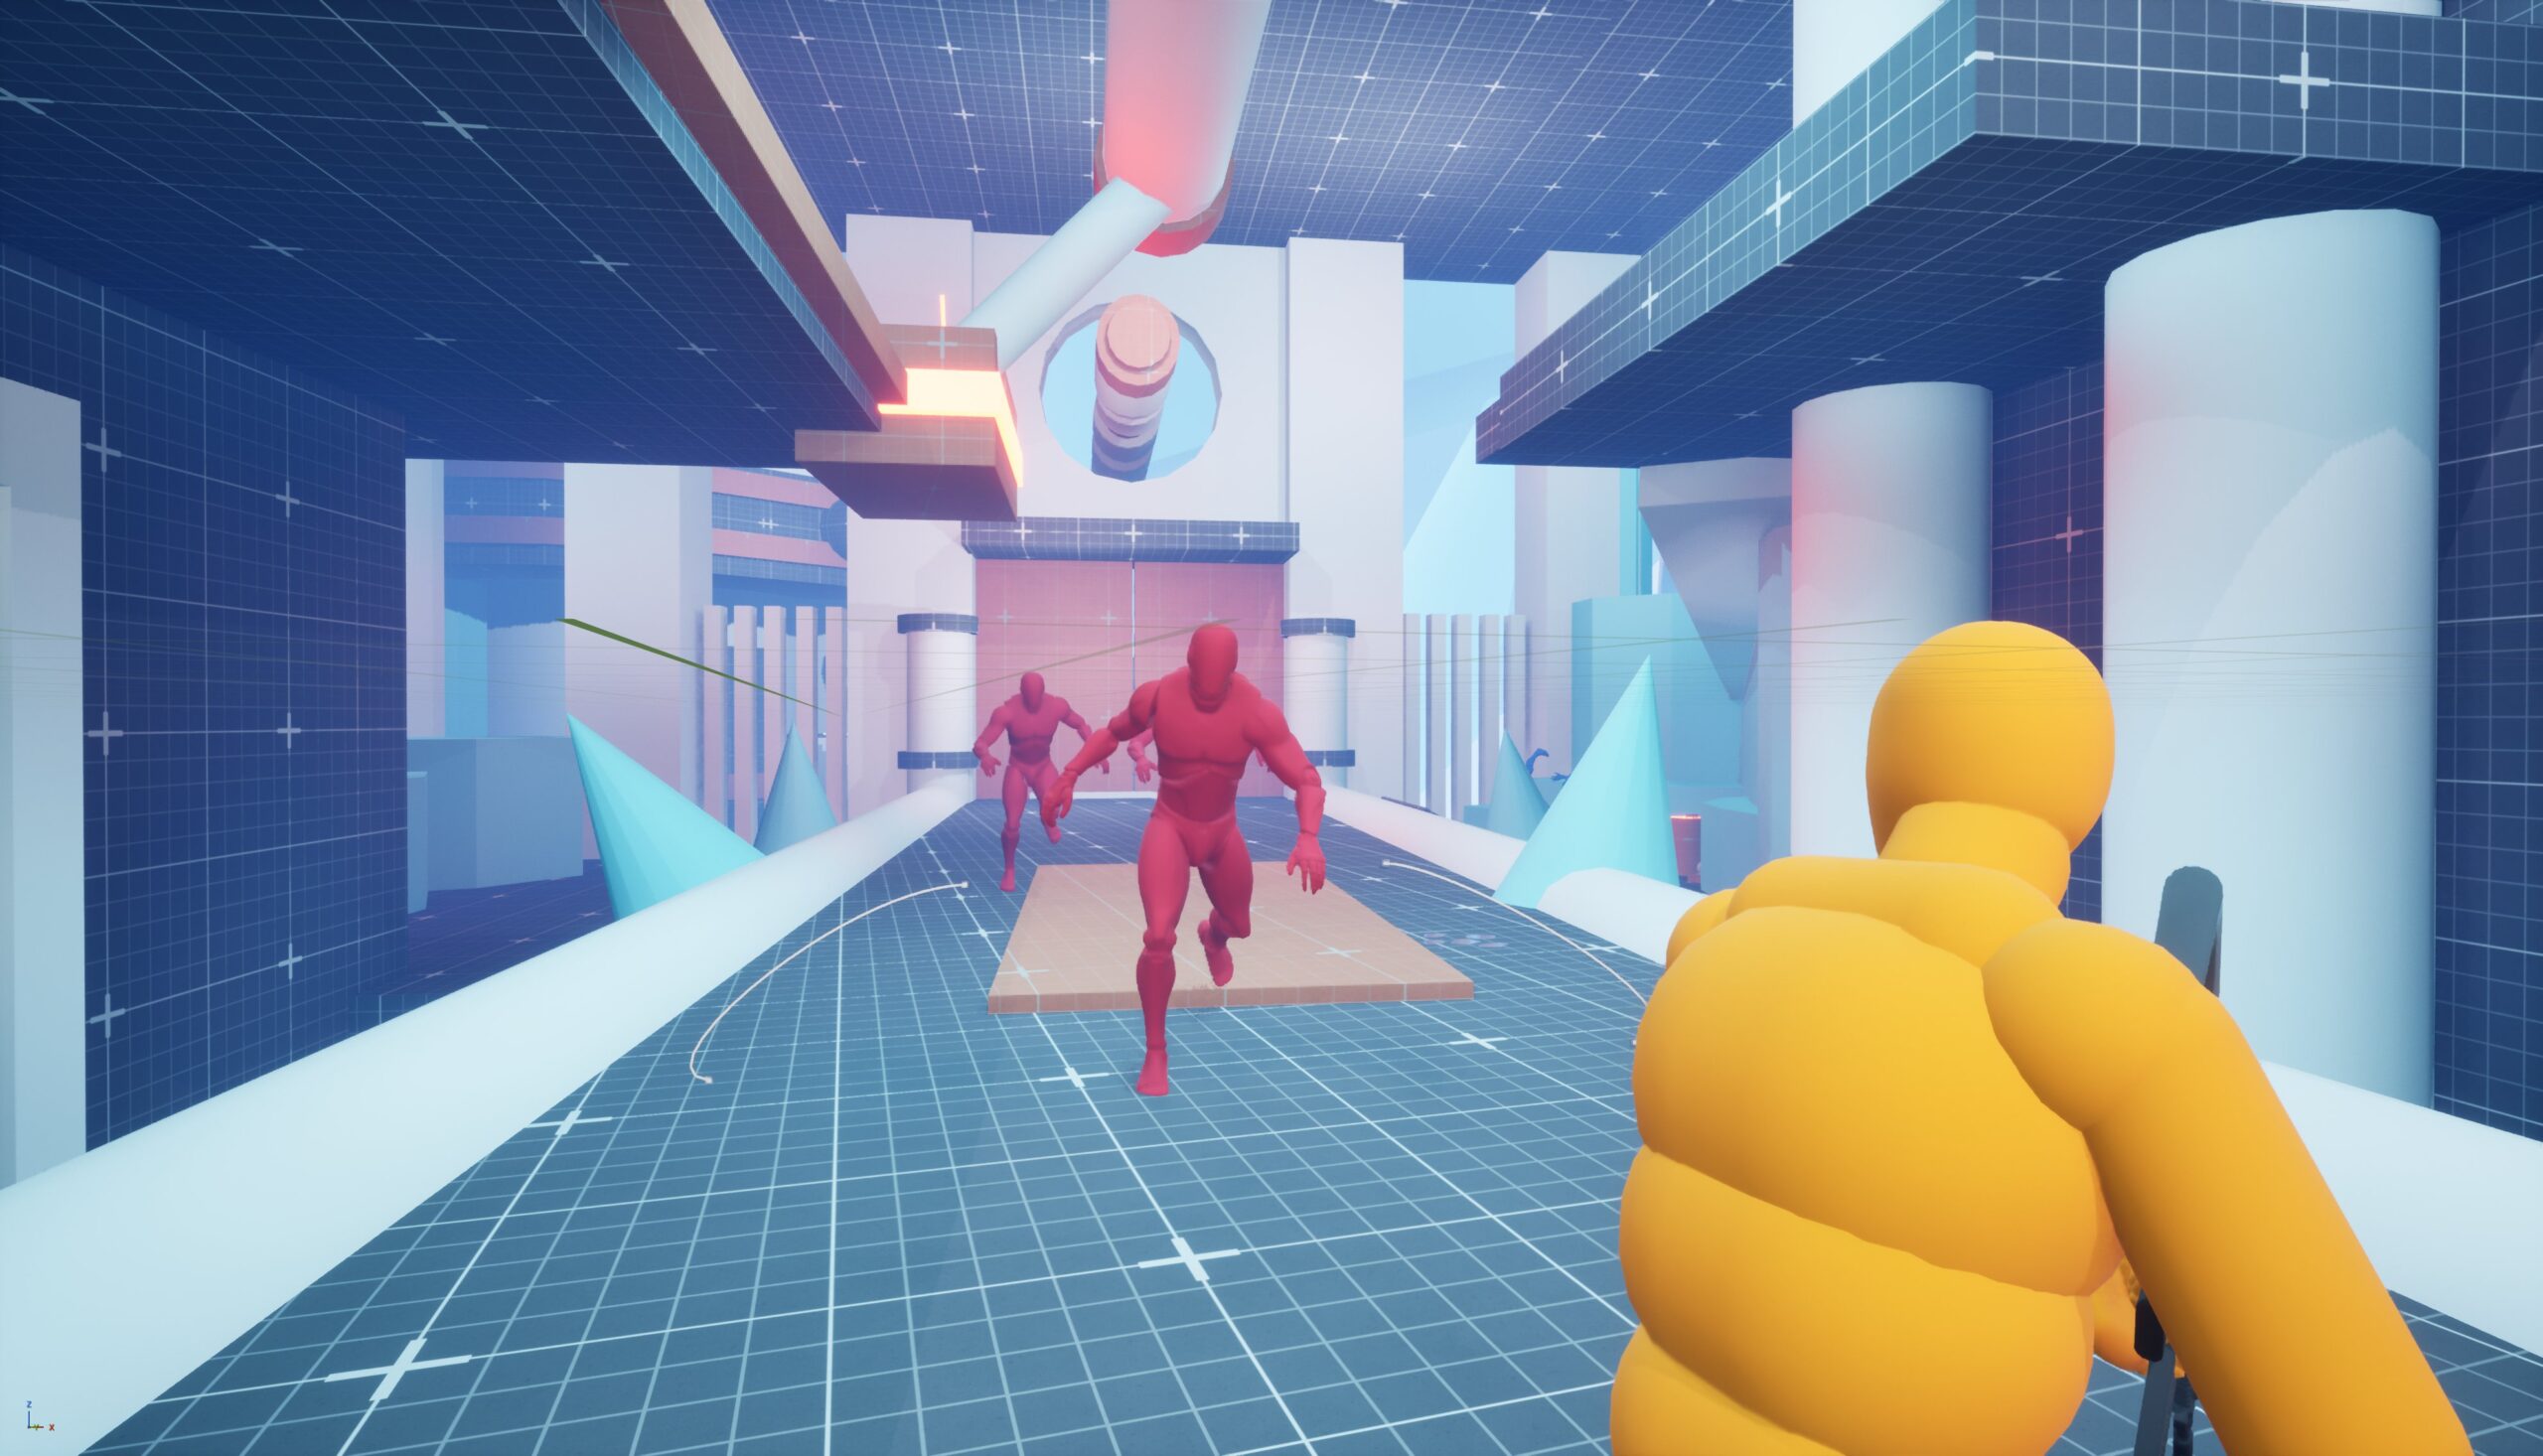
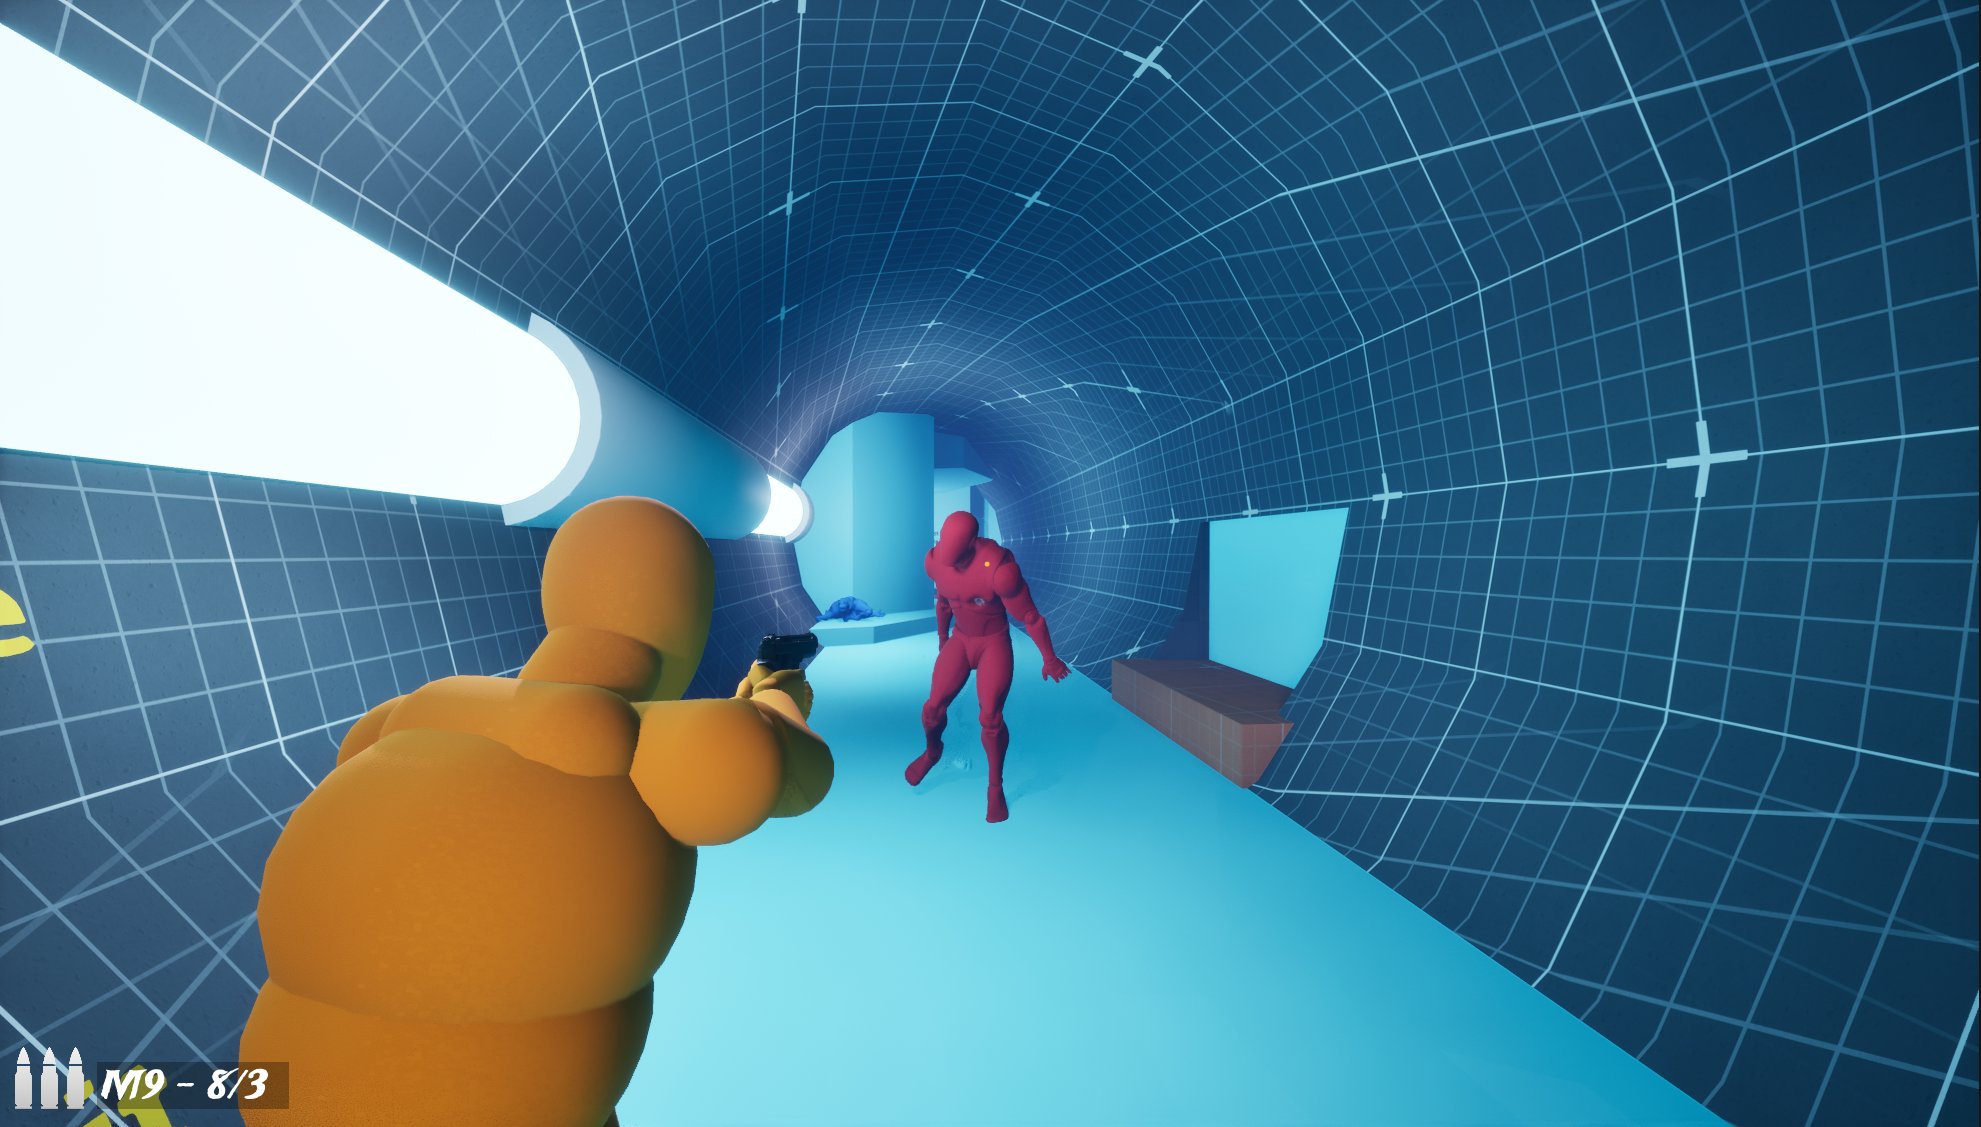
- Pistol (Intro): Features base damage and a slow rate of fire. The combat spaces for this weapon consist of tight corridors and close-quarters areas with few, sparse enemies.
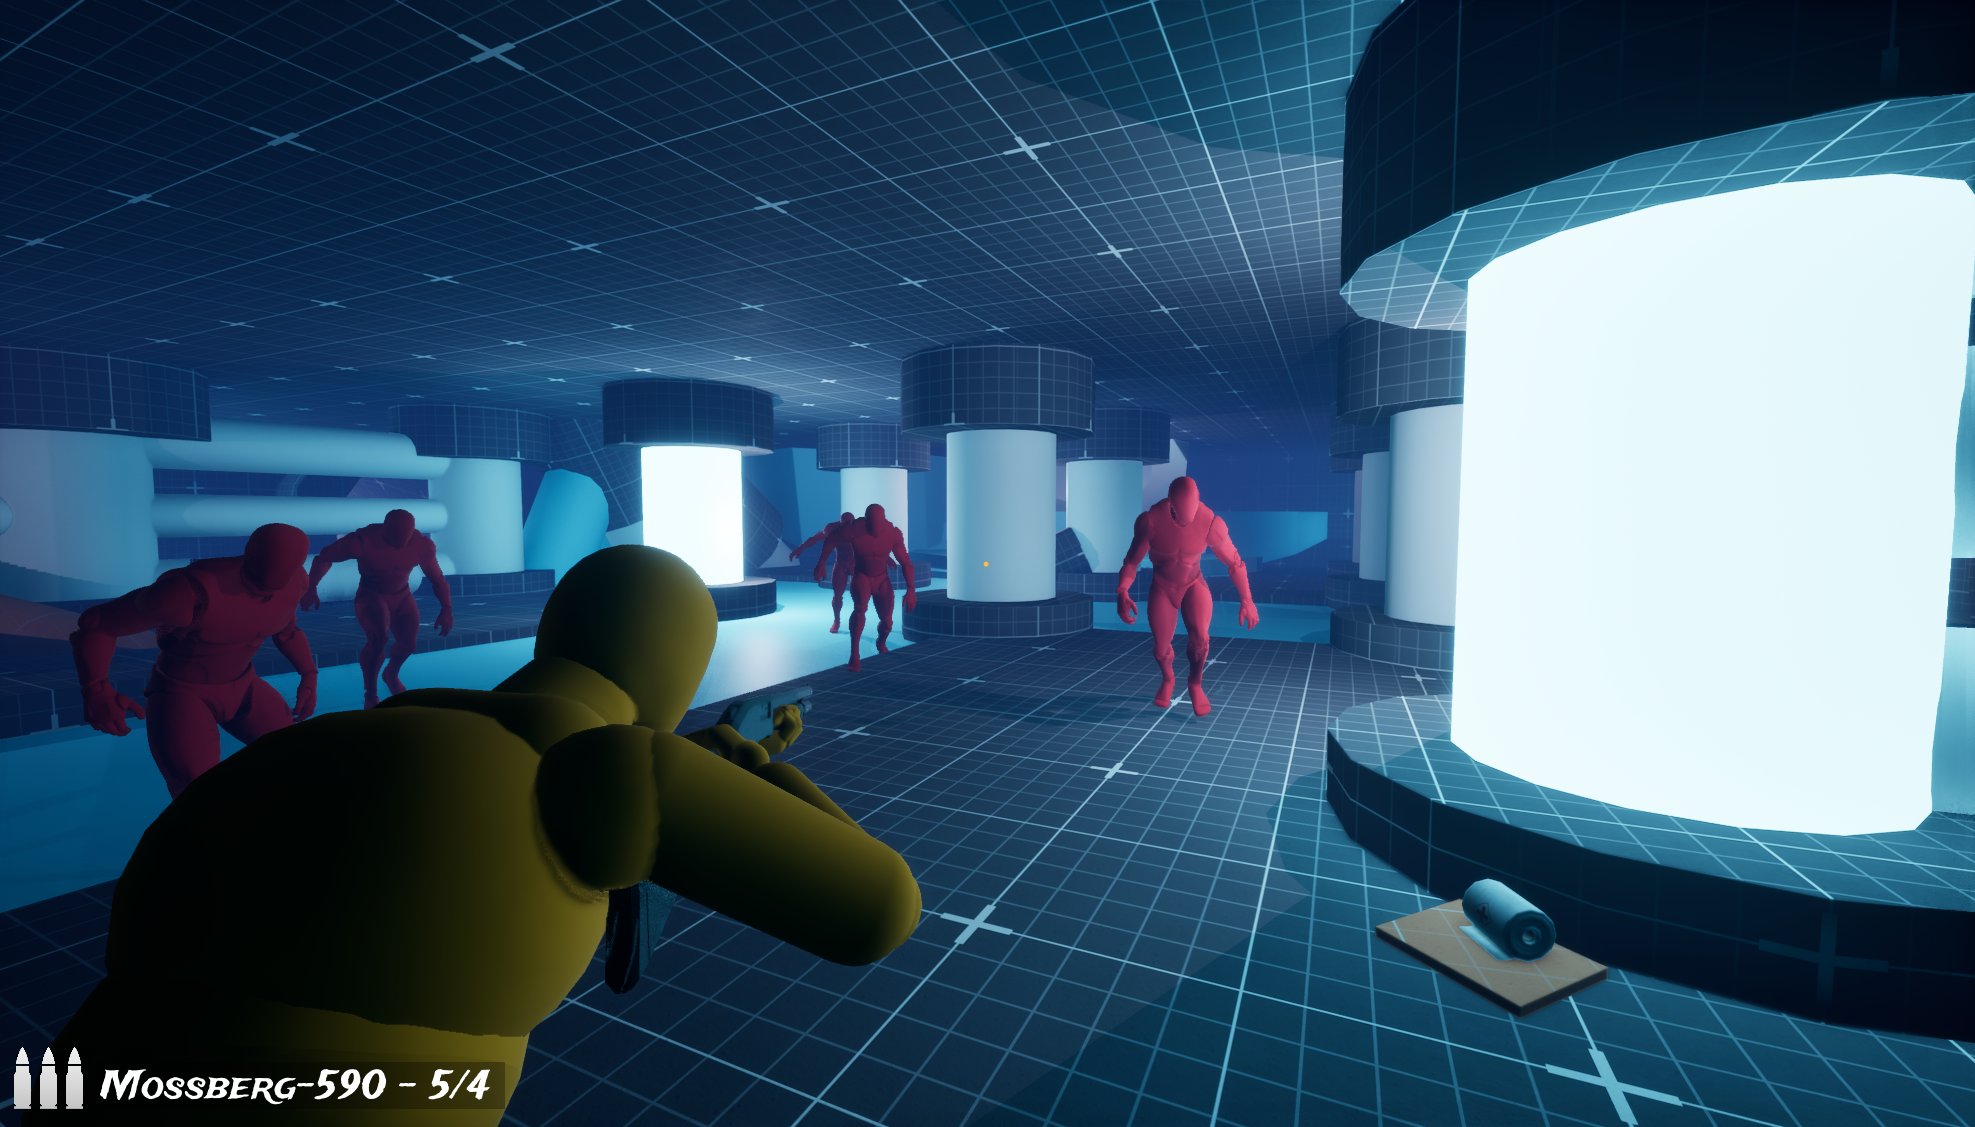
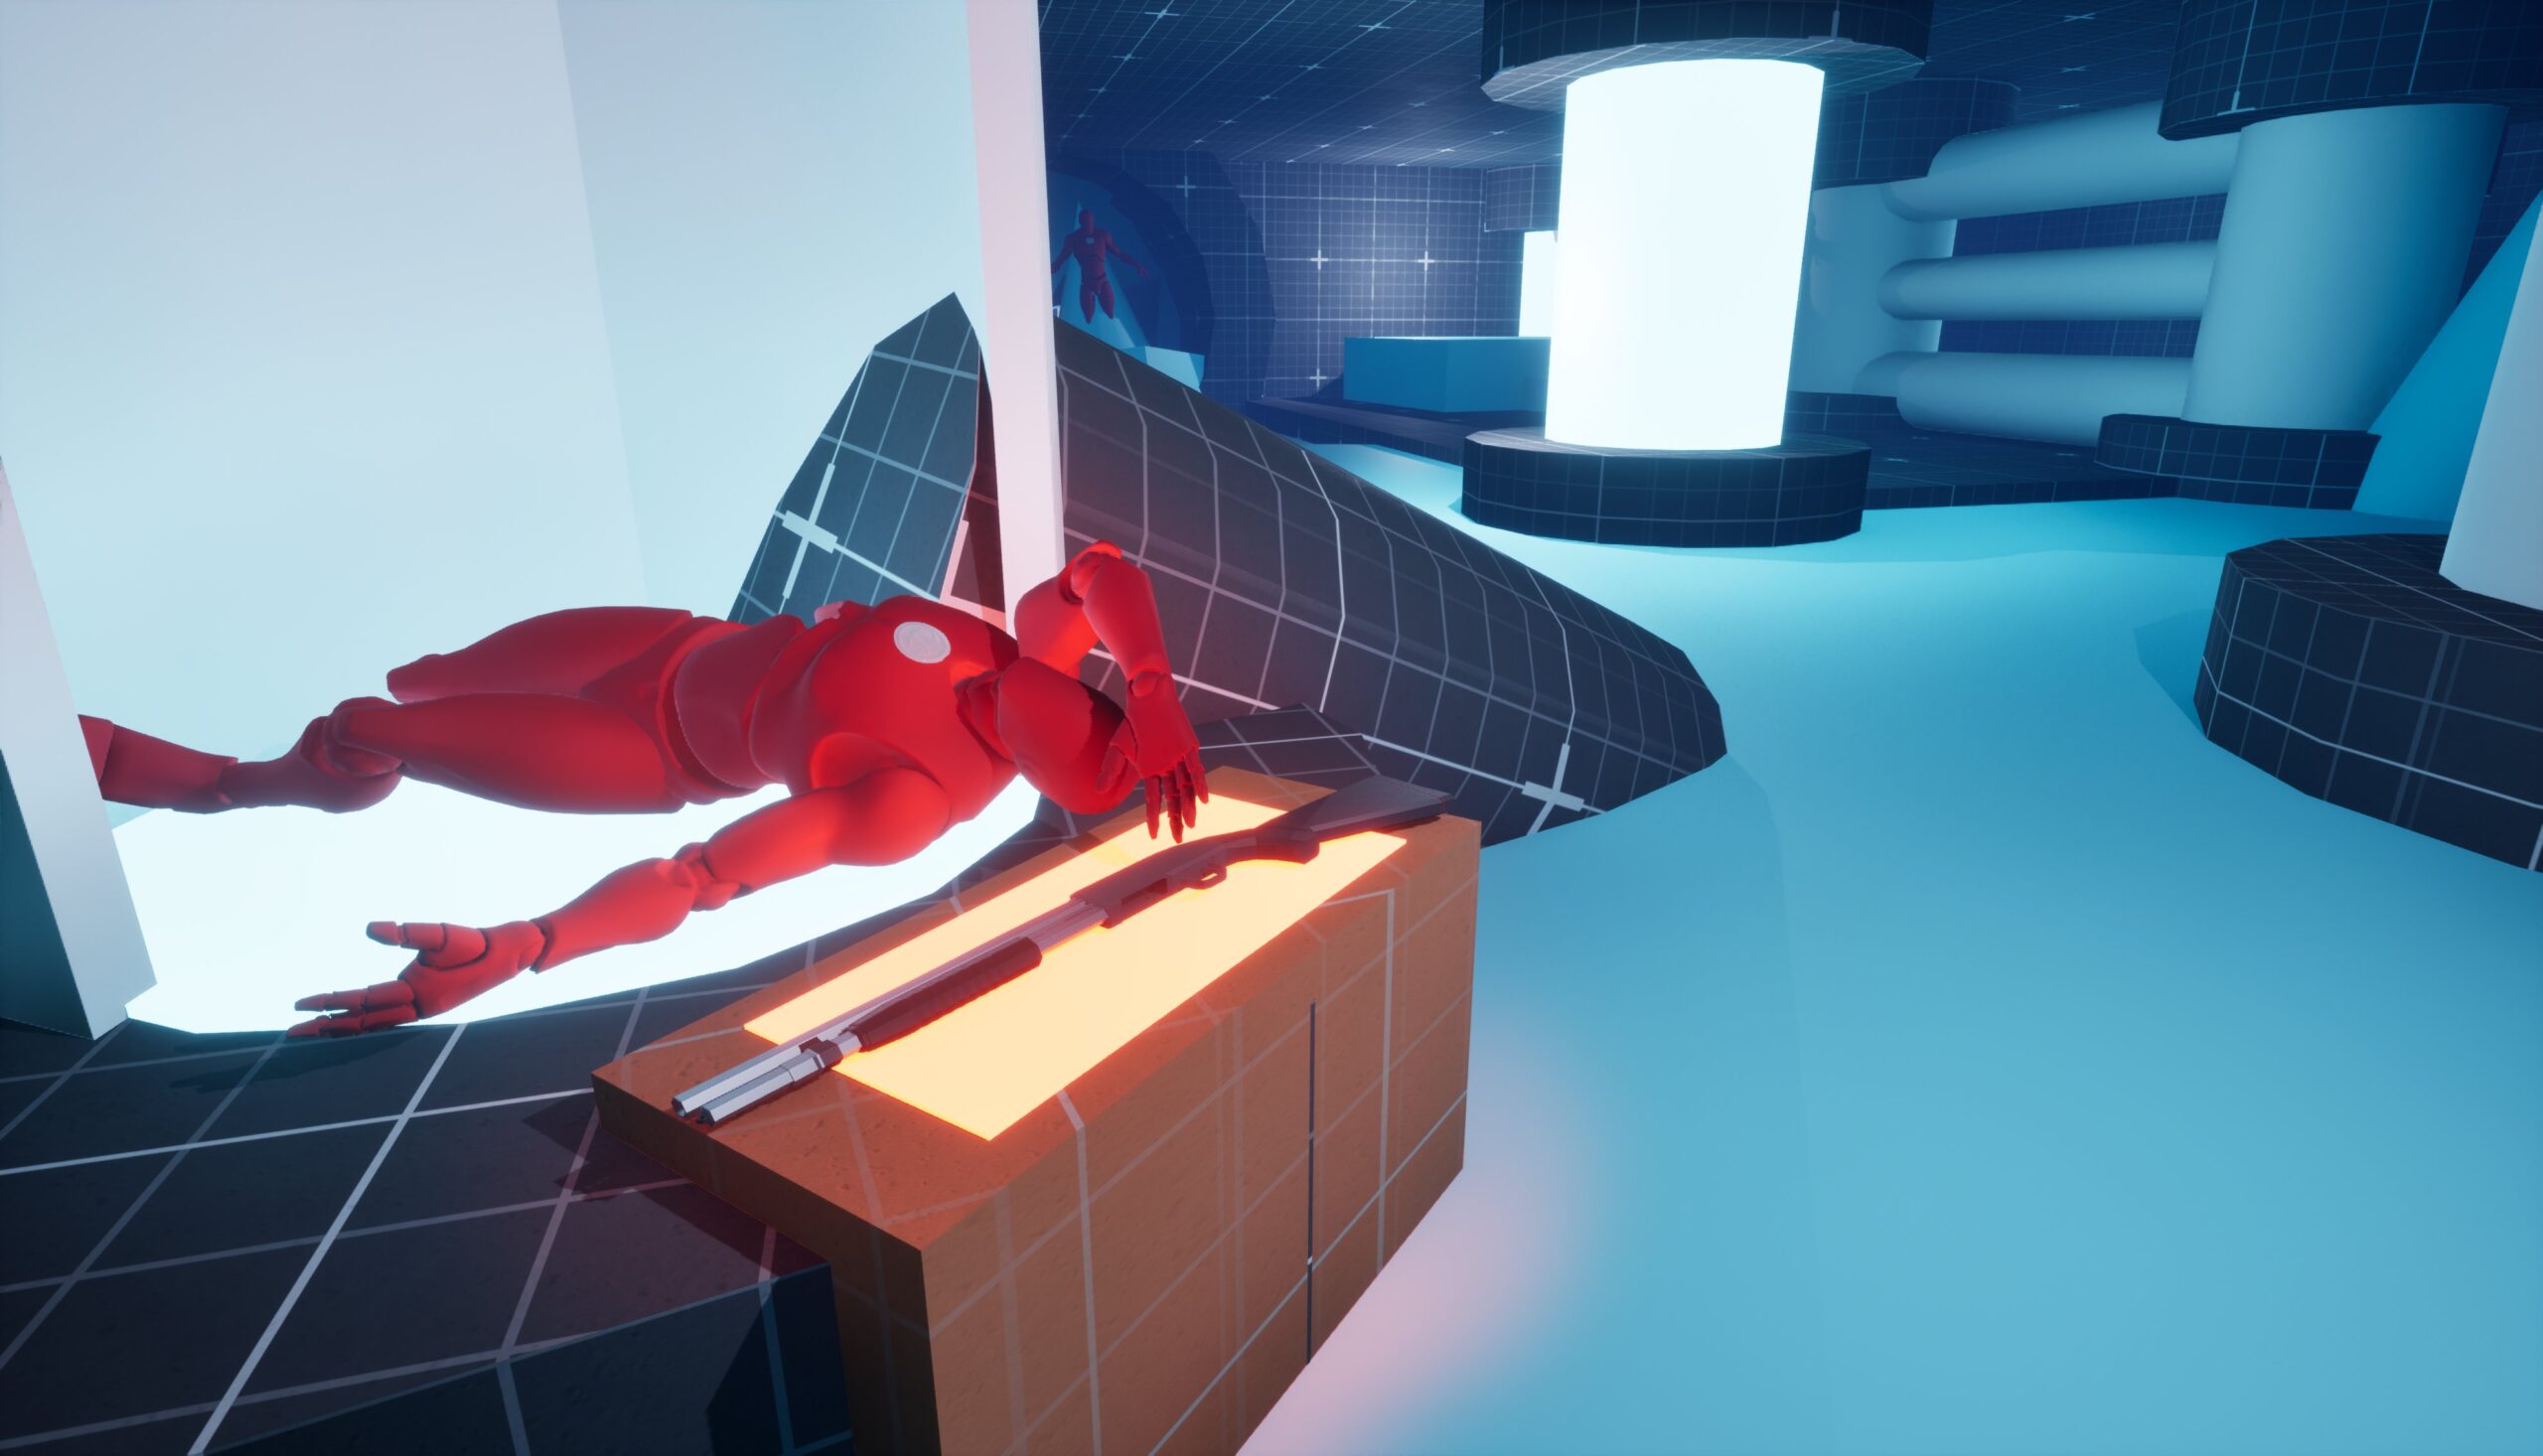
- Shotgun (Mid-tier): Devastating at close range. The arena where this weapon is found features two waves of enemies spawning at different speeds, utilizing a layout that encourages aggressive “run-and-gun” movement.
- Automatic Rifle (Power weapon): To showcase its high-velocity firepower, the factory environment features long sightlines and high enemy density, encouraging the player to unleash full magazines at a distance.
Environmental Storytelling
Level detail: To help the player naturally piece together the temple’s history and purpose, I utilized environmental cues that tell a story while subtly guiding them along the critical path.
Technique: These details give the spaces narrative meaning without disrupting gameplay flow:
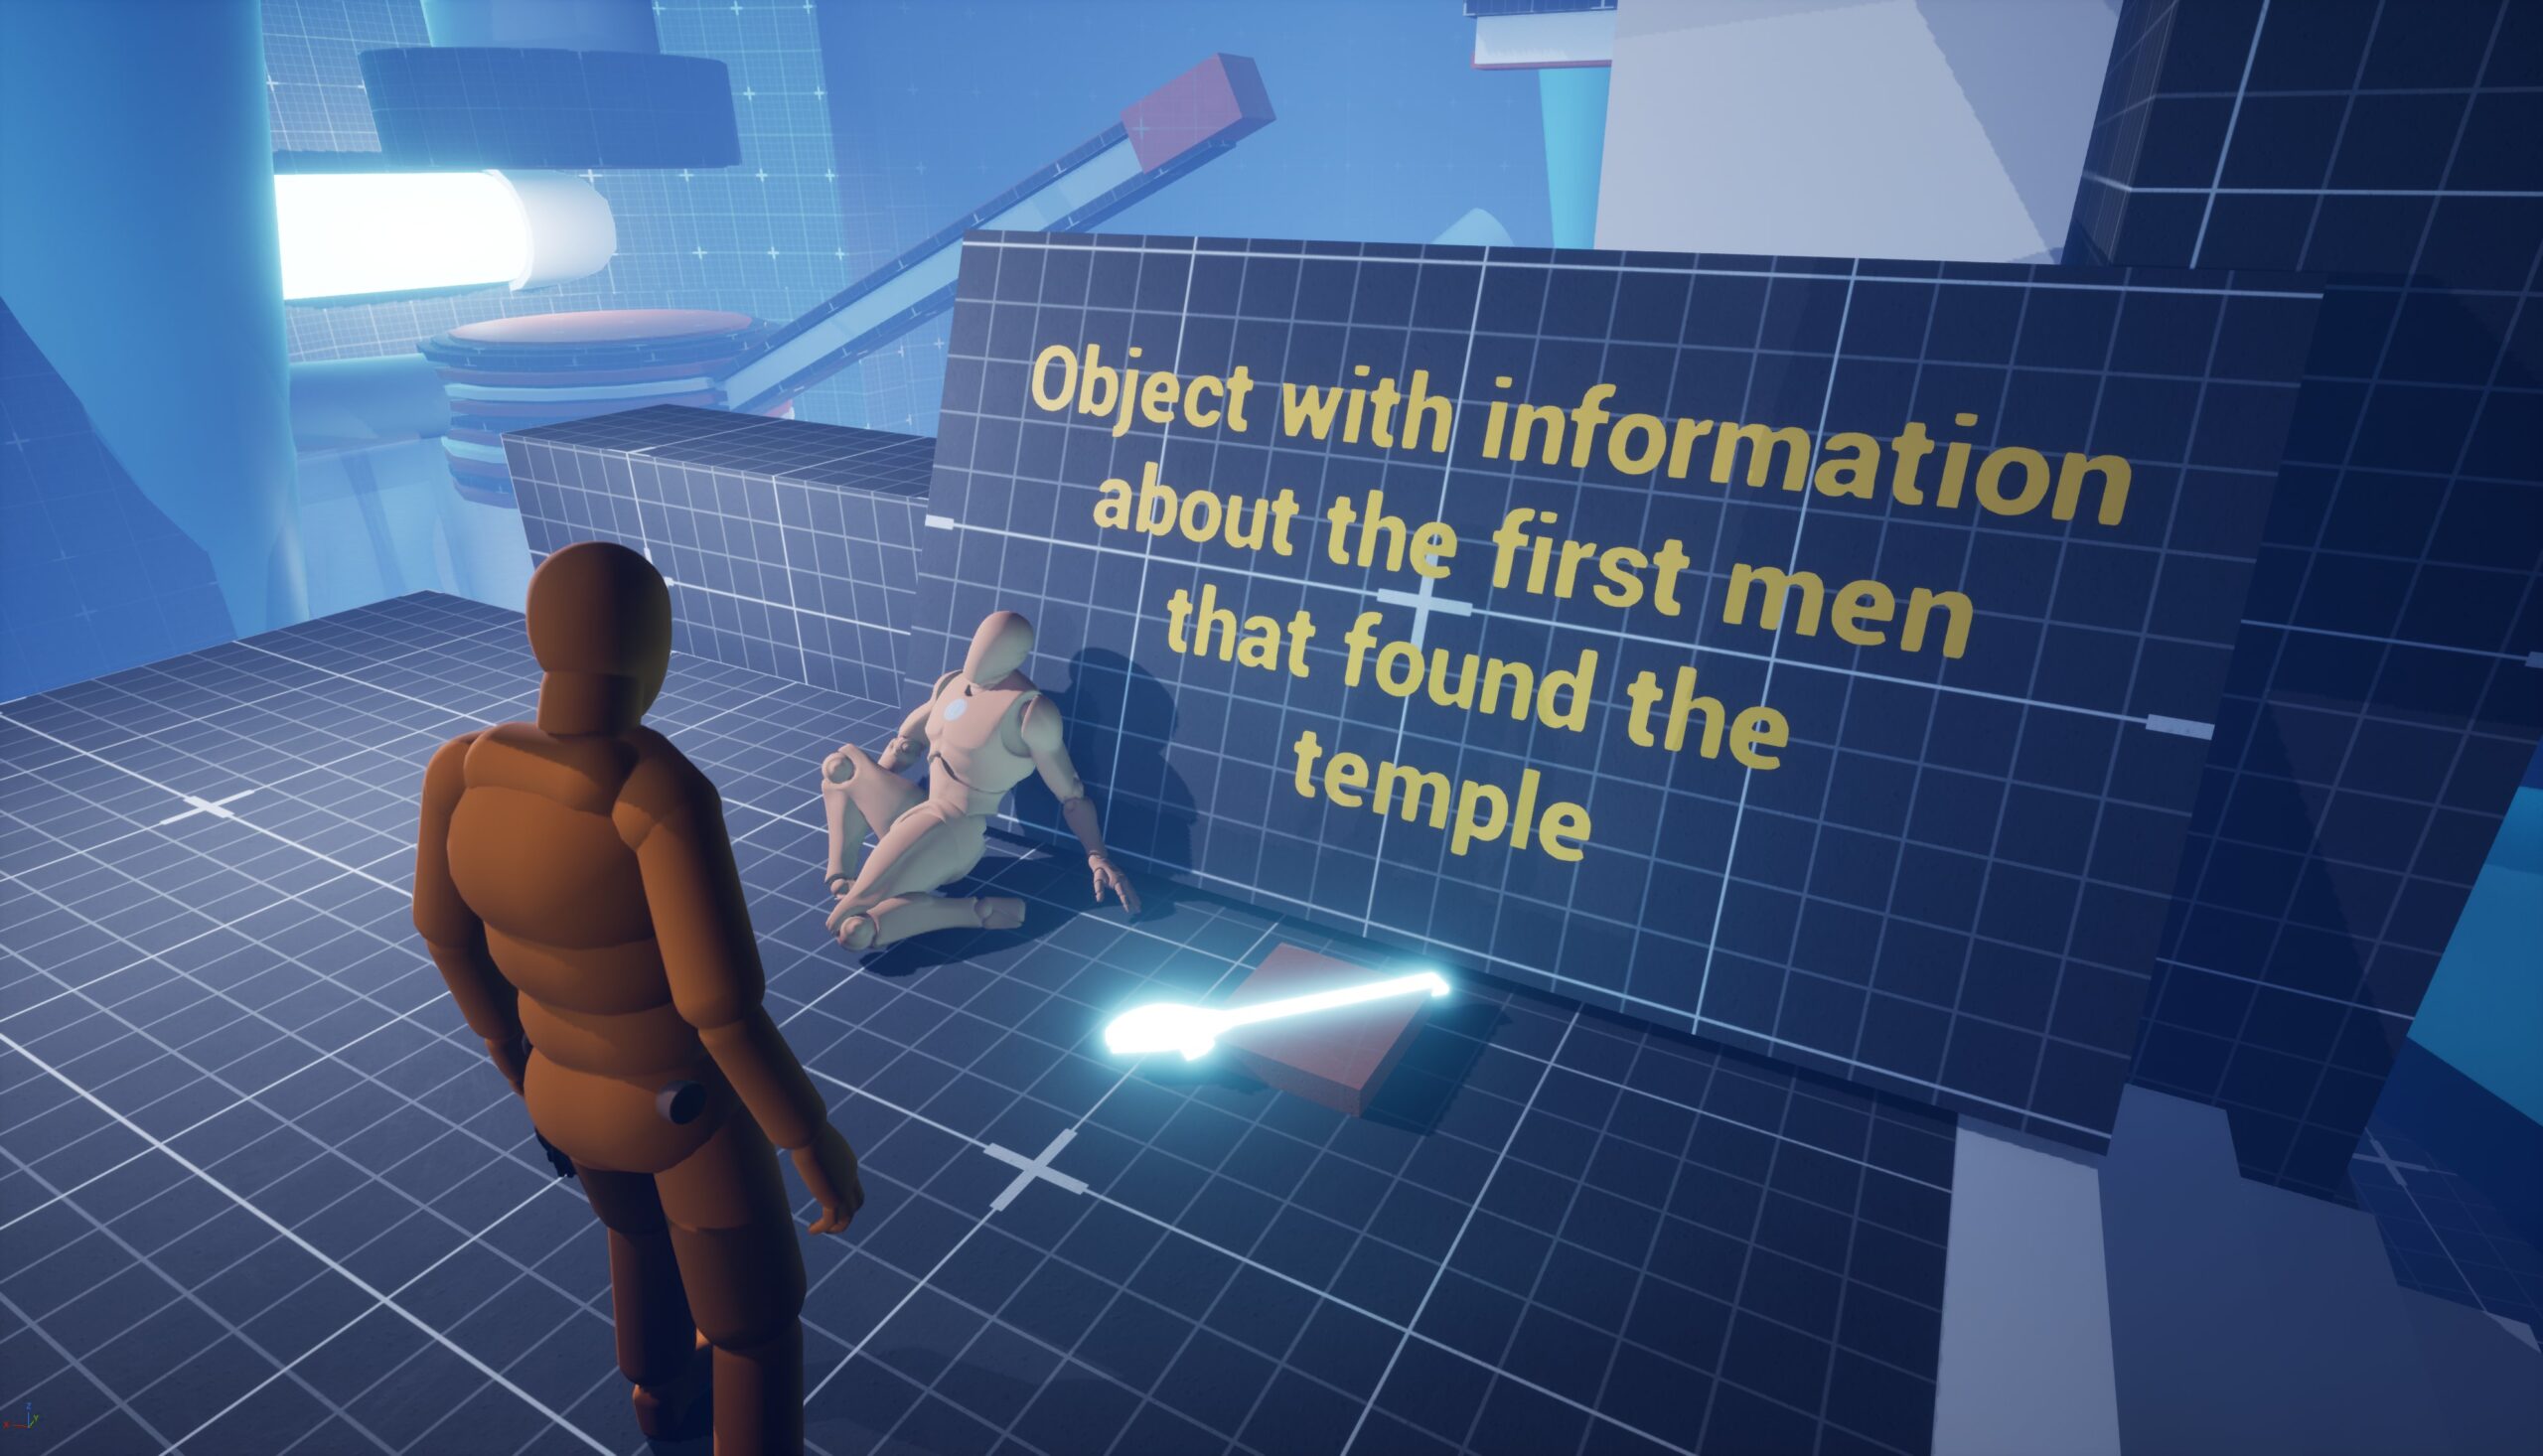
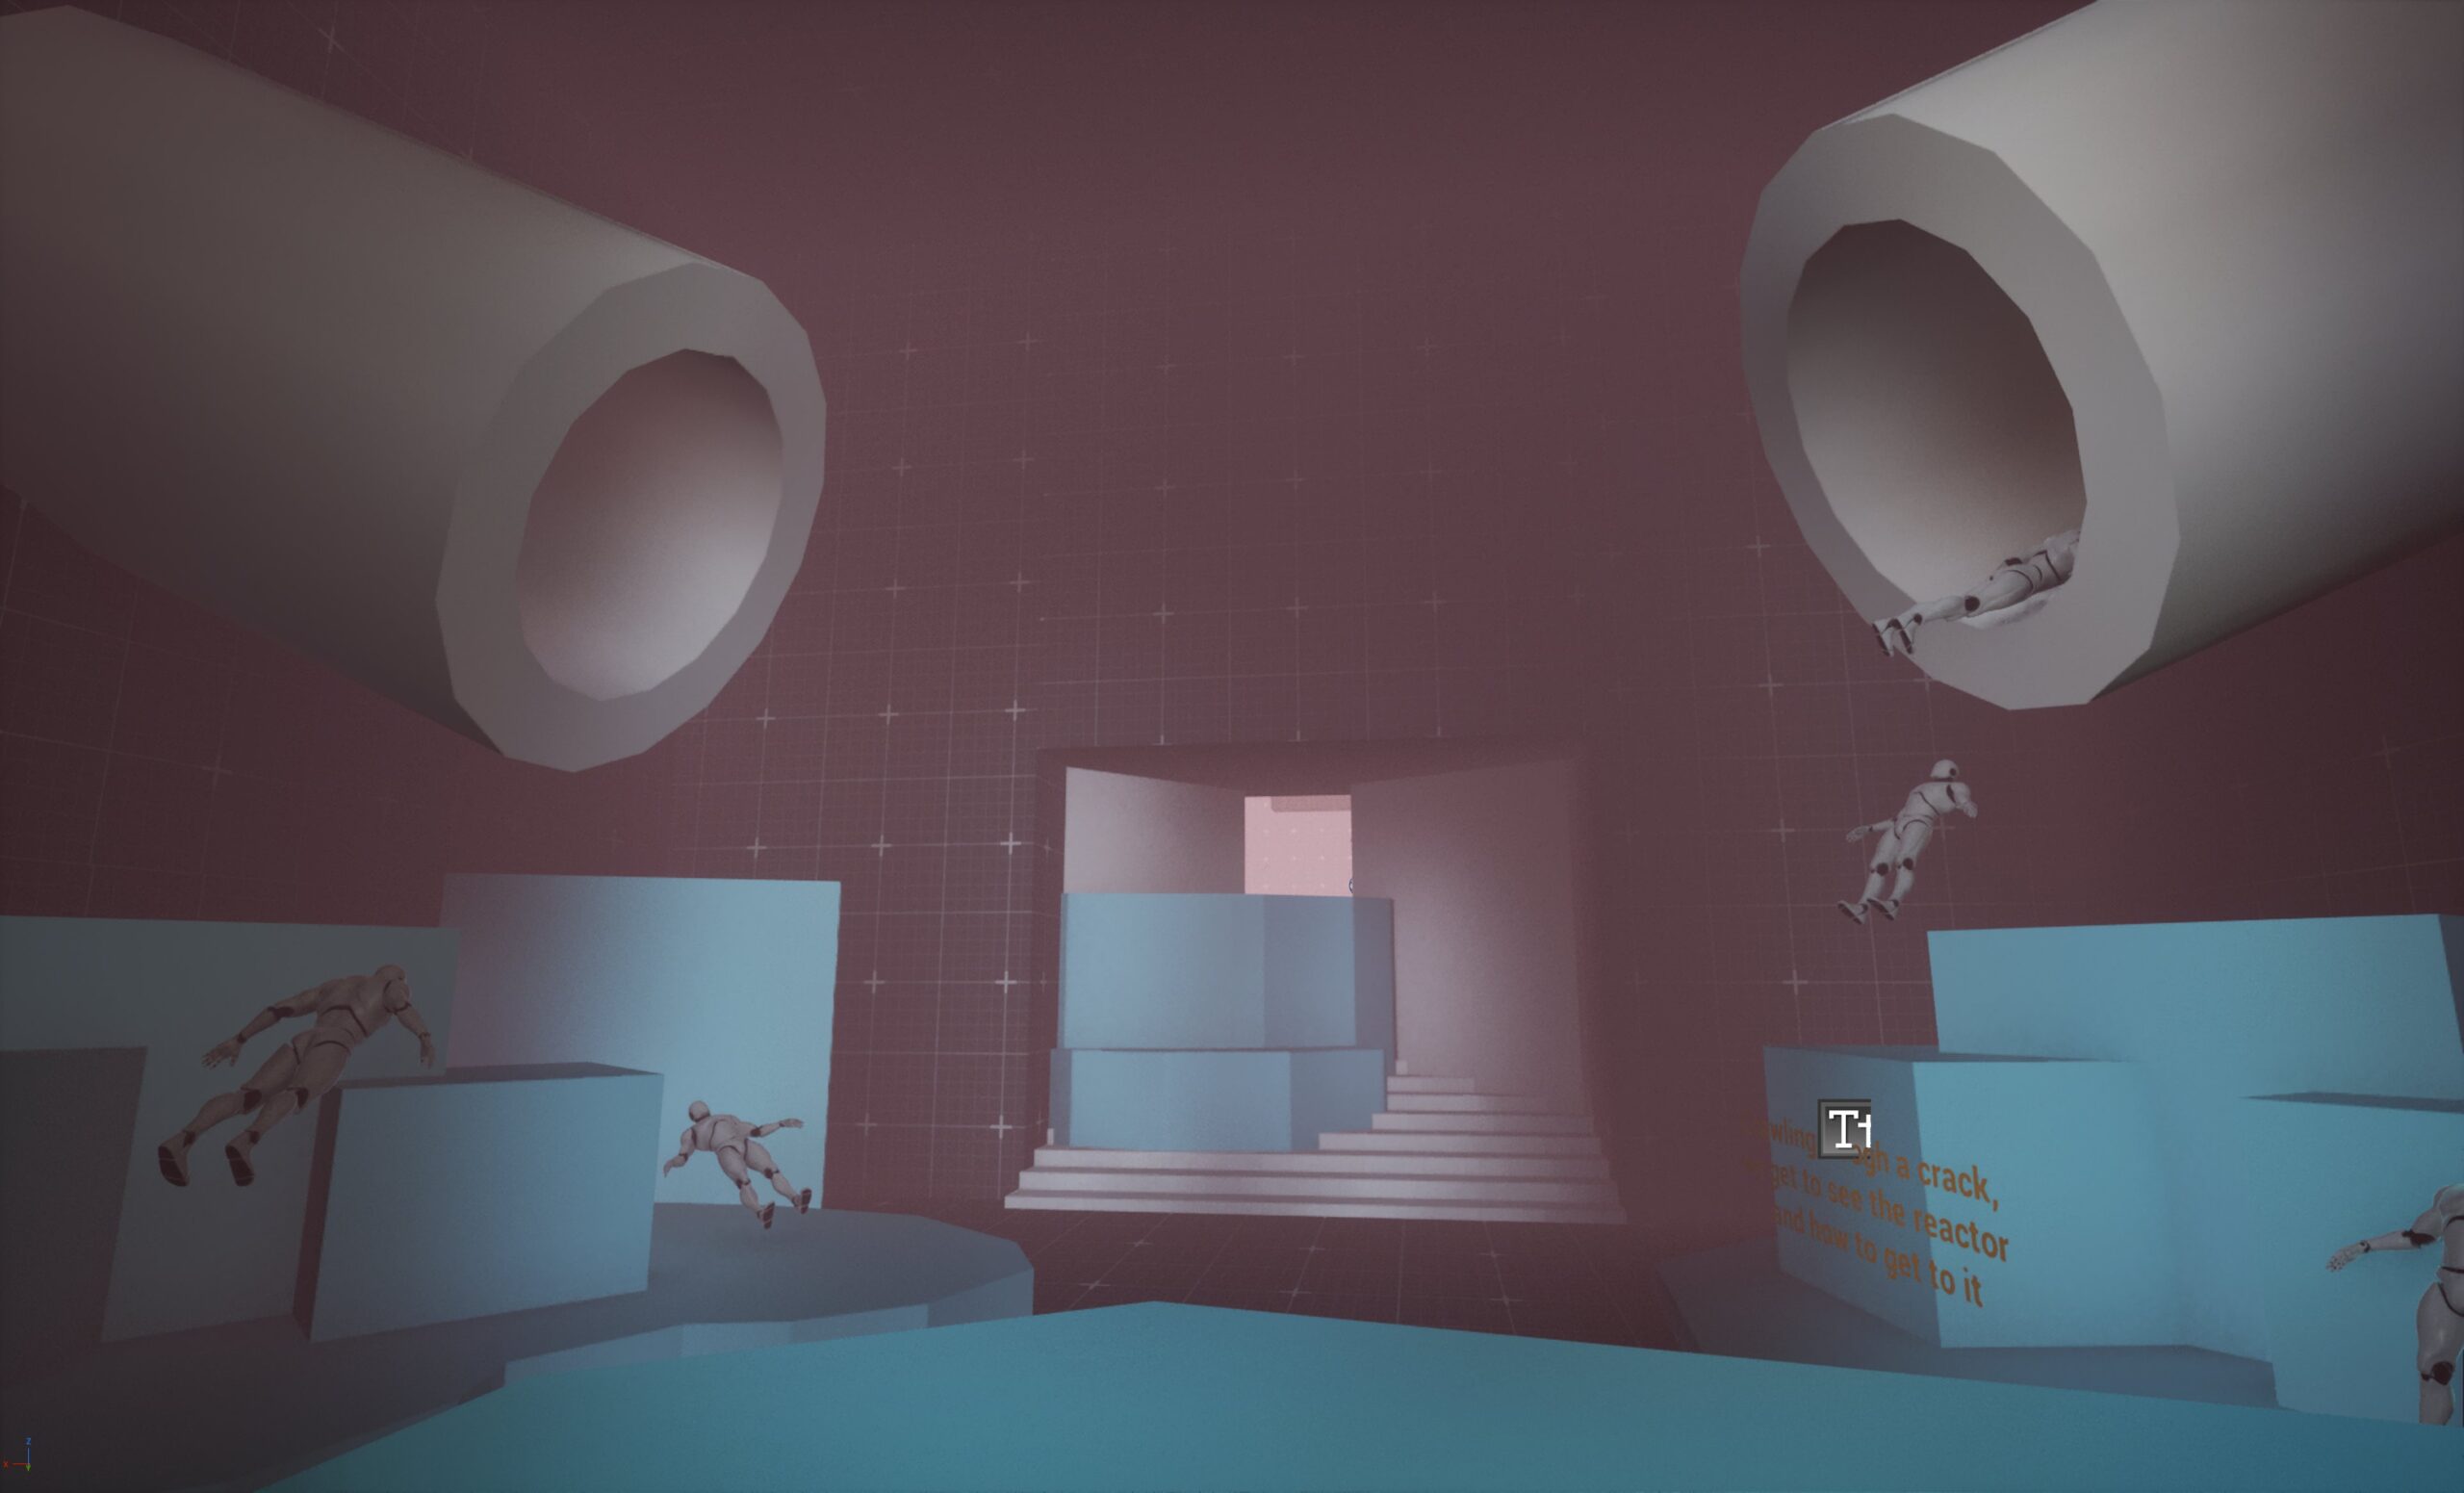
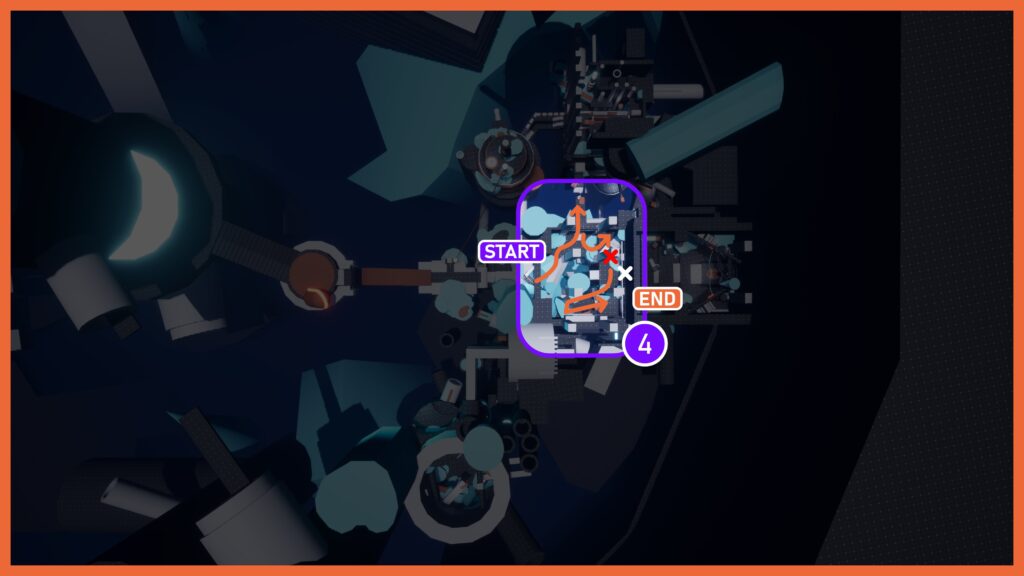
- Beat 4 (Start): Human remains begin to appear, including a prop that contains lore details. Its placement intentionally leads the player to a dead end; turning back immediately reveals the progression path through a cracked pipe.
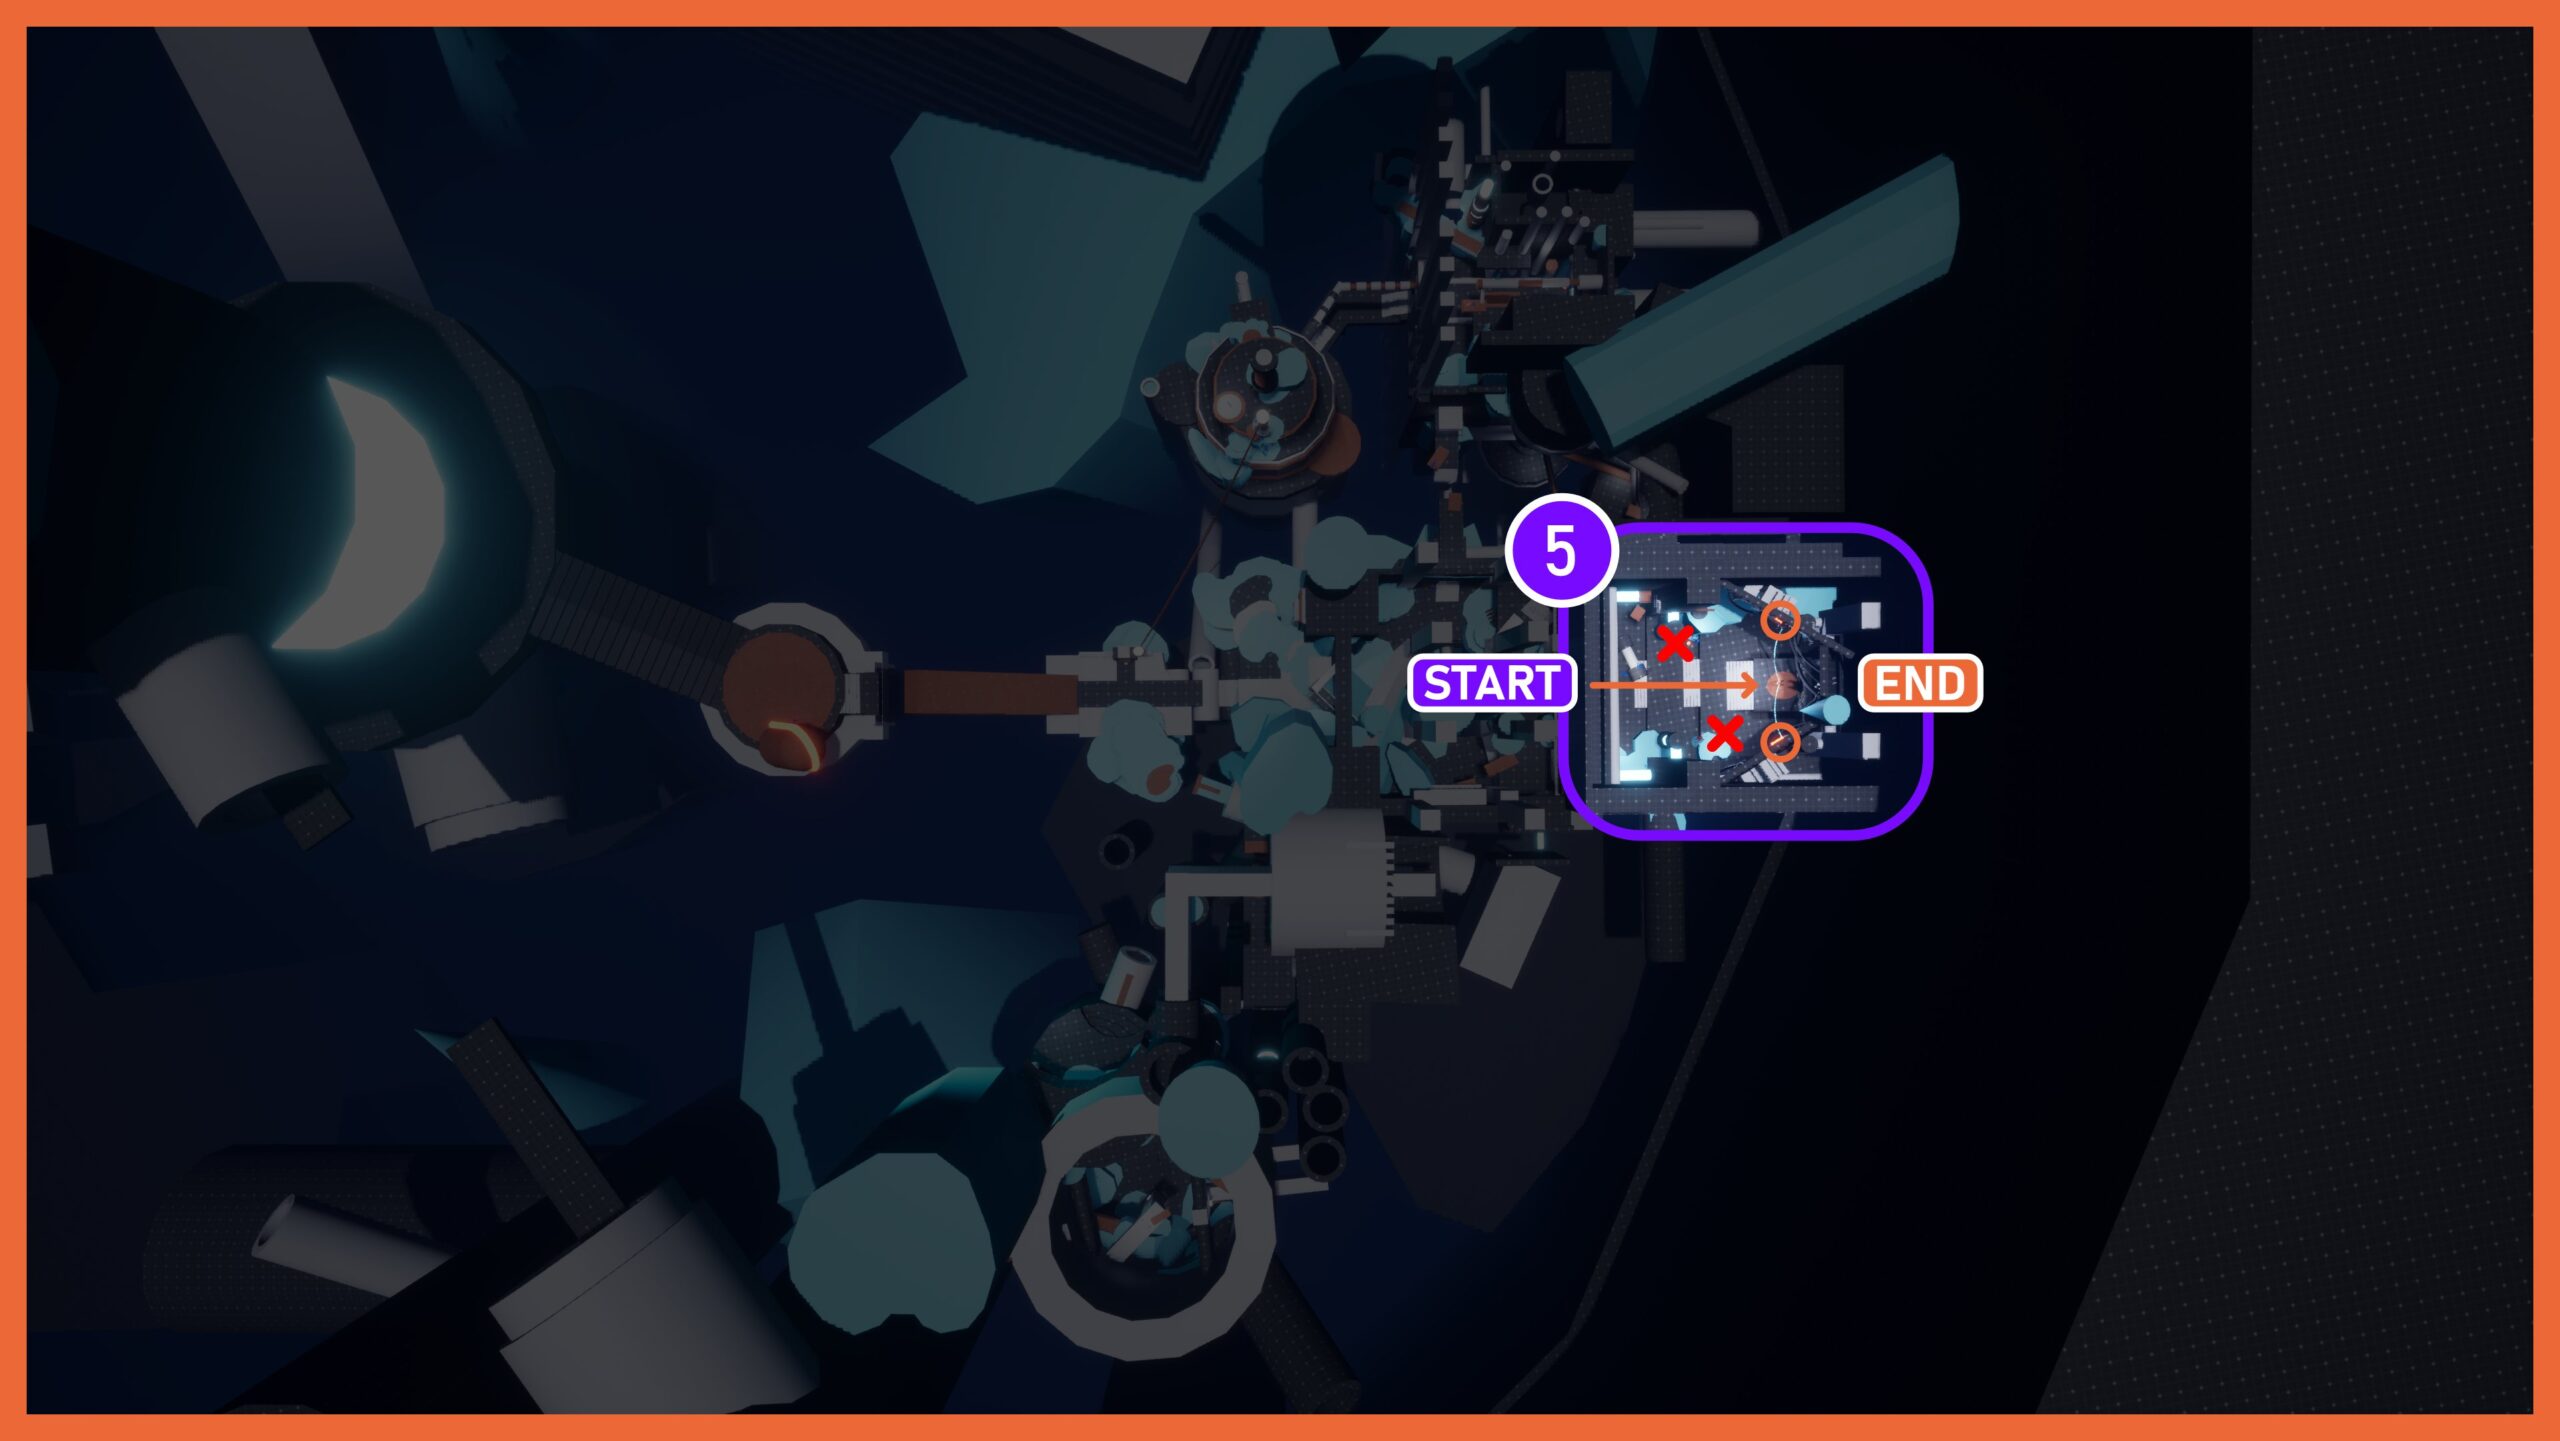
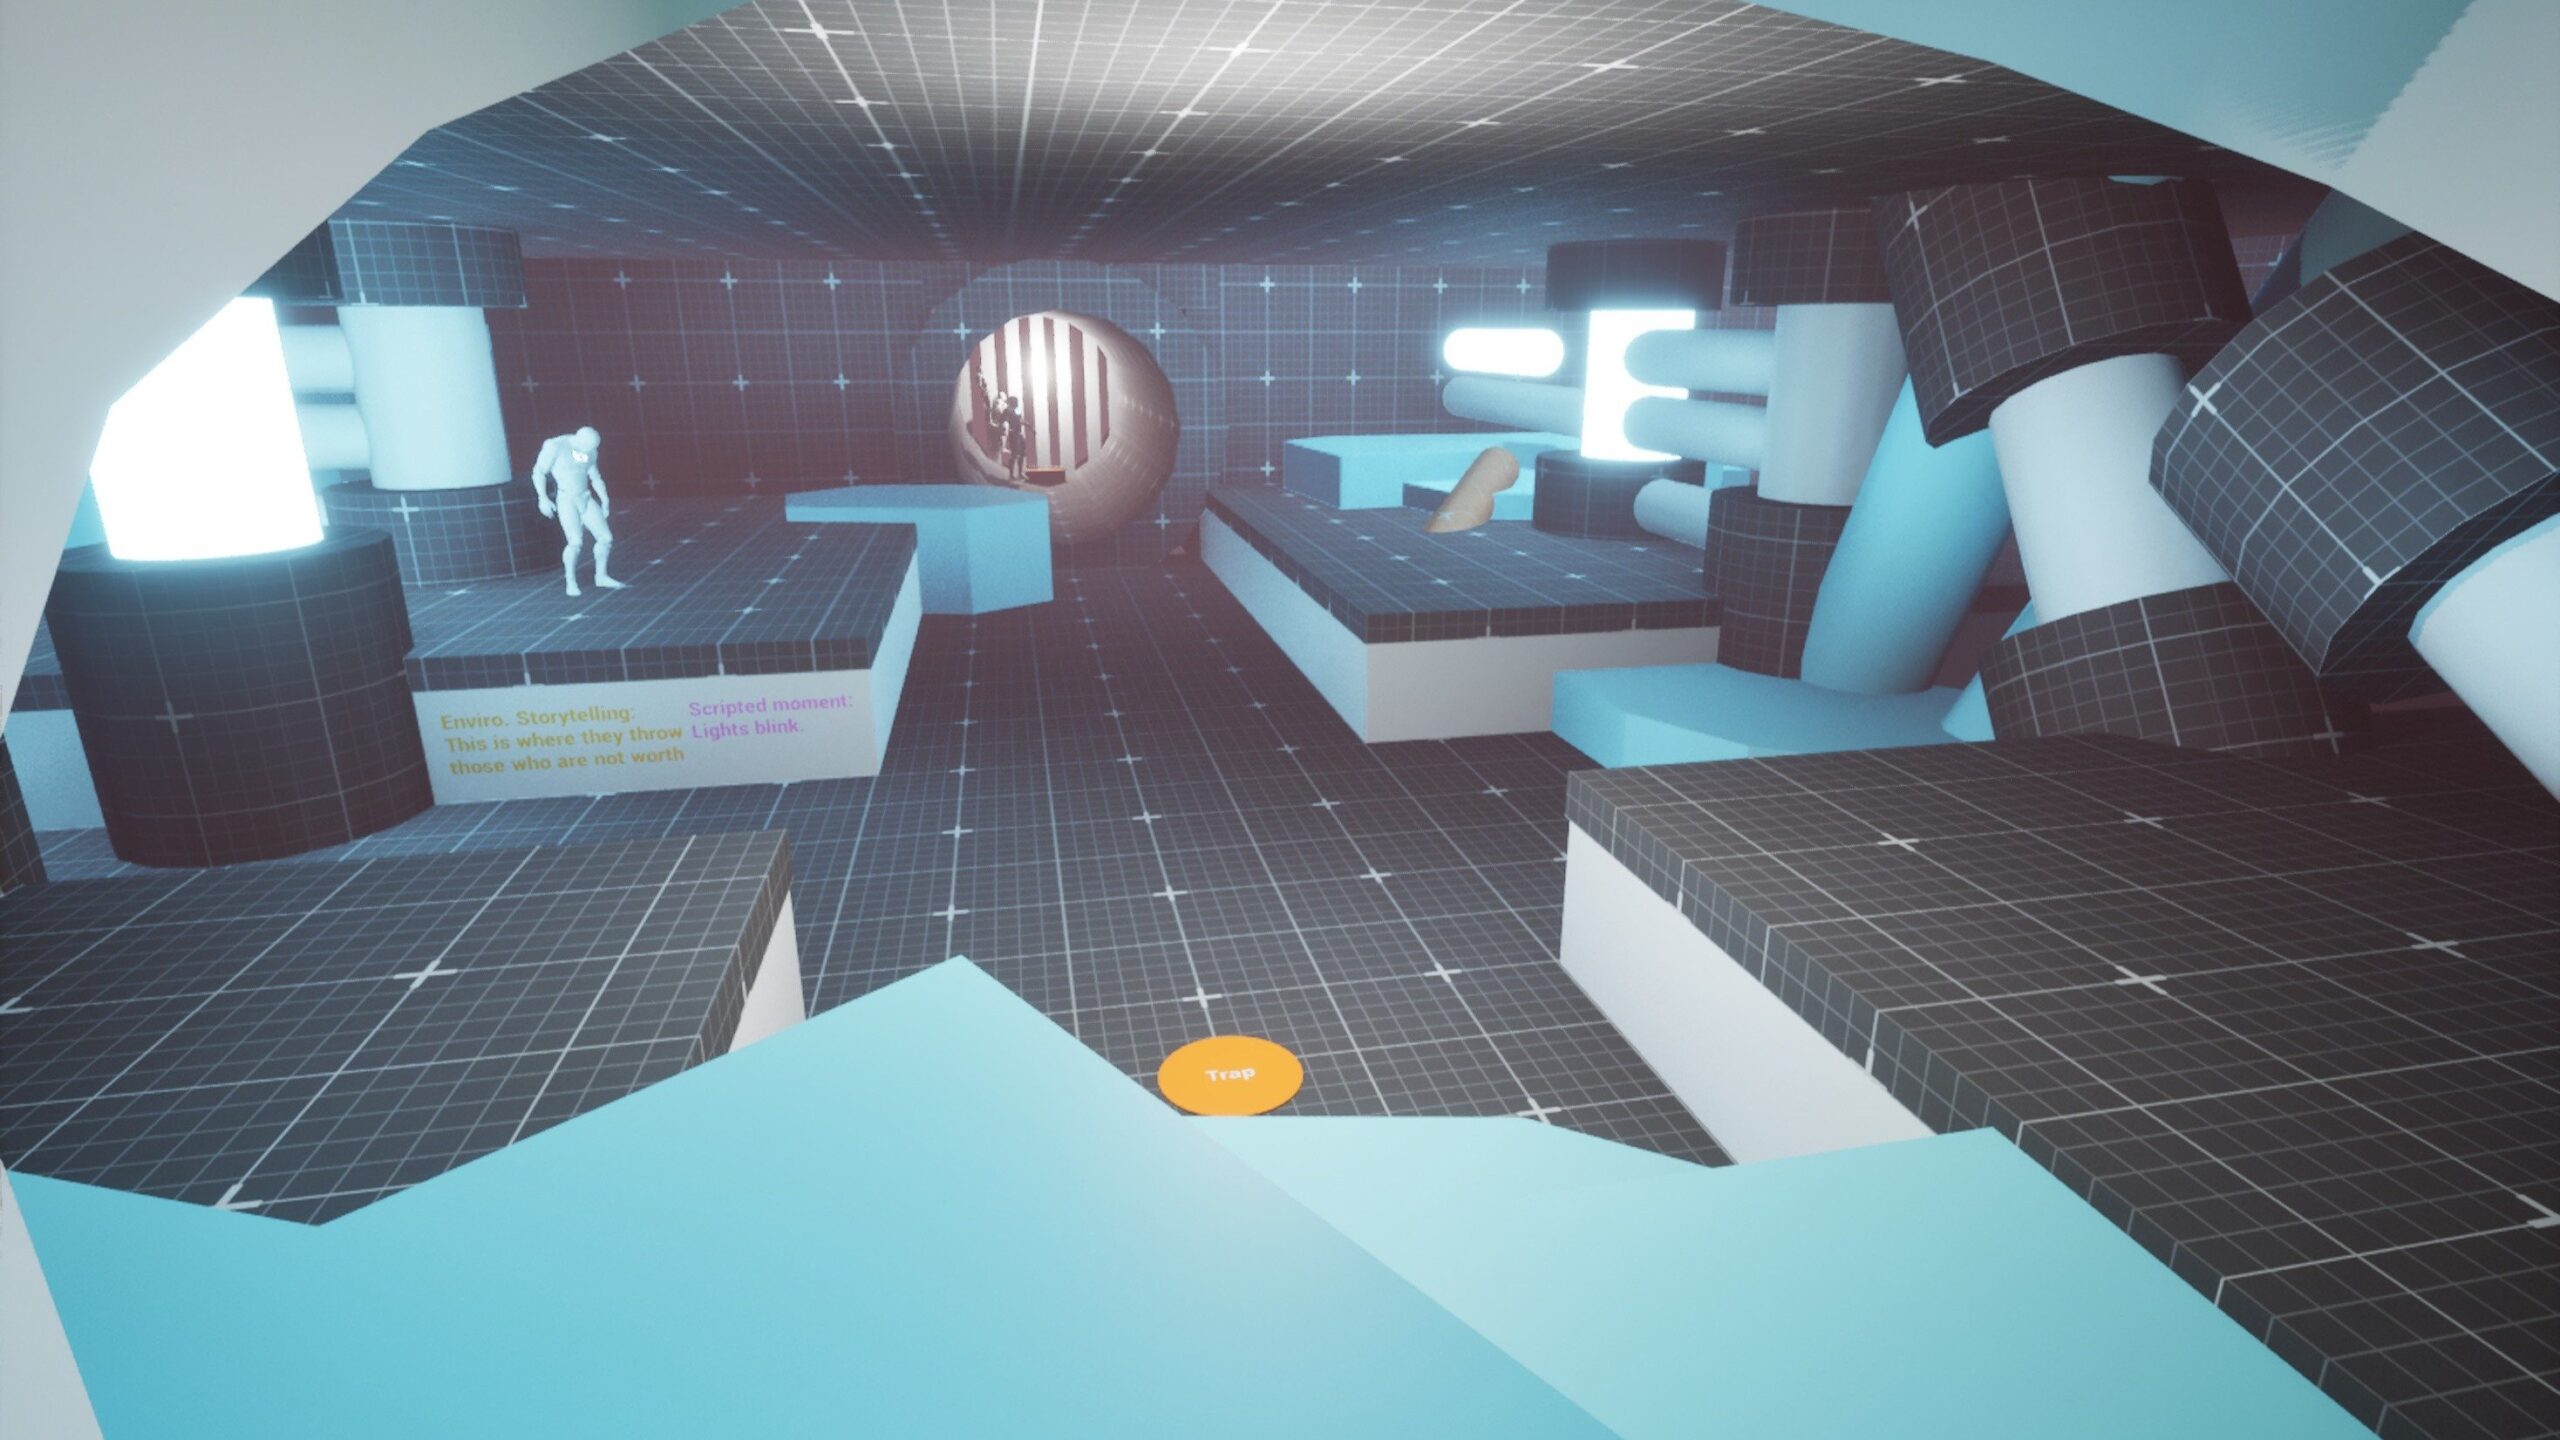
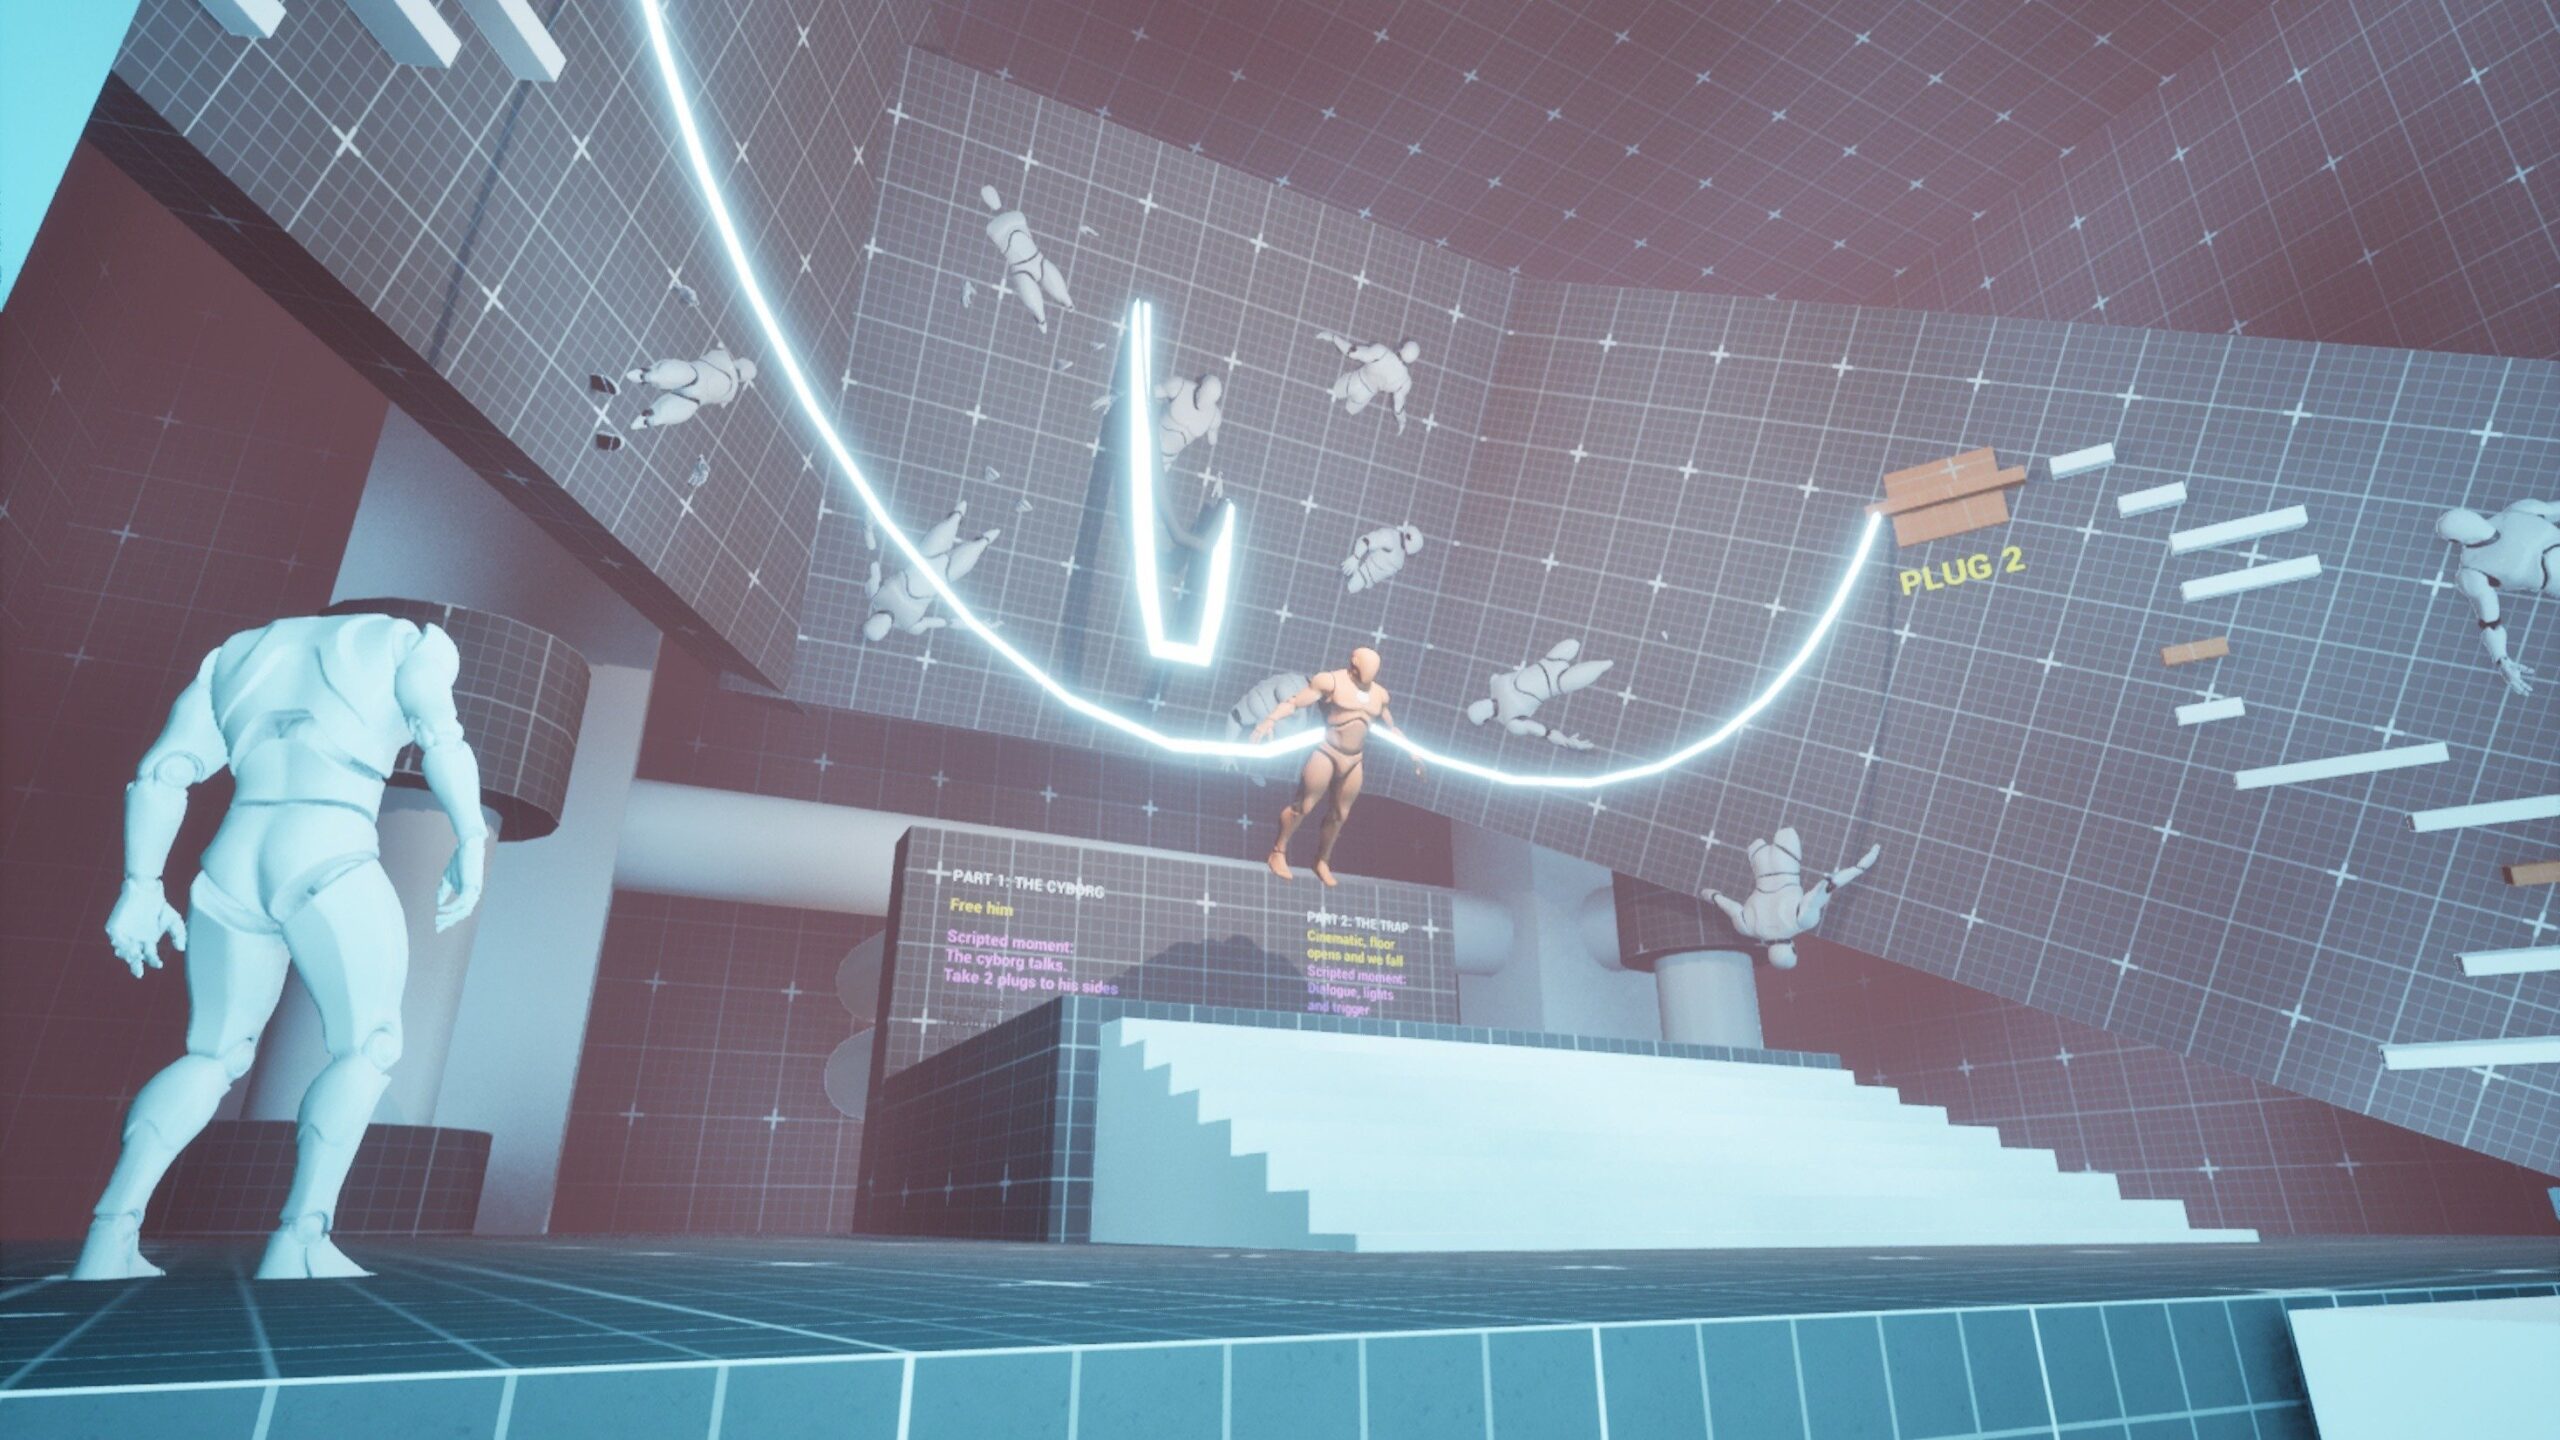
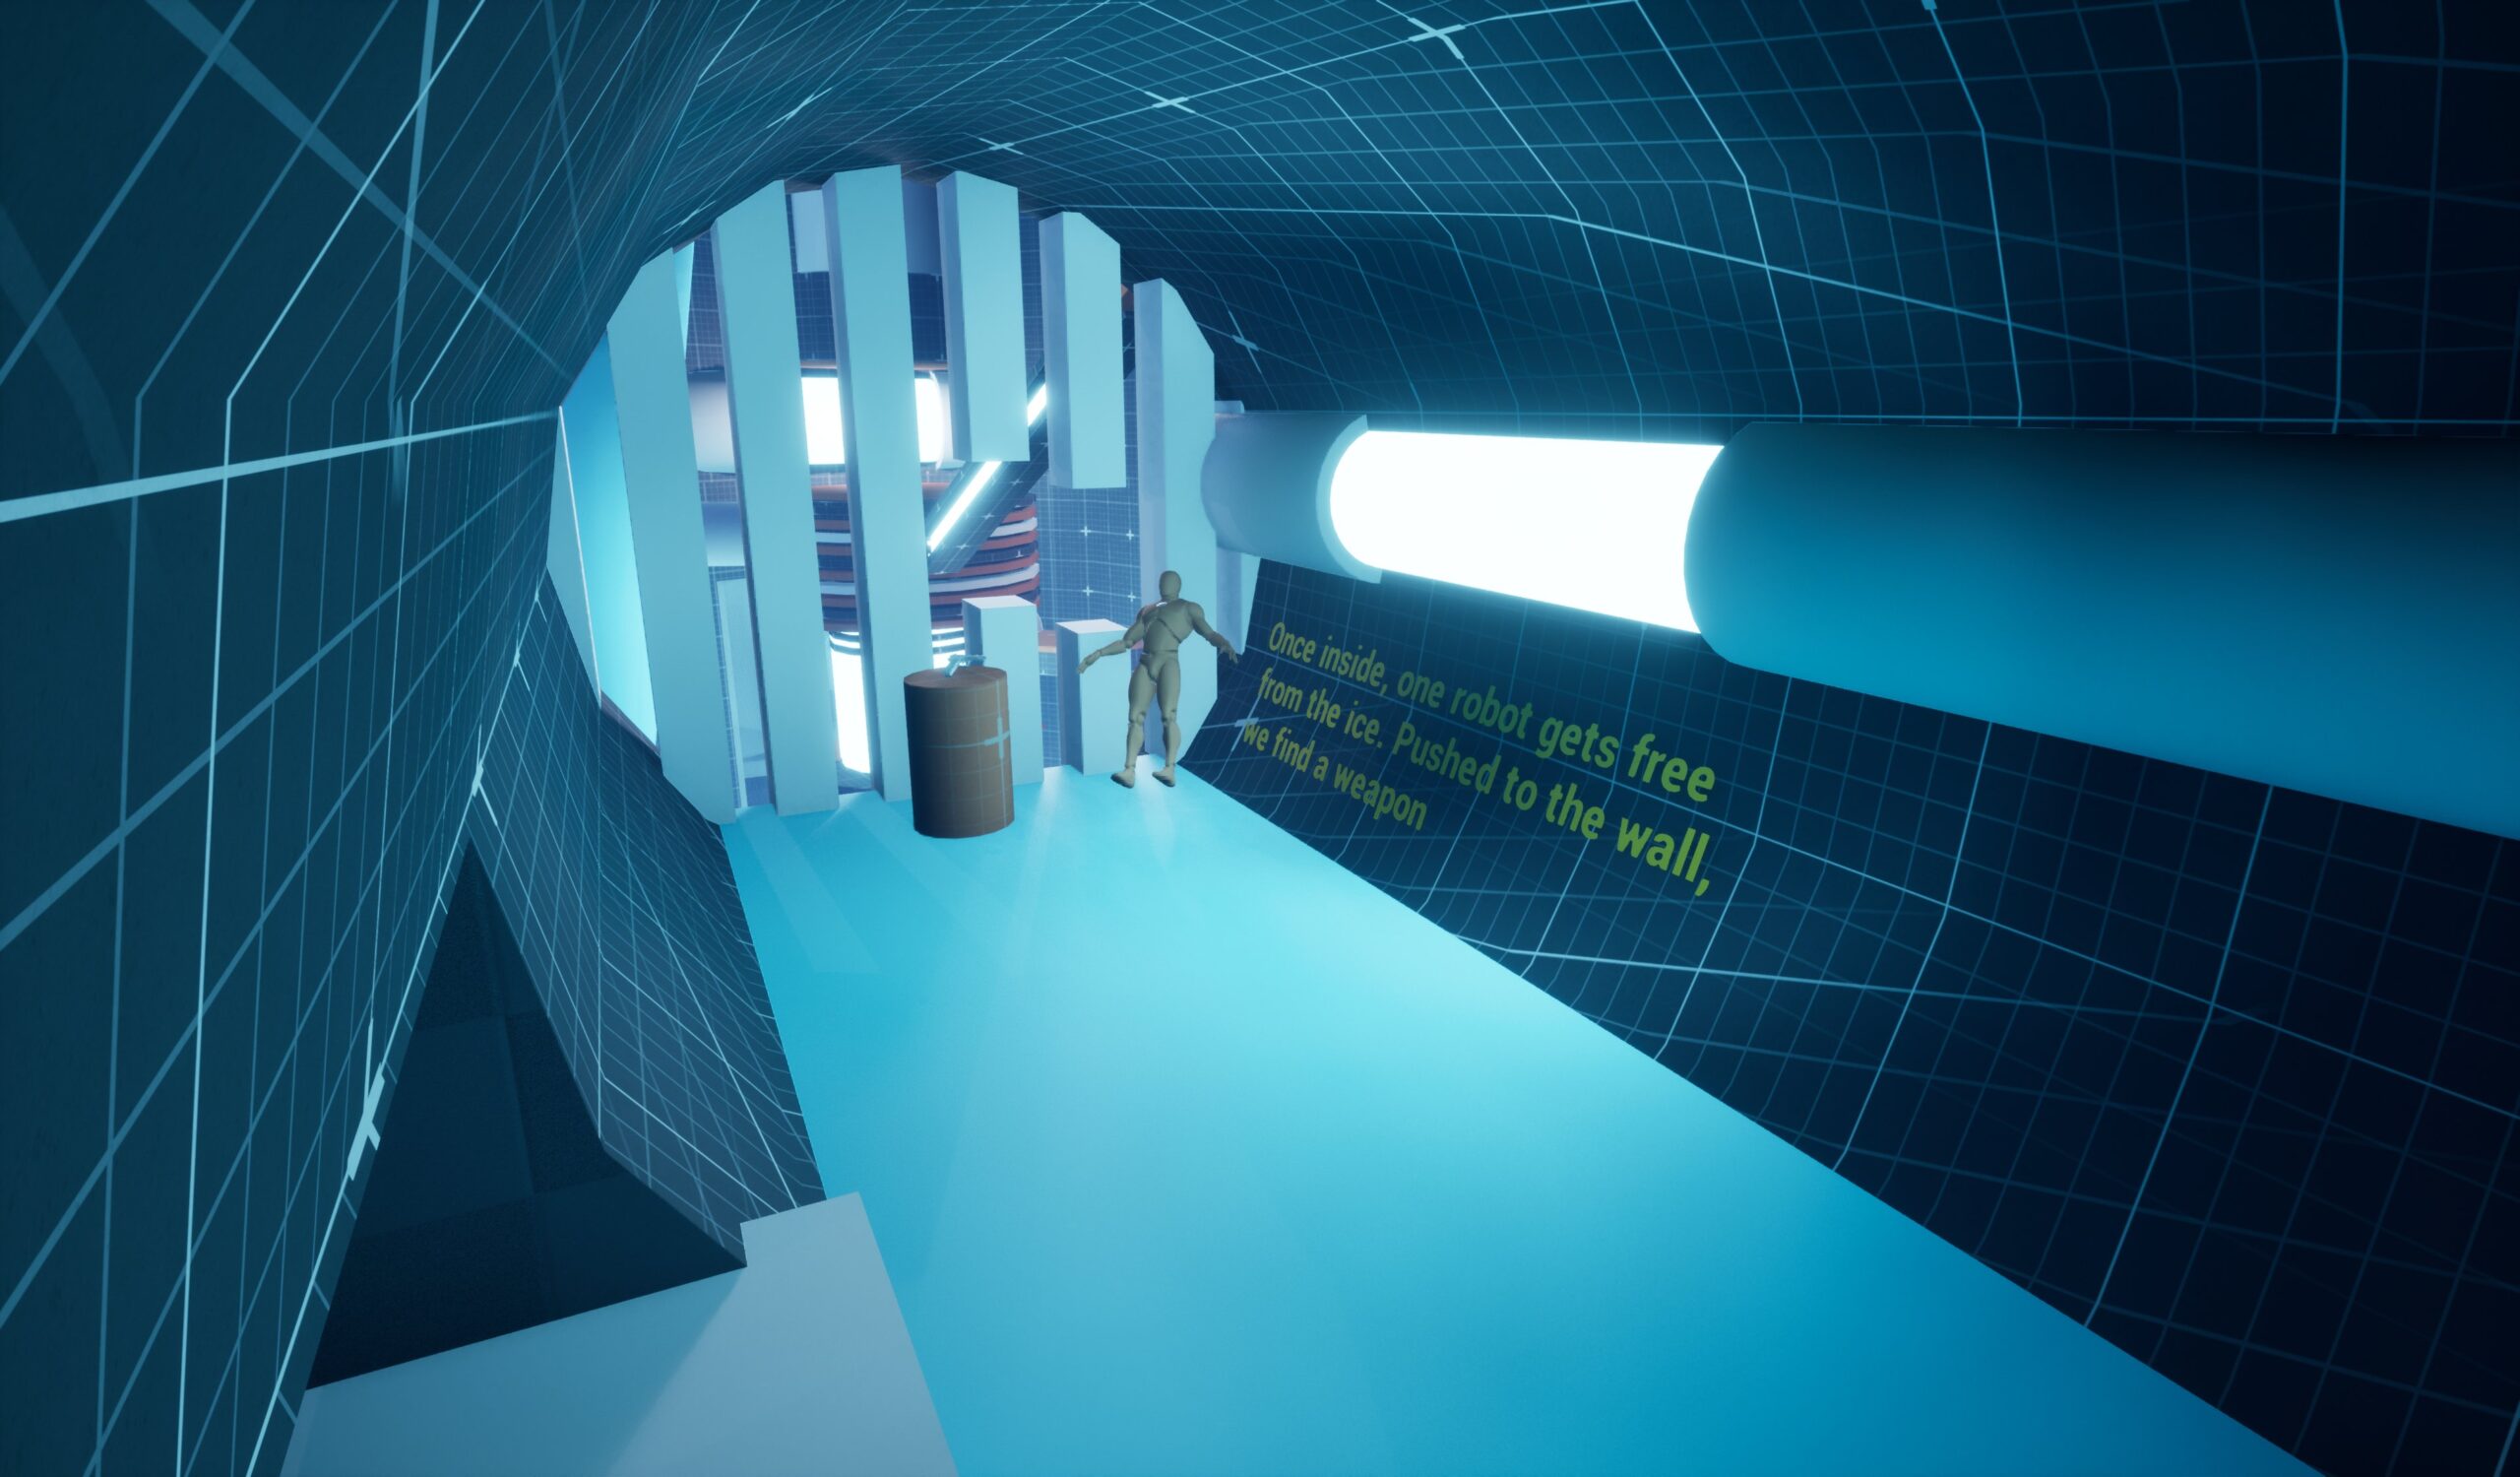
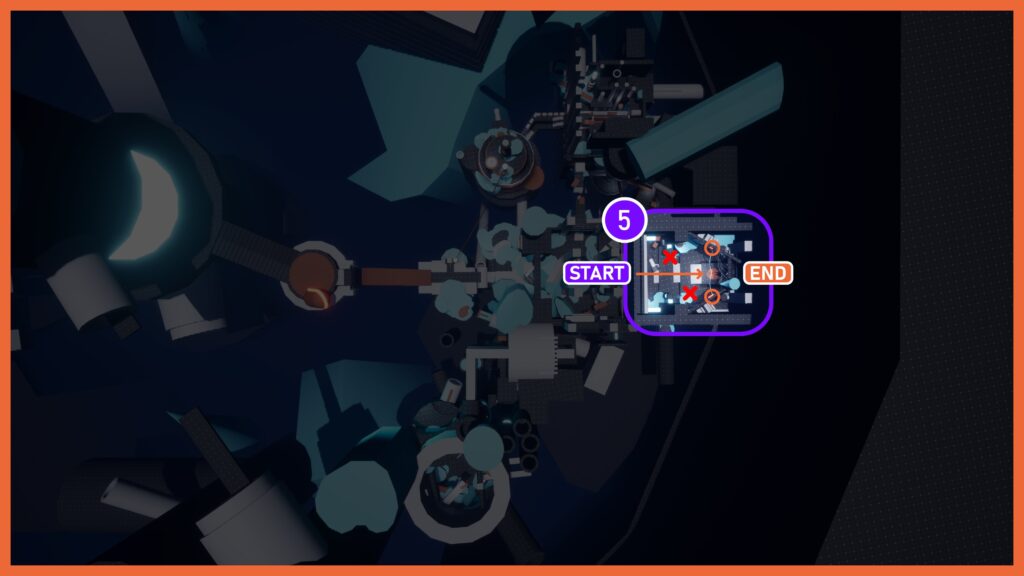
- Beat 5: The player encounters a plugged-in, suffering cyborg and must disconnect him from the glowing liquid. This narrative beat mechanically signals that the liquid’s power source is dangerous and not to be trusted.
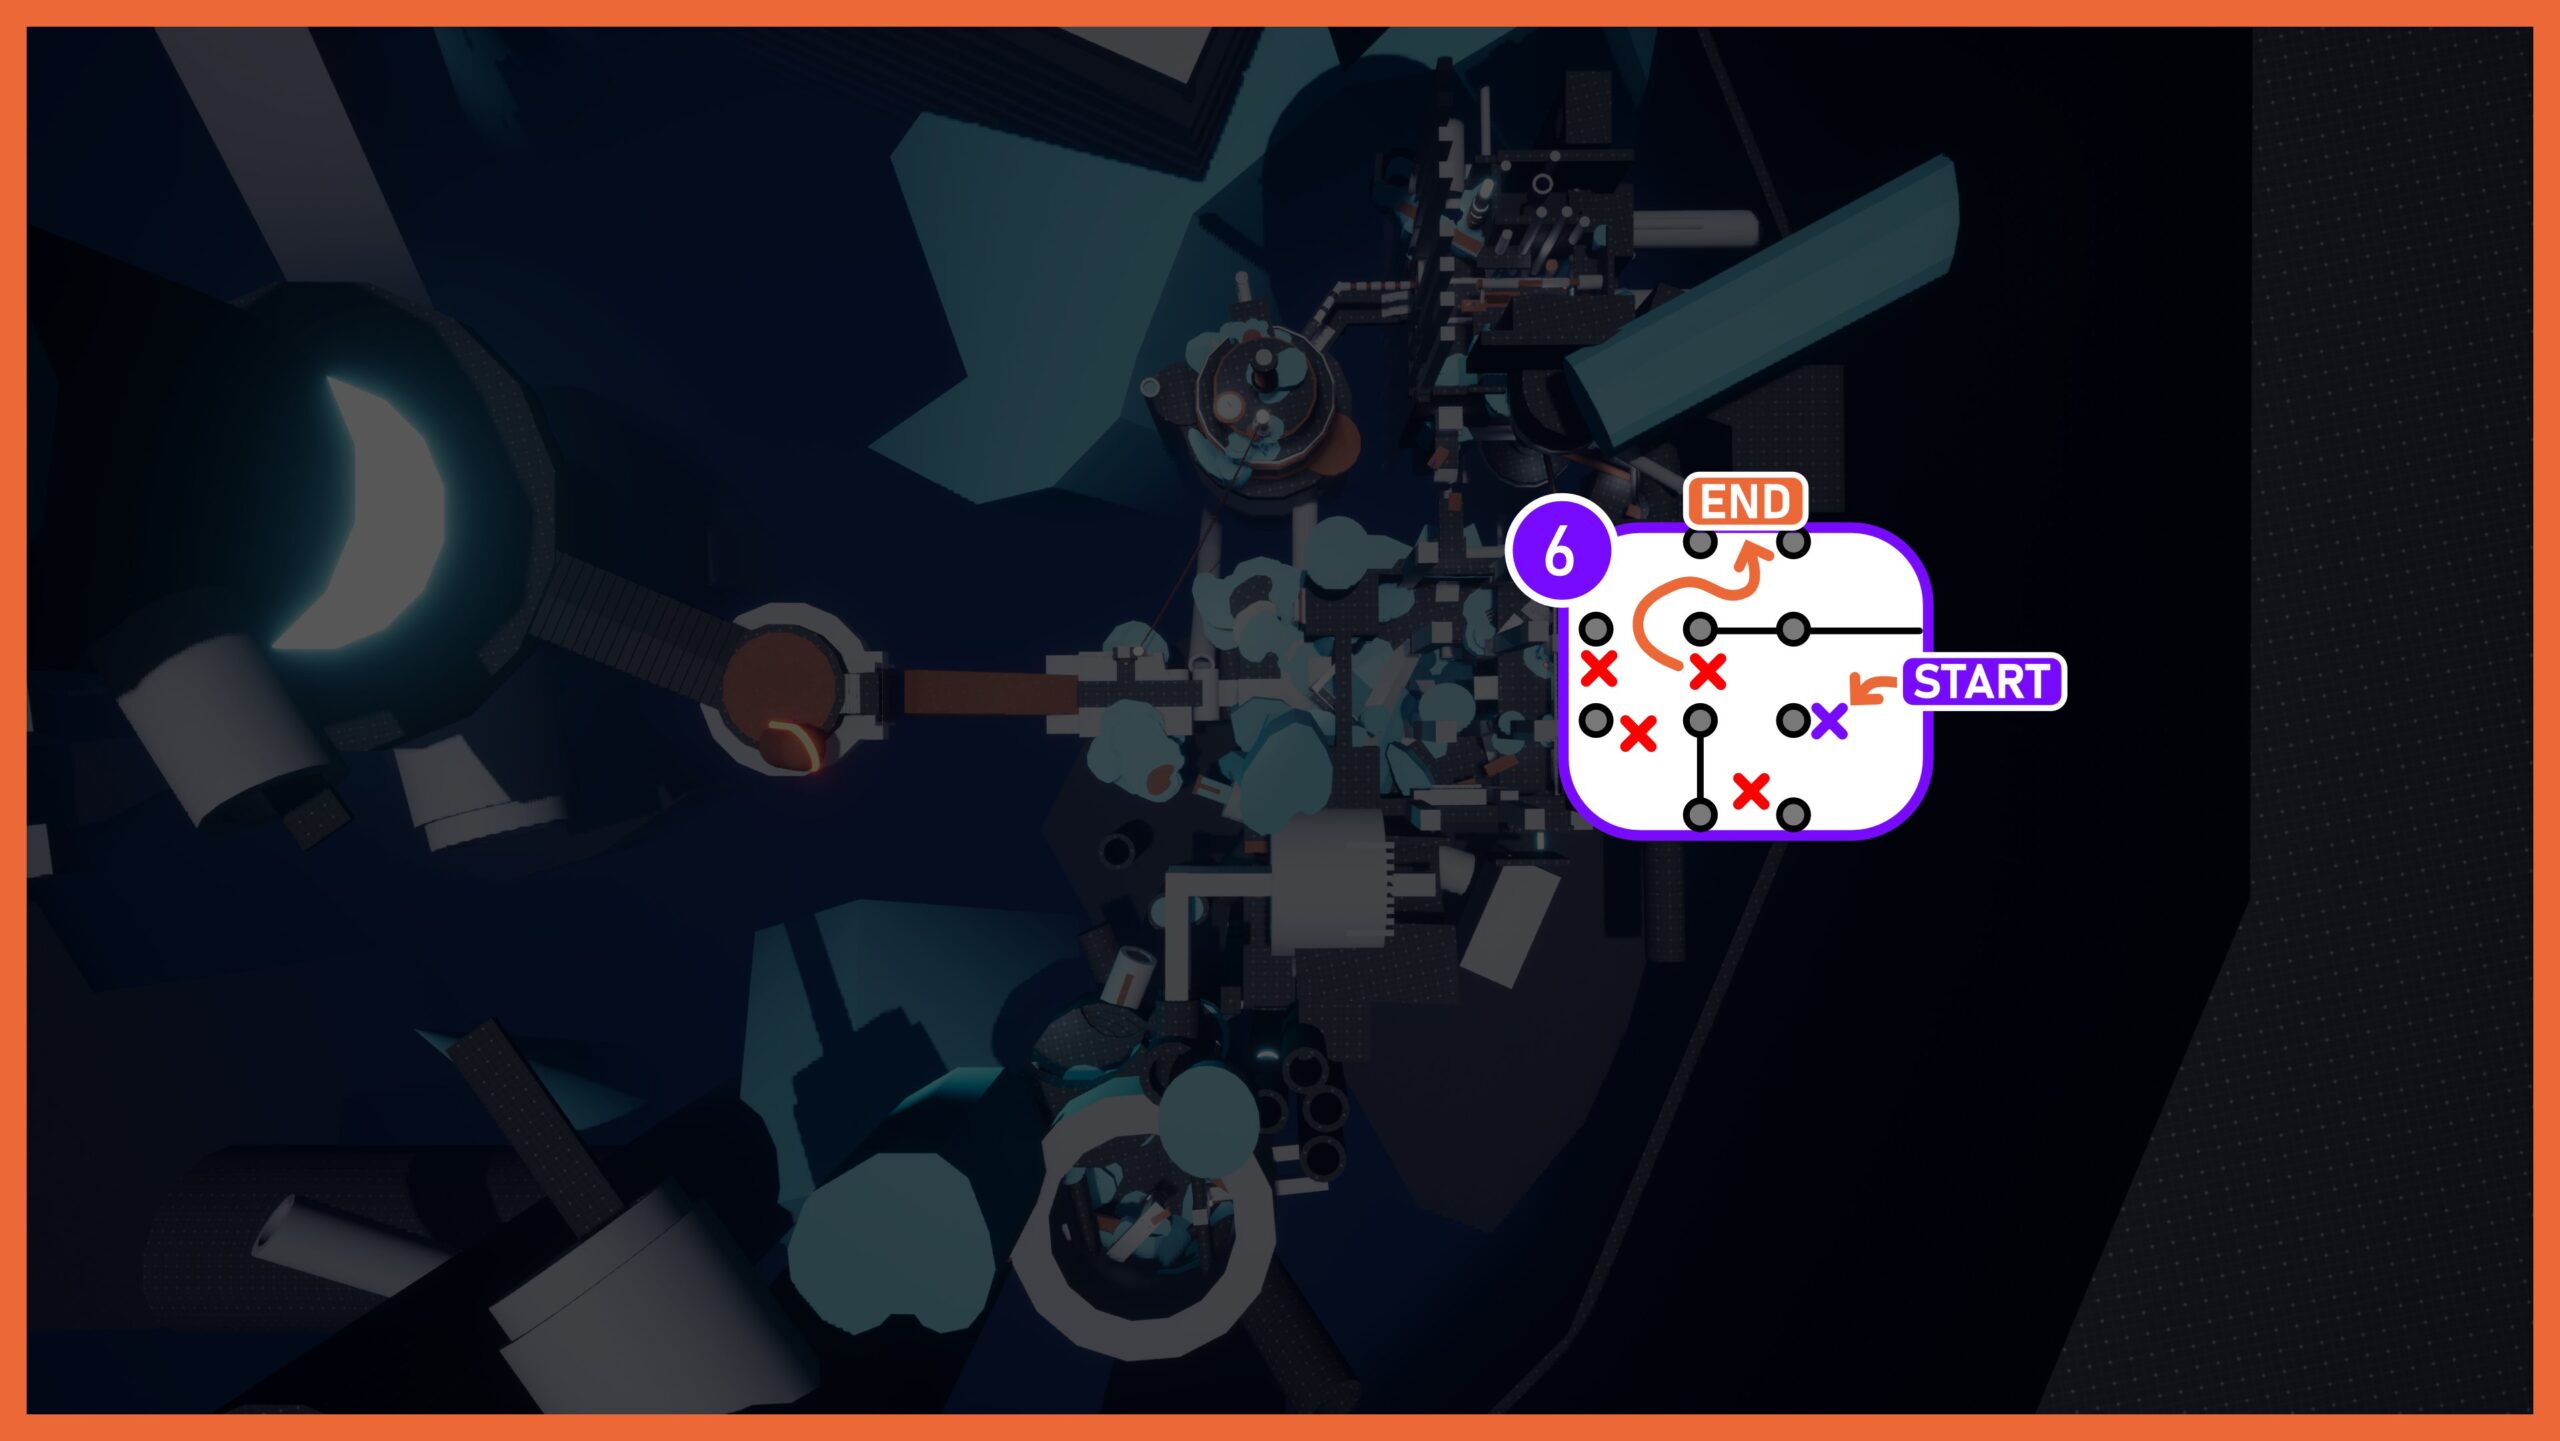
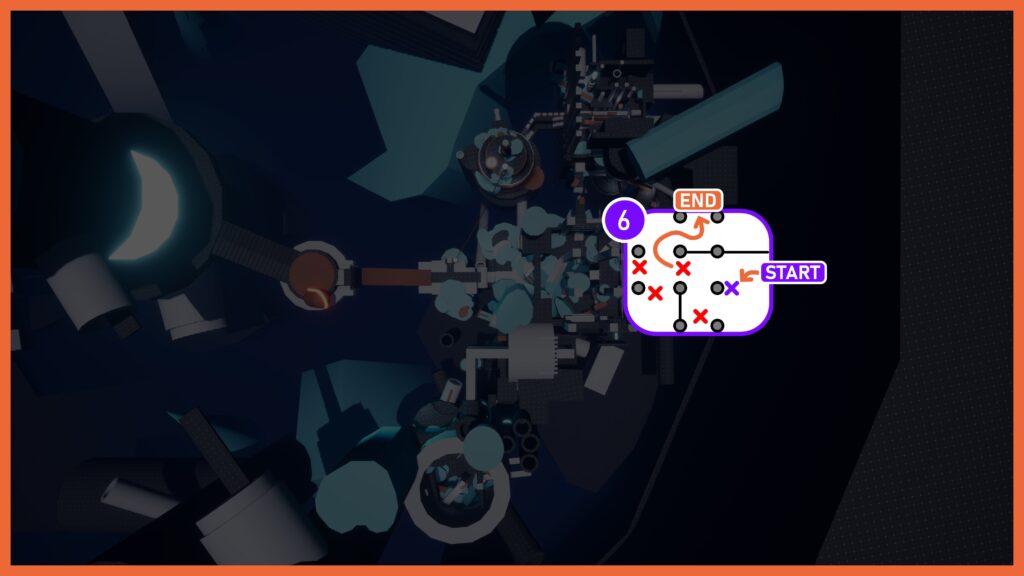
- Beat 6: Some very old human remains hold abandoned weapons. These placements not only reward the player with power-ups but narratively push them to scavenge for ammunition in surrounding areas.
WALKTHROUGH
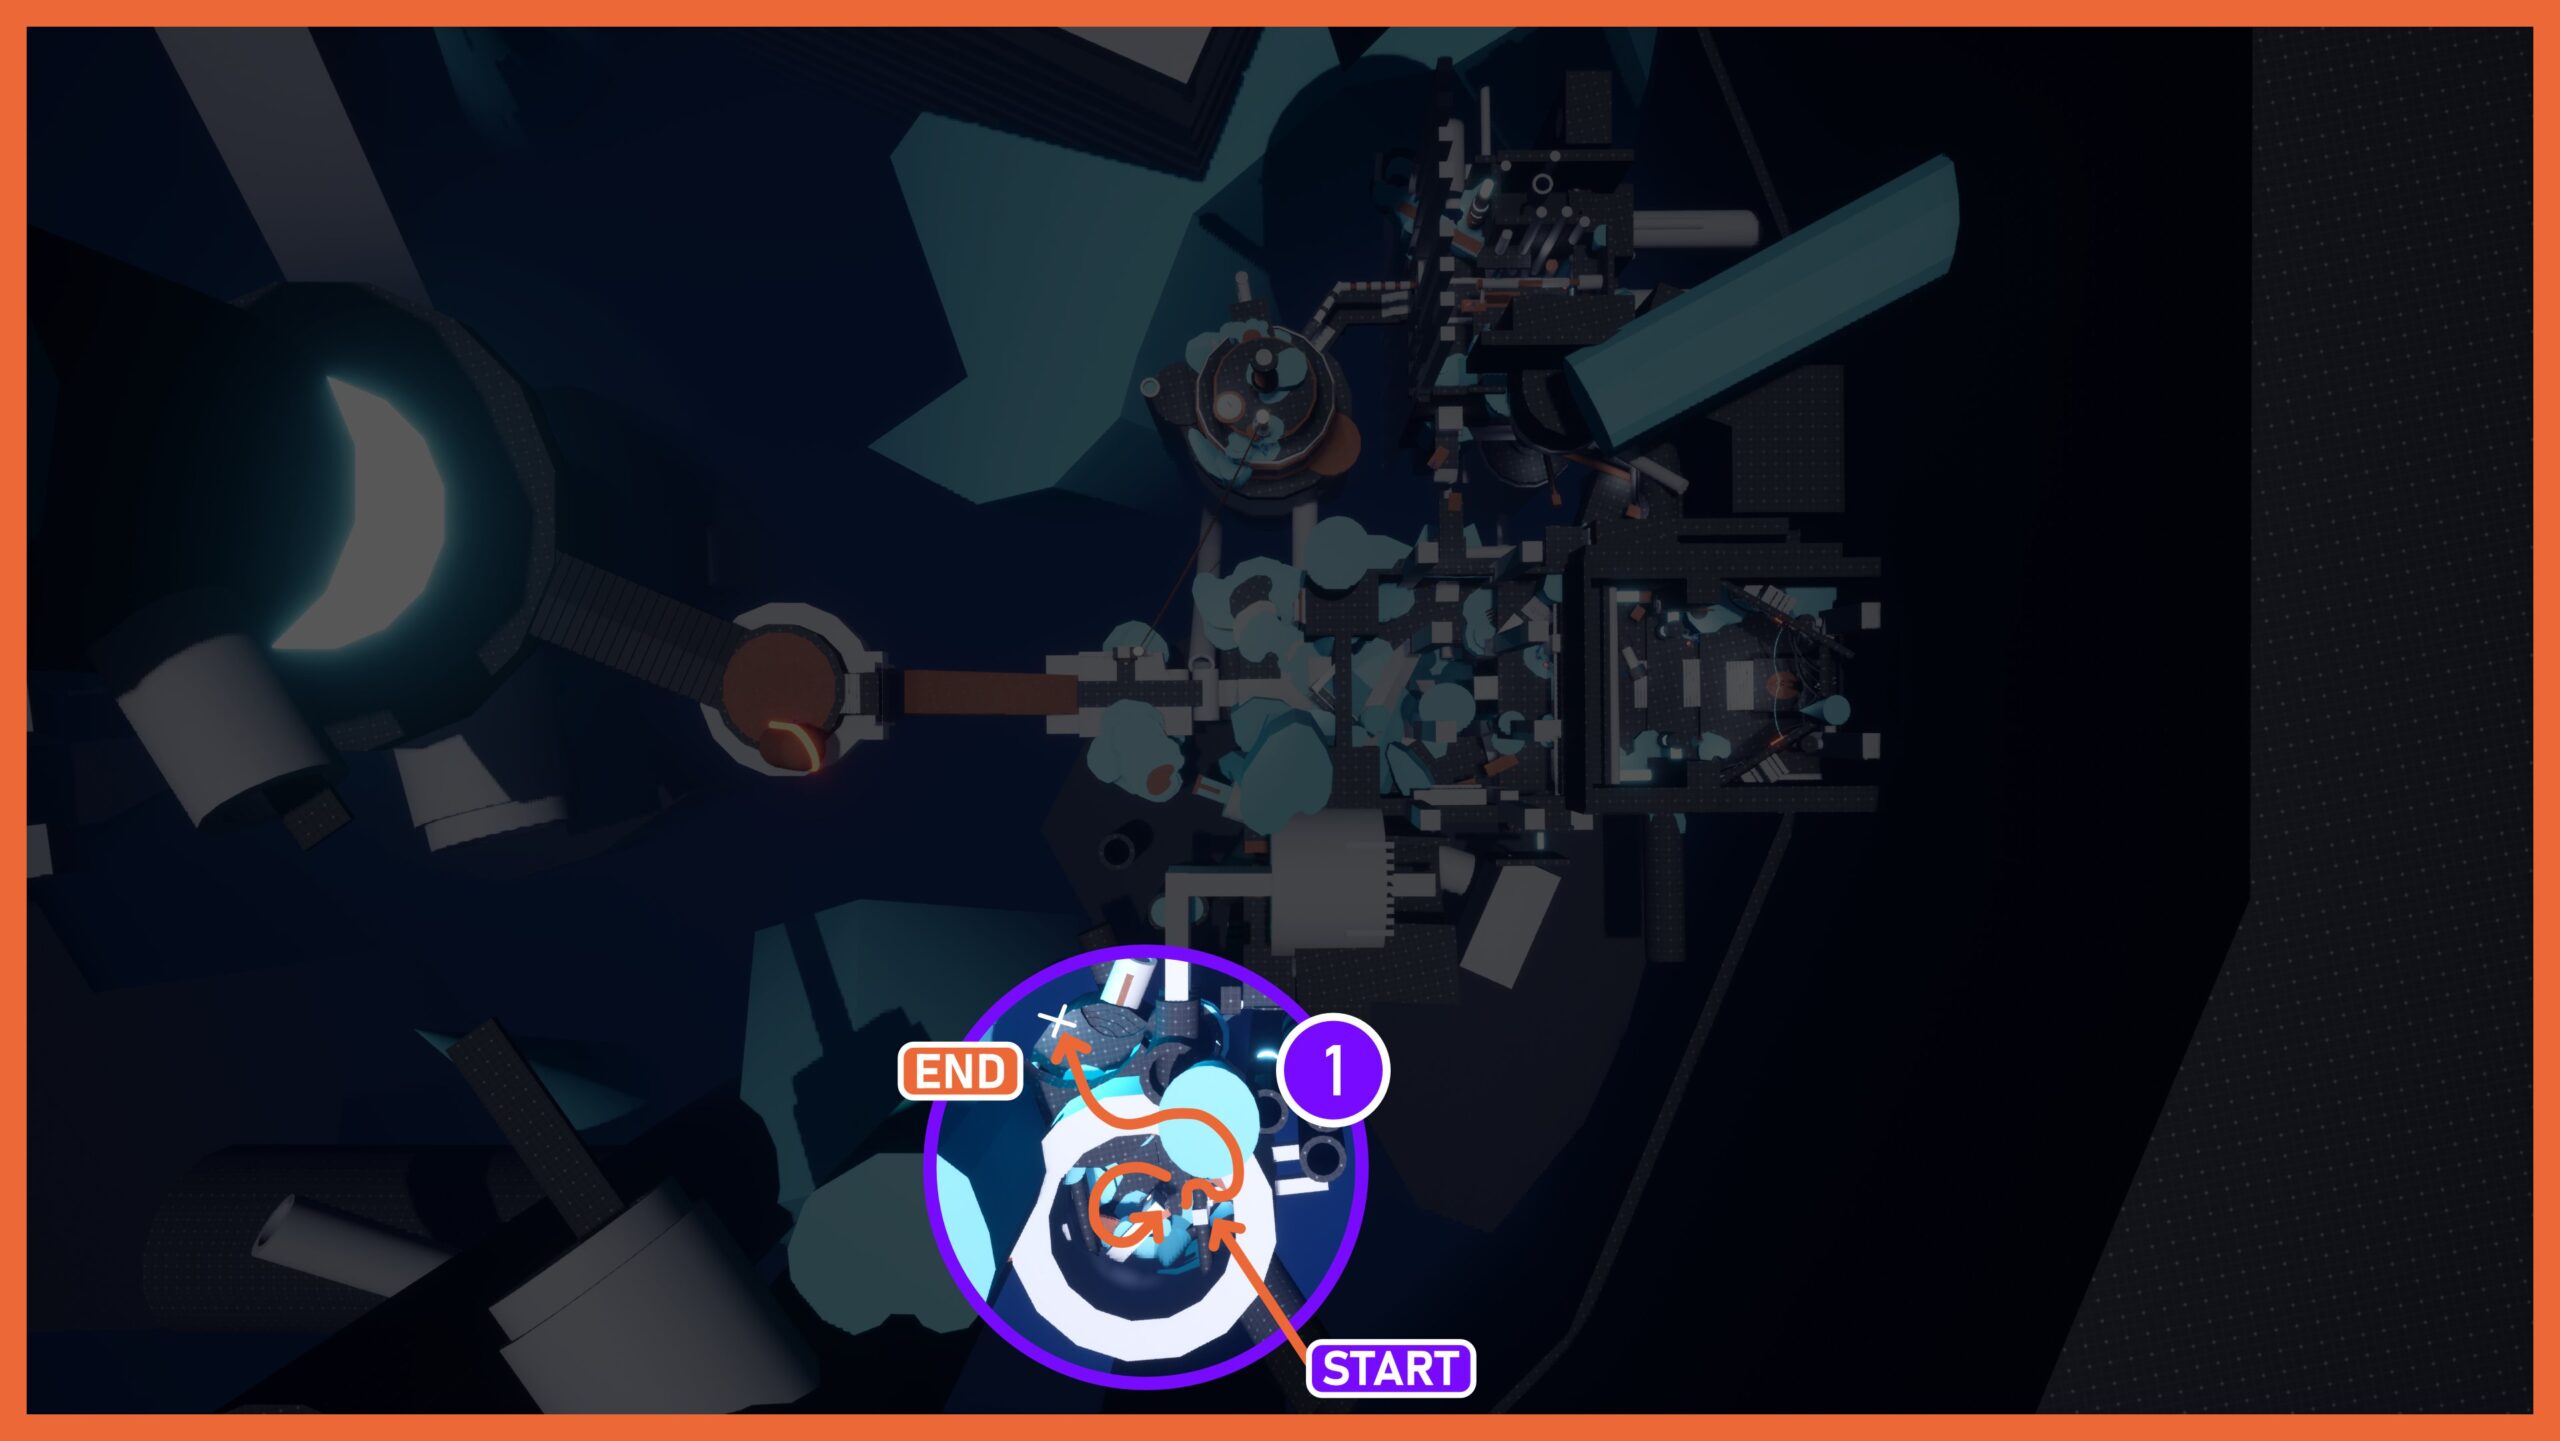
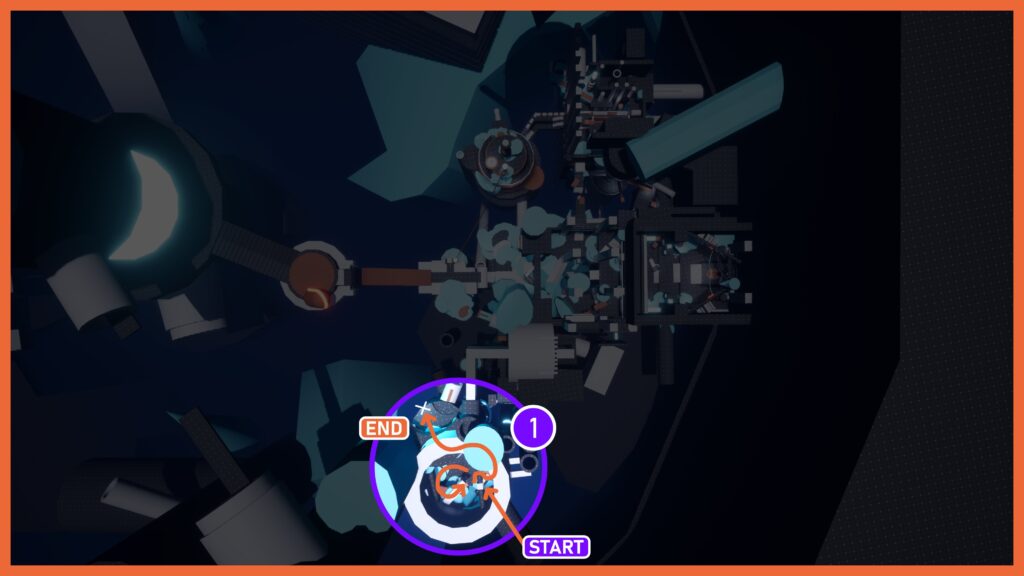
Beat 1: Your pod has crashed deep into the ice. Assess your surroundings.
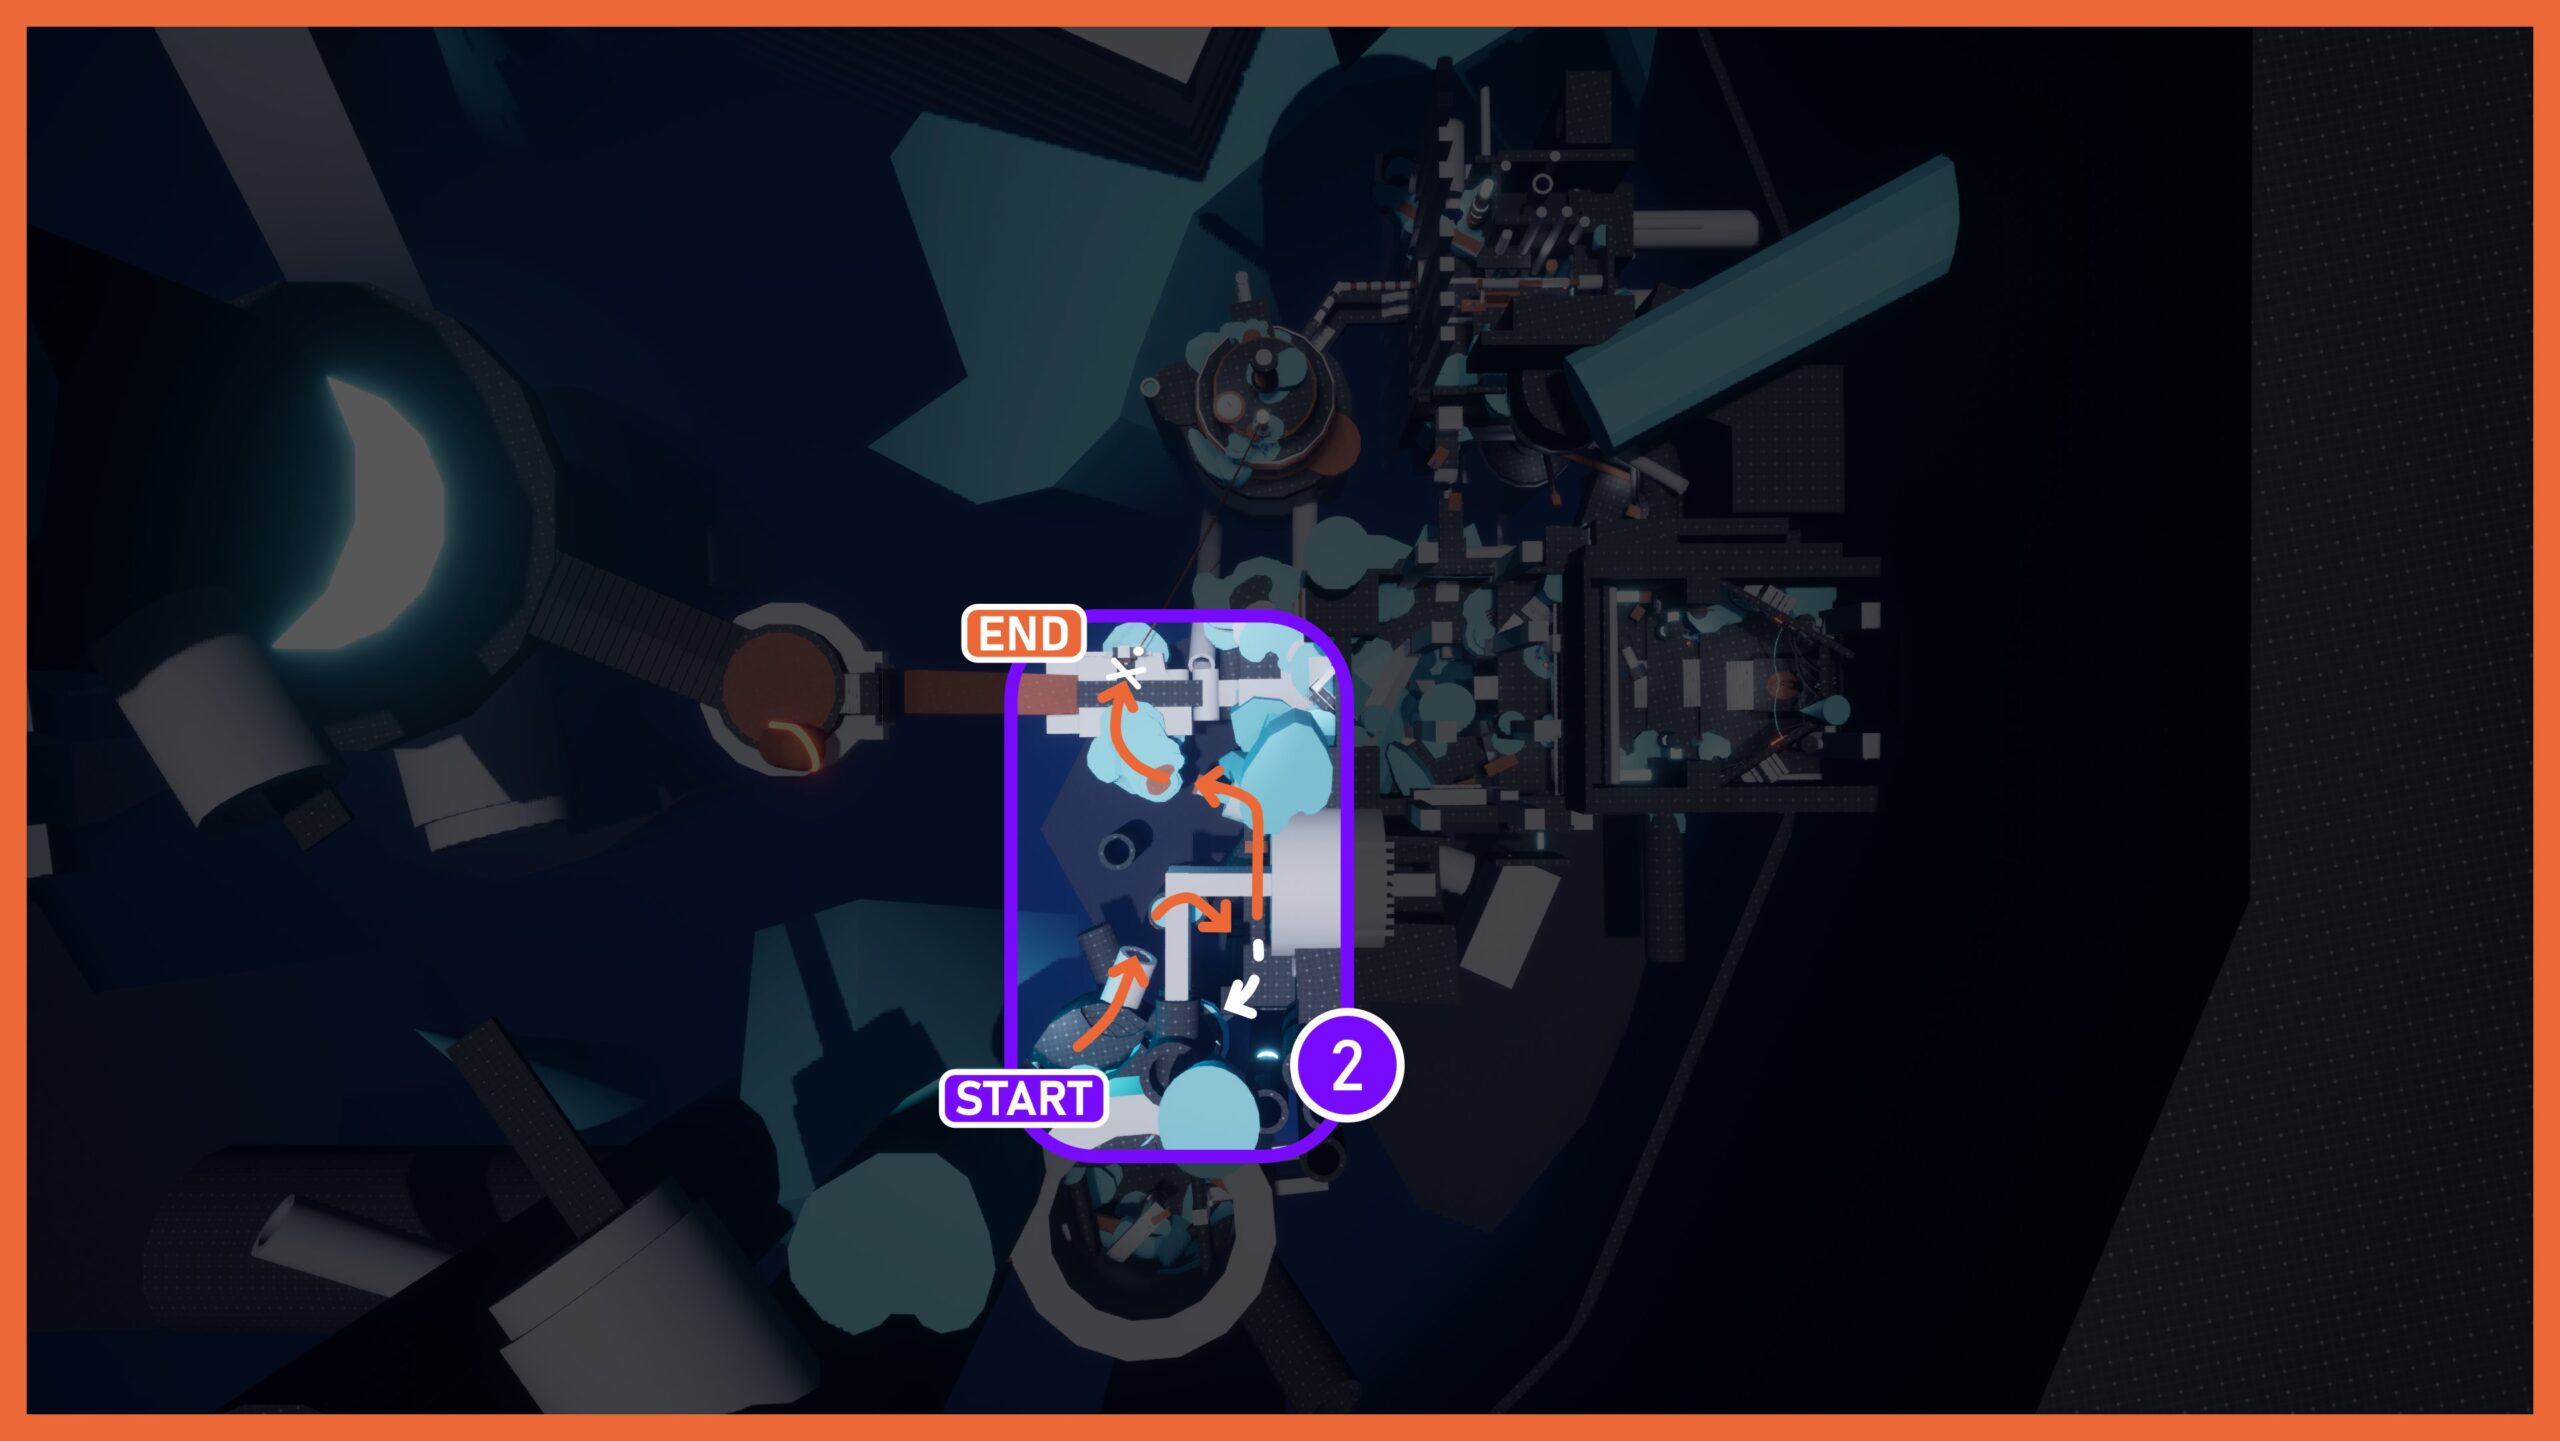
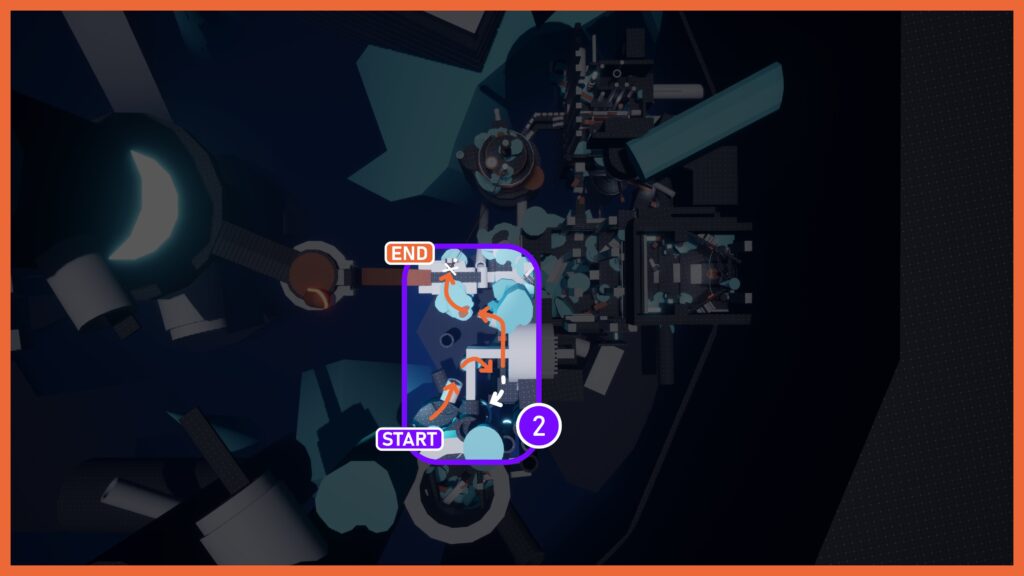
Beat 2: Reach your team’s crashed escape pod.
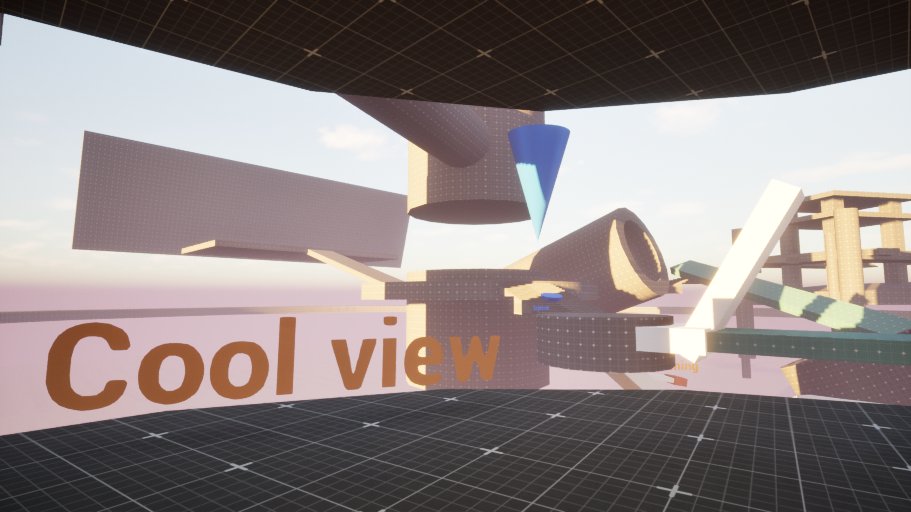
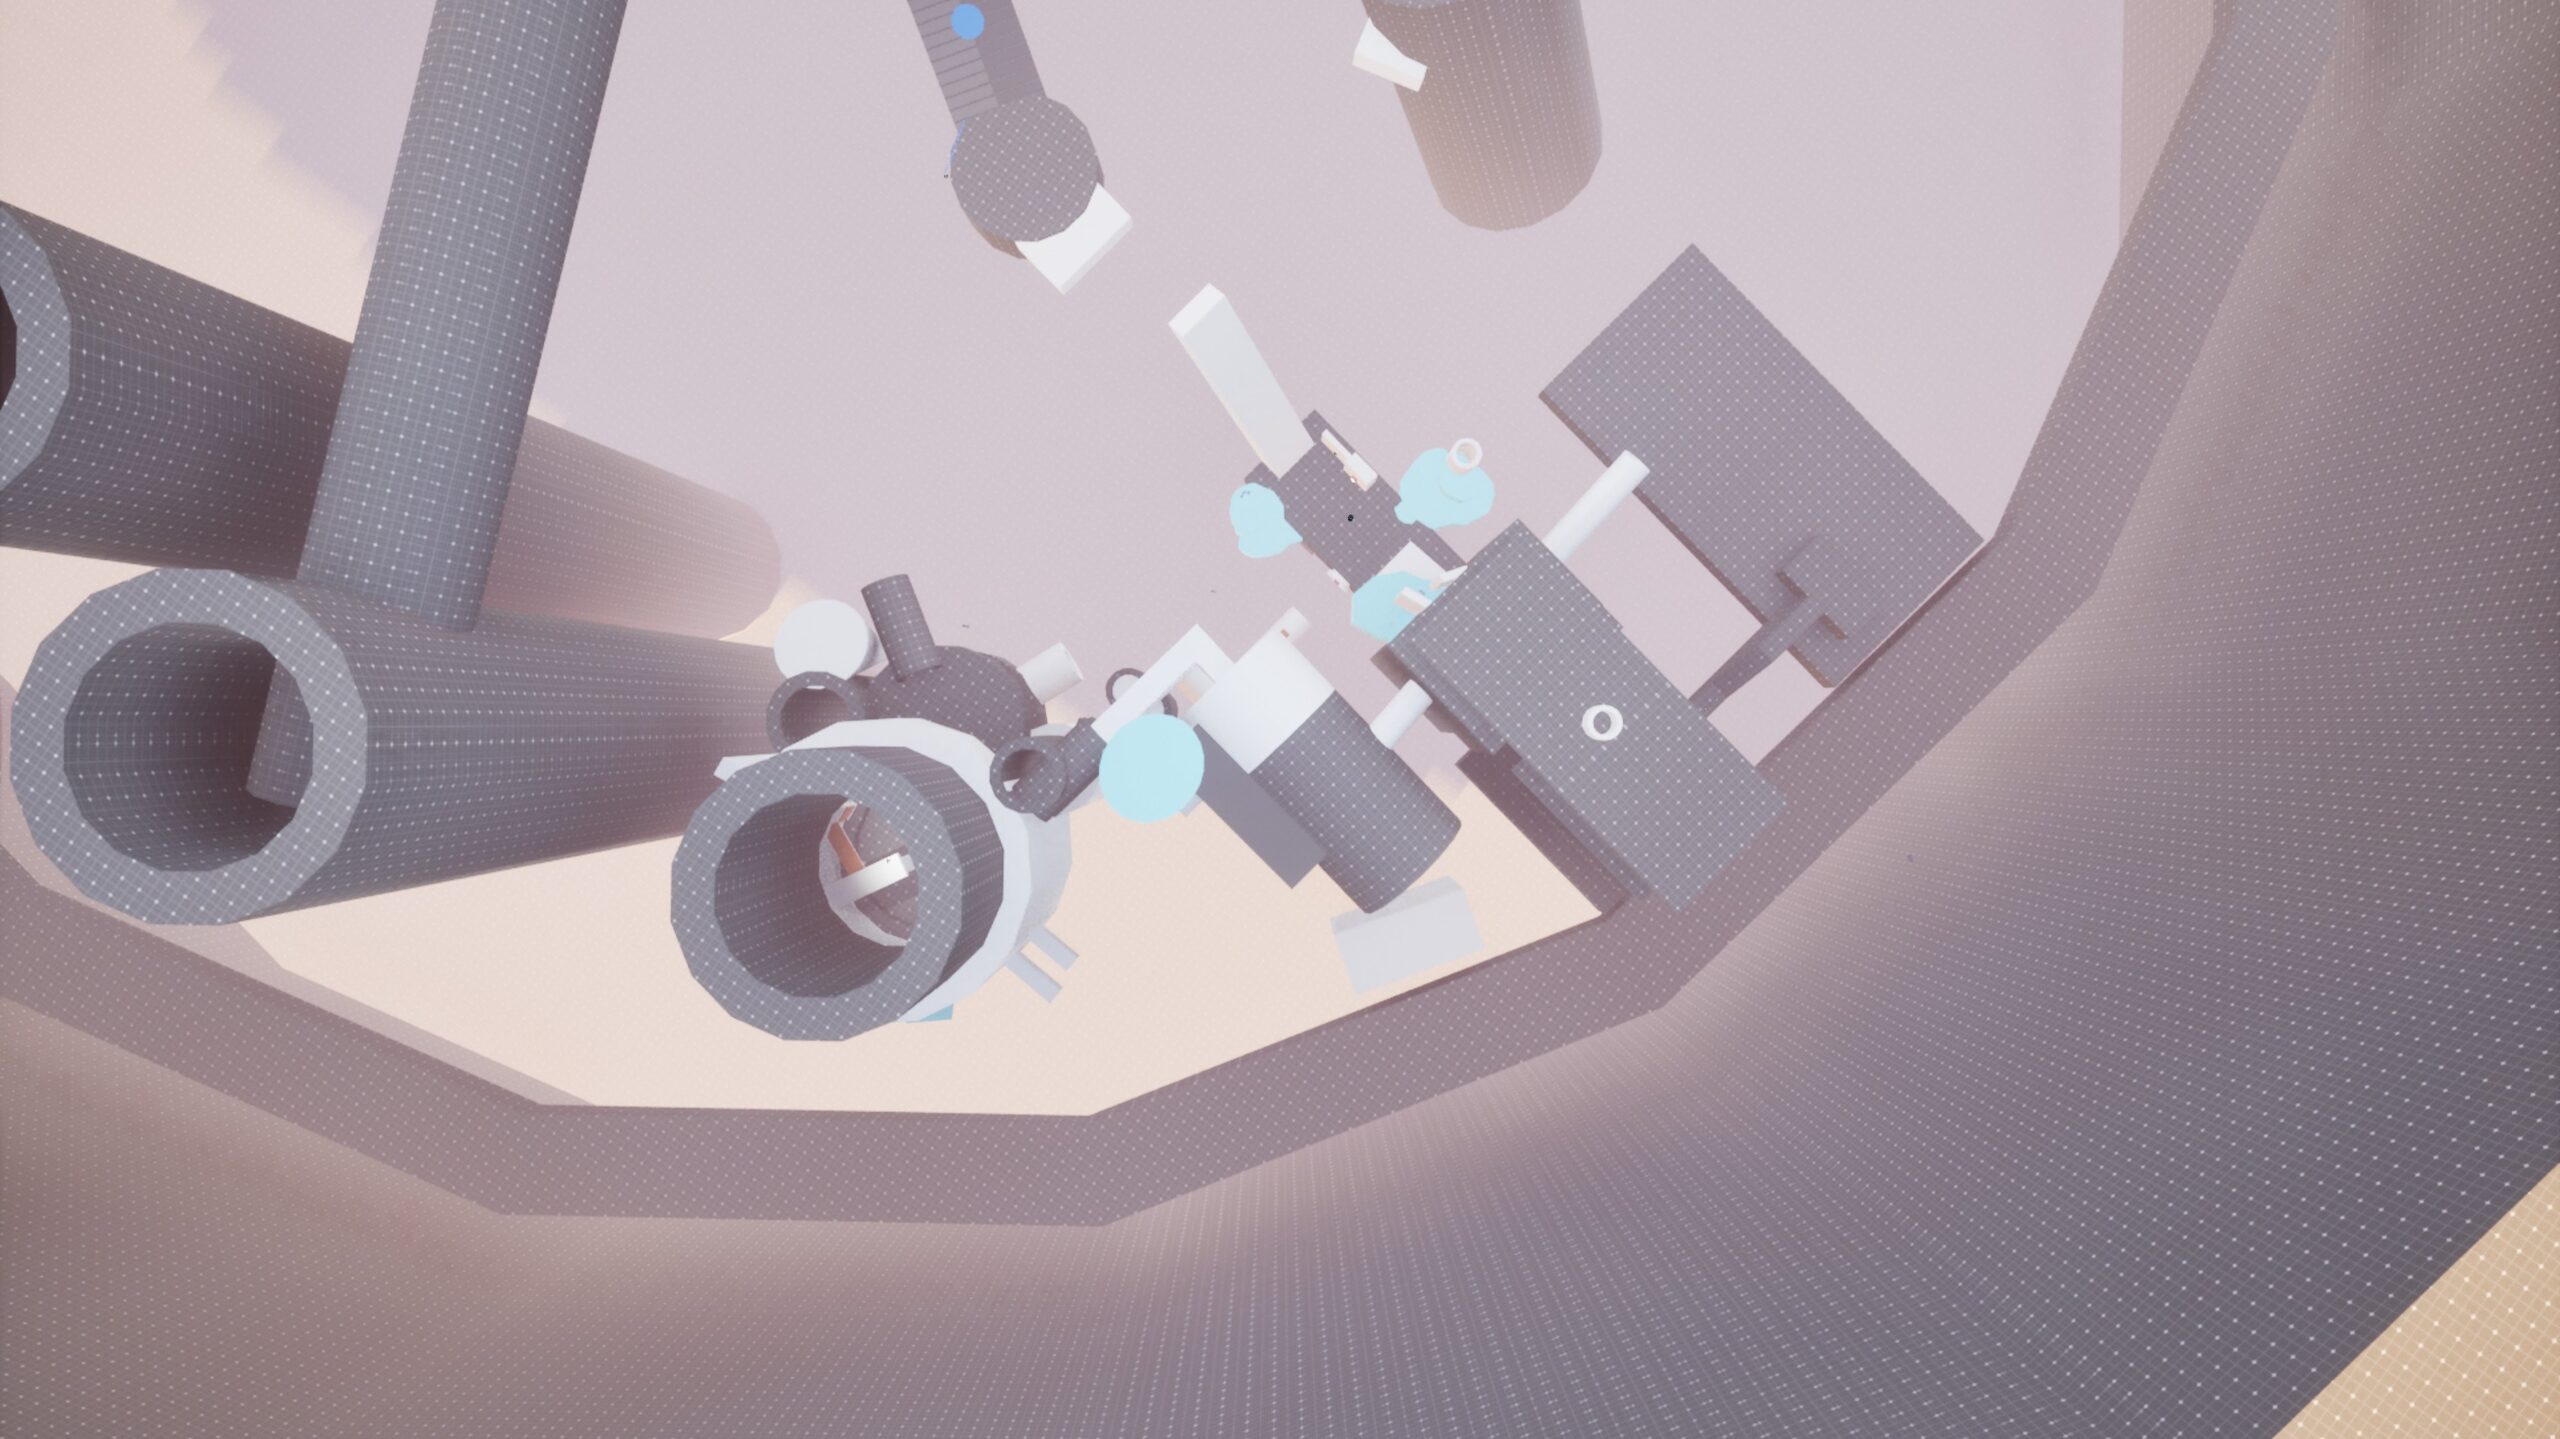
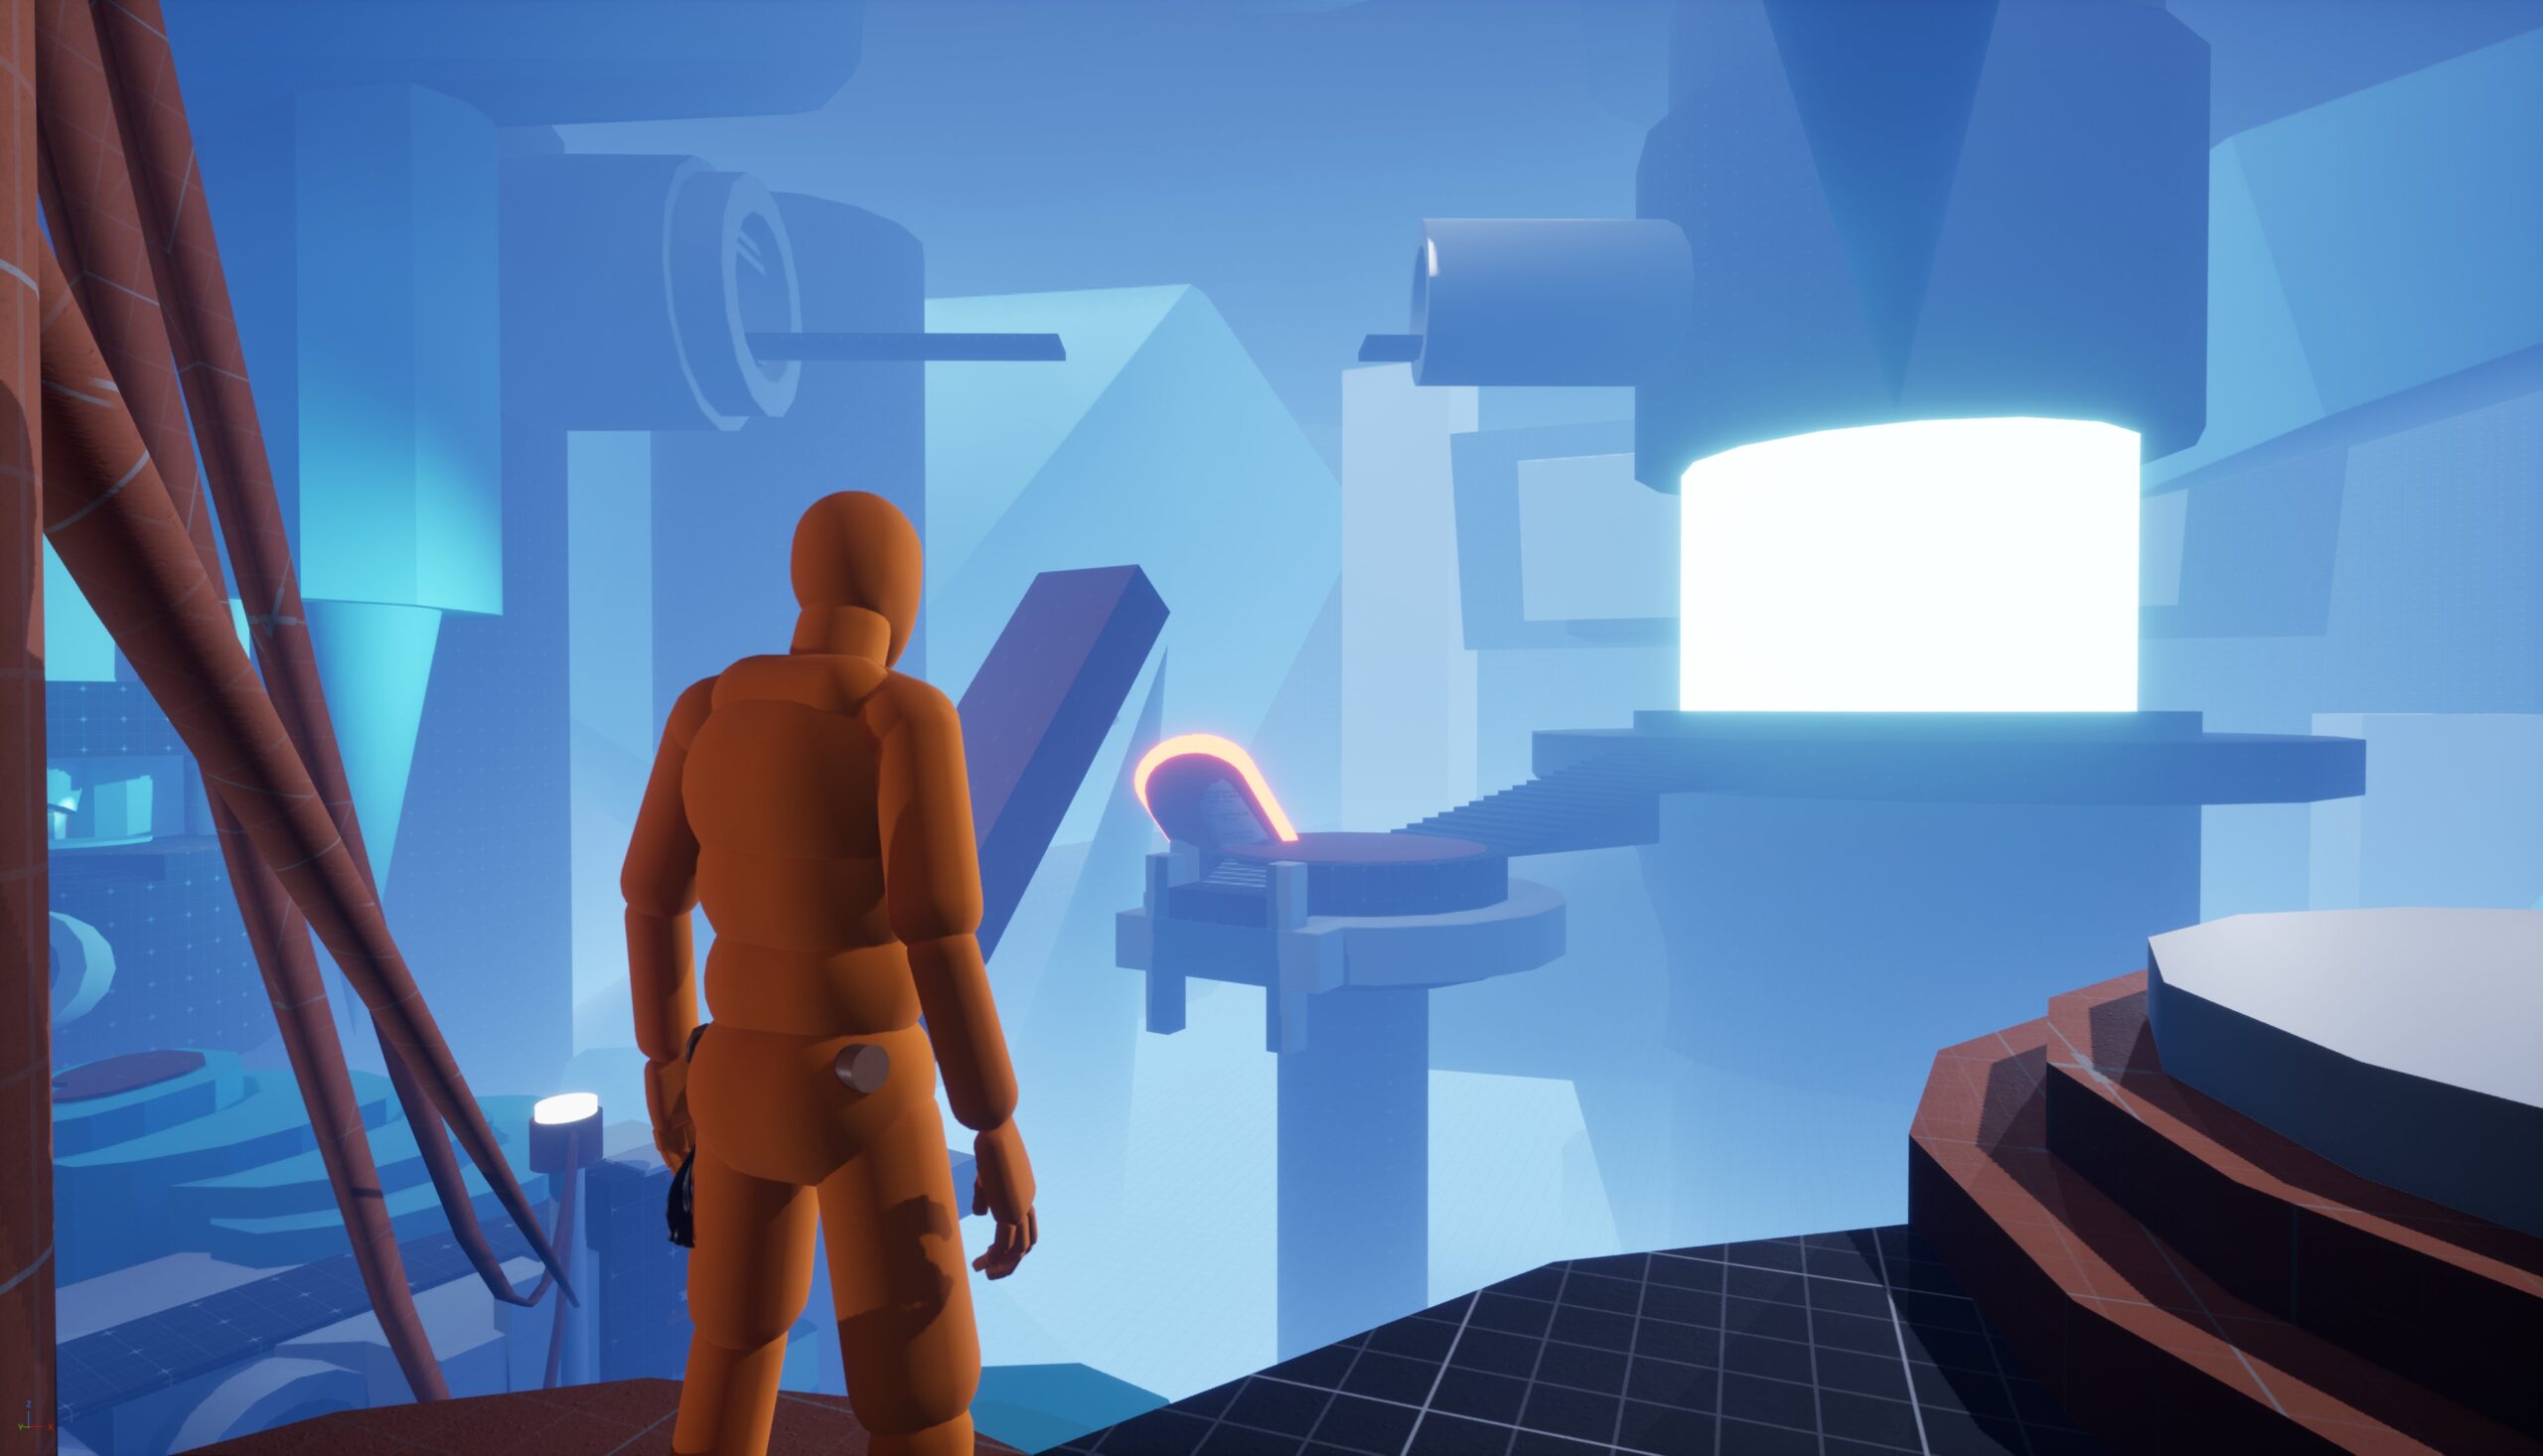
Squeezing through the crack reveals an enormous subterranean cavern built around a massive, glowing central column. Ada spots her team’s escape pod crashed in the distance. Navigate across a network of fractured pipelines to reach an elevated bridge
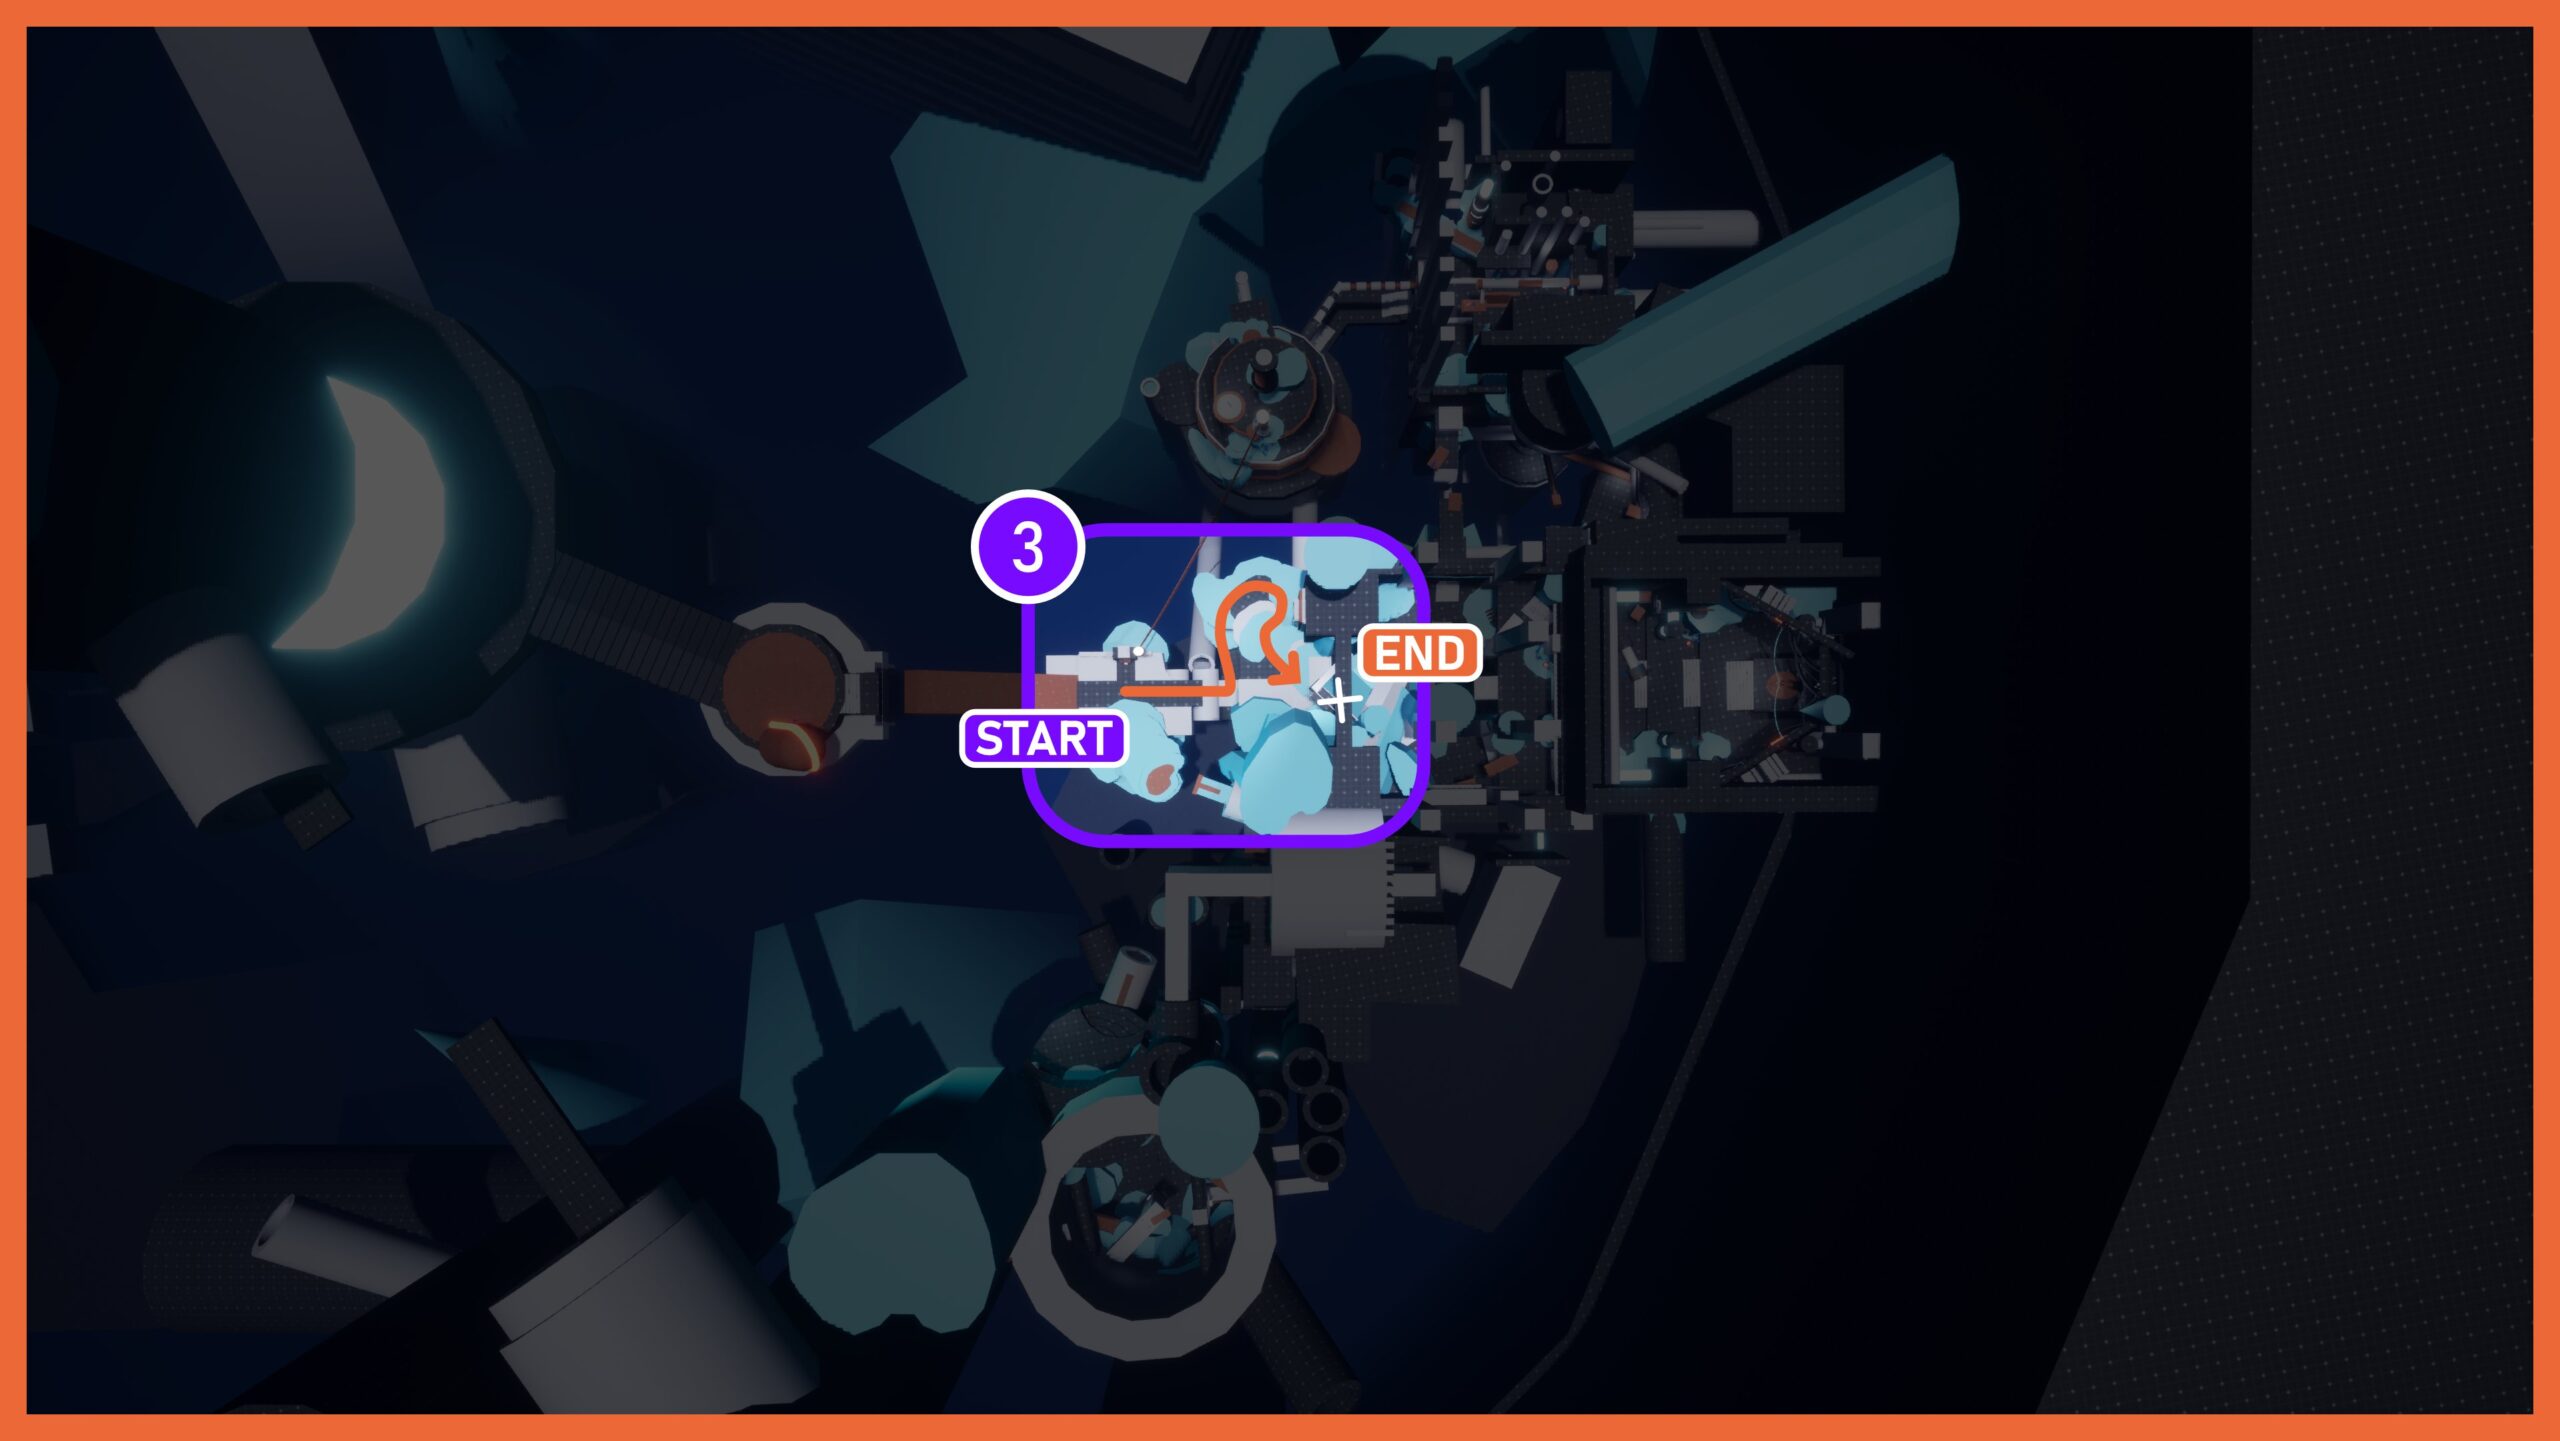
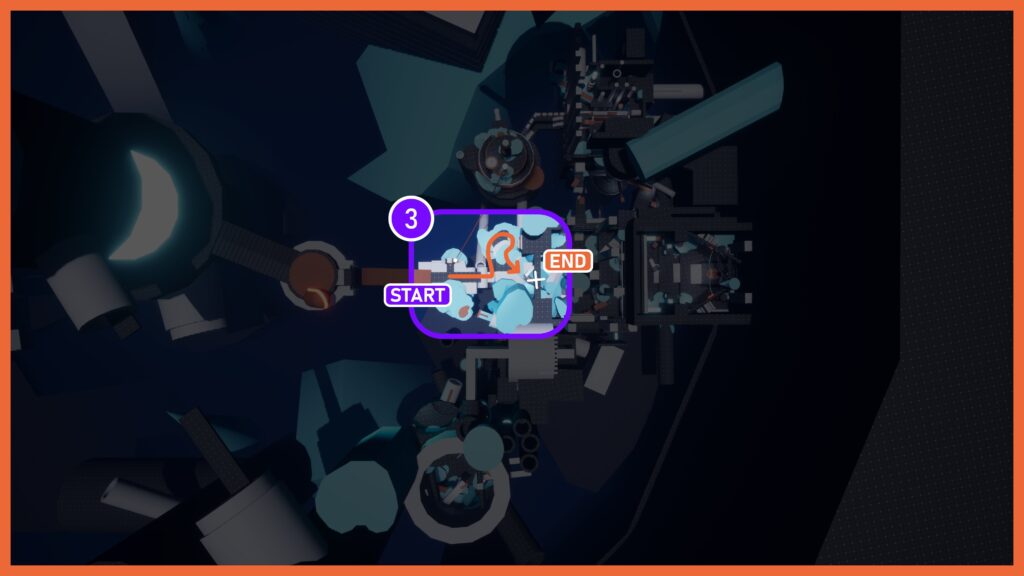
Beat 3: Bridge has no energy, investigate the adjacent structure.
The bridge terminal indicates a total loss of power, pointing toward heavy cables connected to a looming nearby tower. The entrance to the ancient temple behind Ada appears to be the only viable route forward.
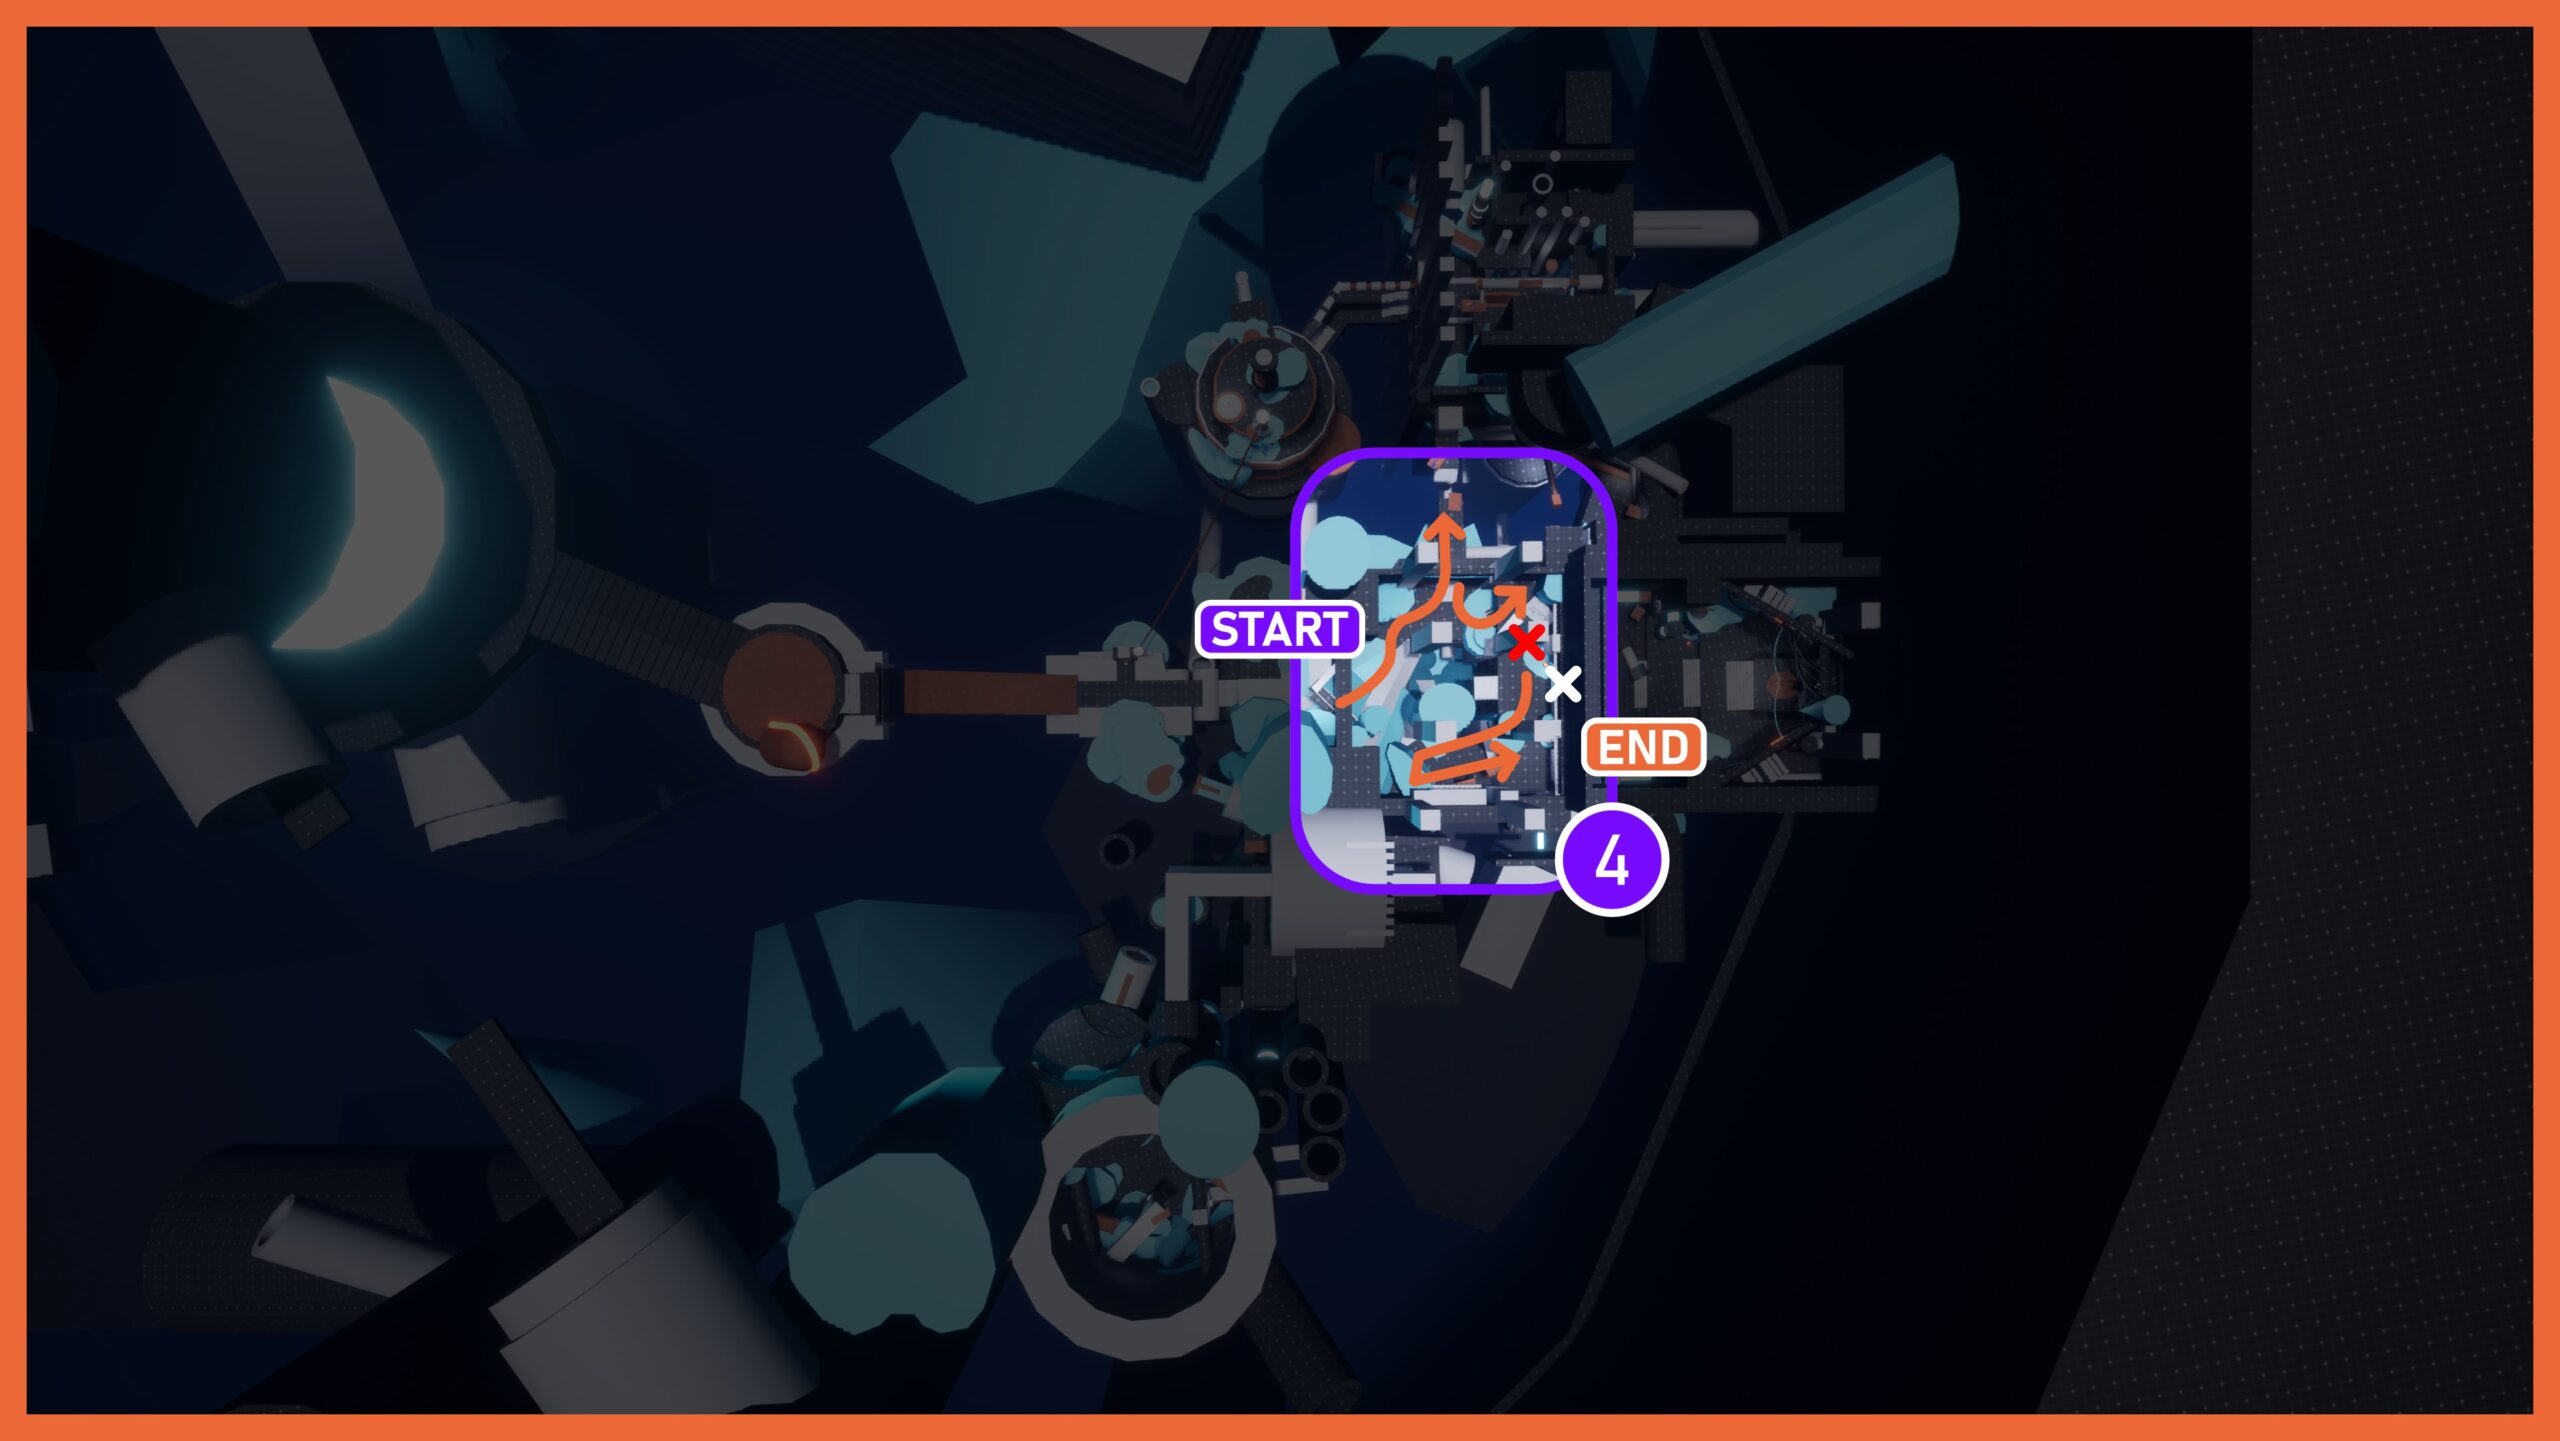
Beat 4: Explore the temple to locate a power source.
After forcing open and sliding under jammed structural doors, human remains begin to appear. Following them leads to a dead end overlooking the generators. Doubling back reveals a hidden side path where Ada discovers a pistol—and encounters the deadly entities that slaughtered the team before her.
Beat 5: The cyborg asks for help. Free him.
Crawling through a glowing doorway, Ada discovers a heavily modified cyborg chained to the machinery, begging to be released. Fend off an ambush of awakening robotic zombies, then platform up the machinery to disconnect the power plugs binding him.
Beat 6: Survive the trap and escape the laboratory.
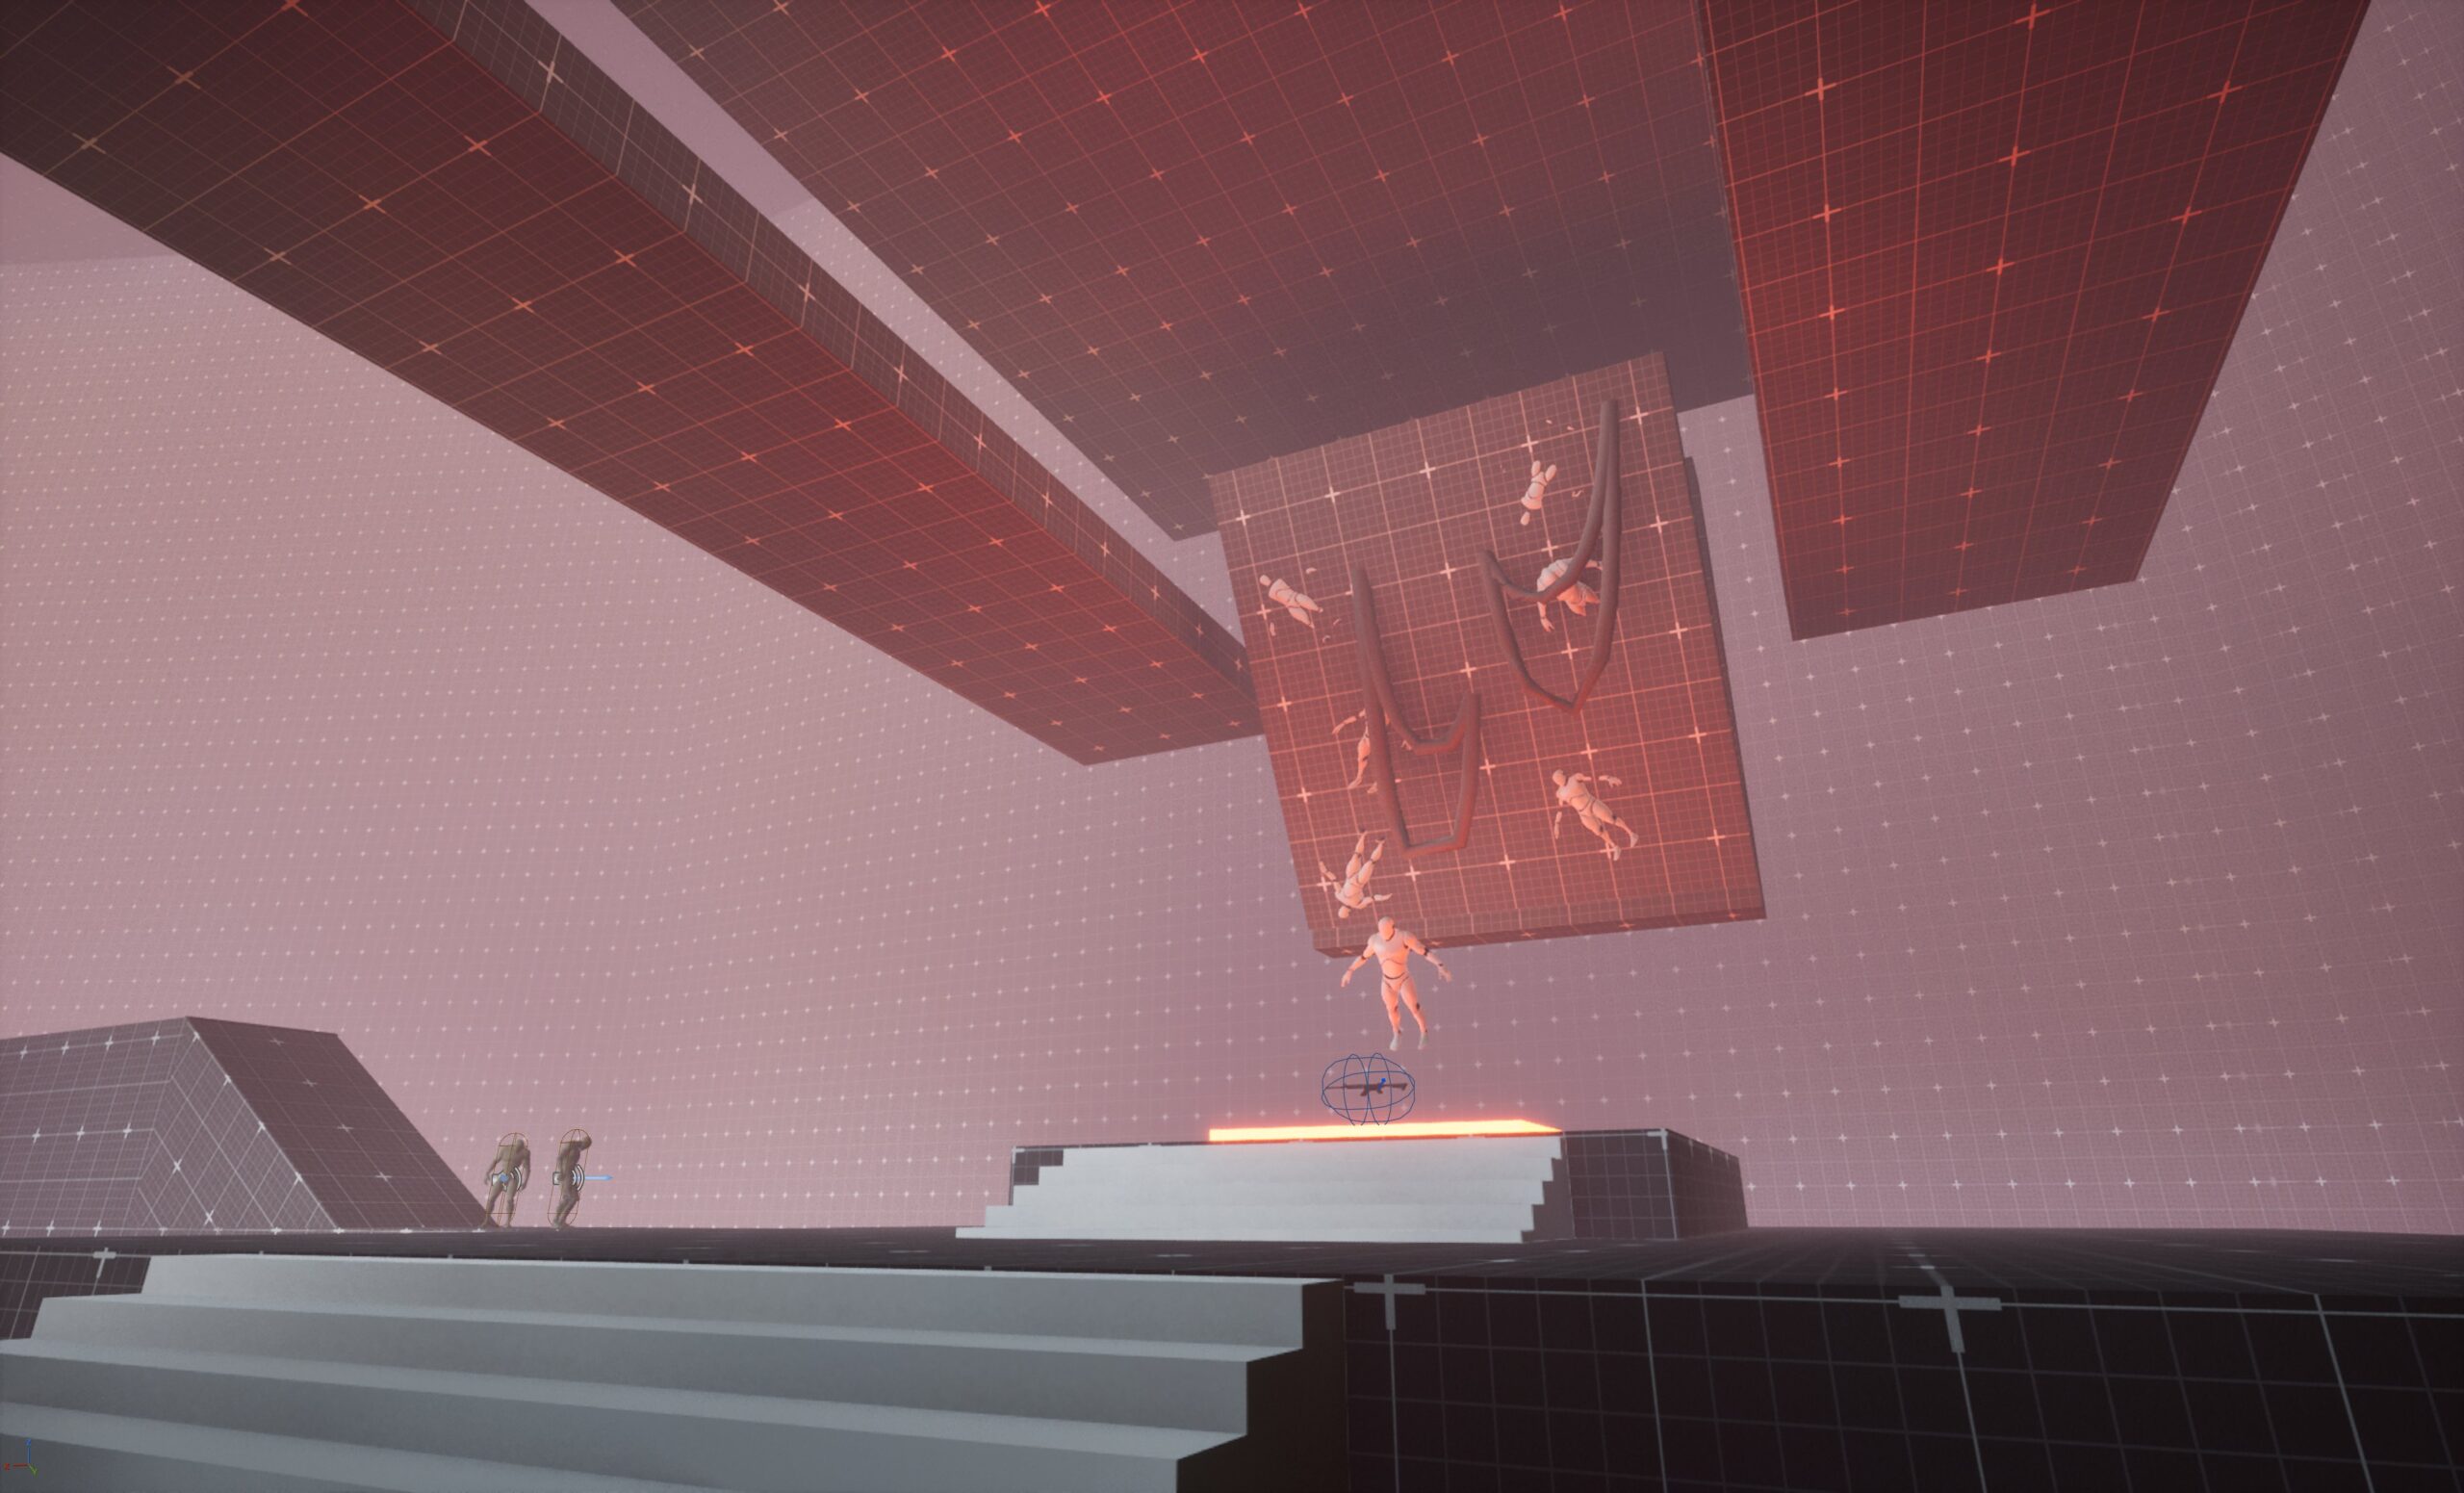
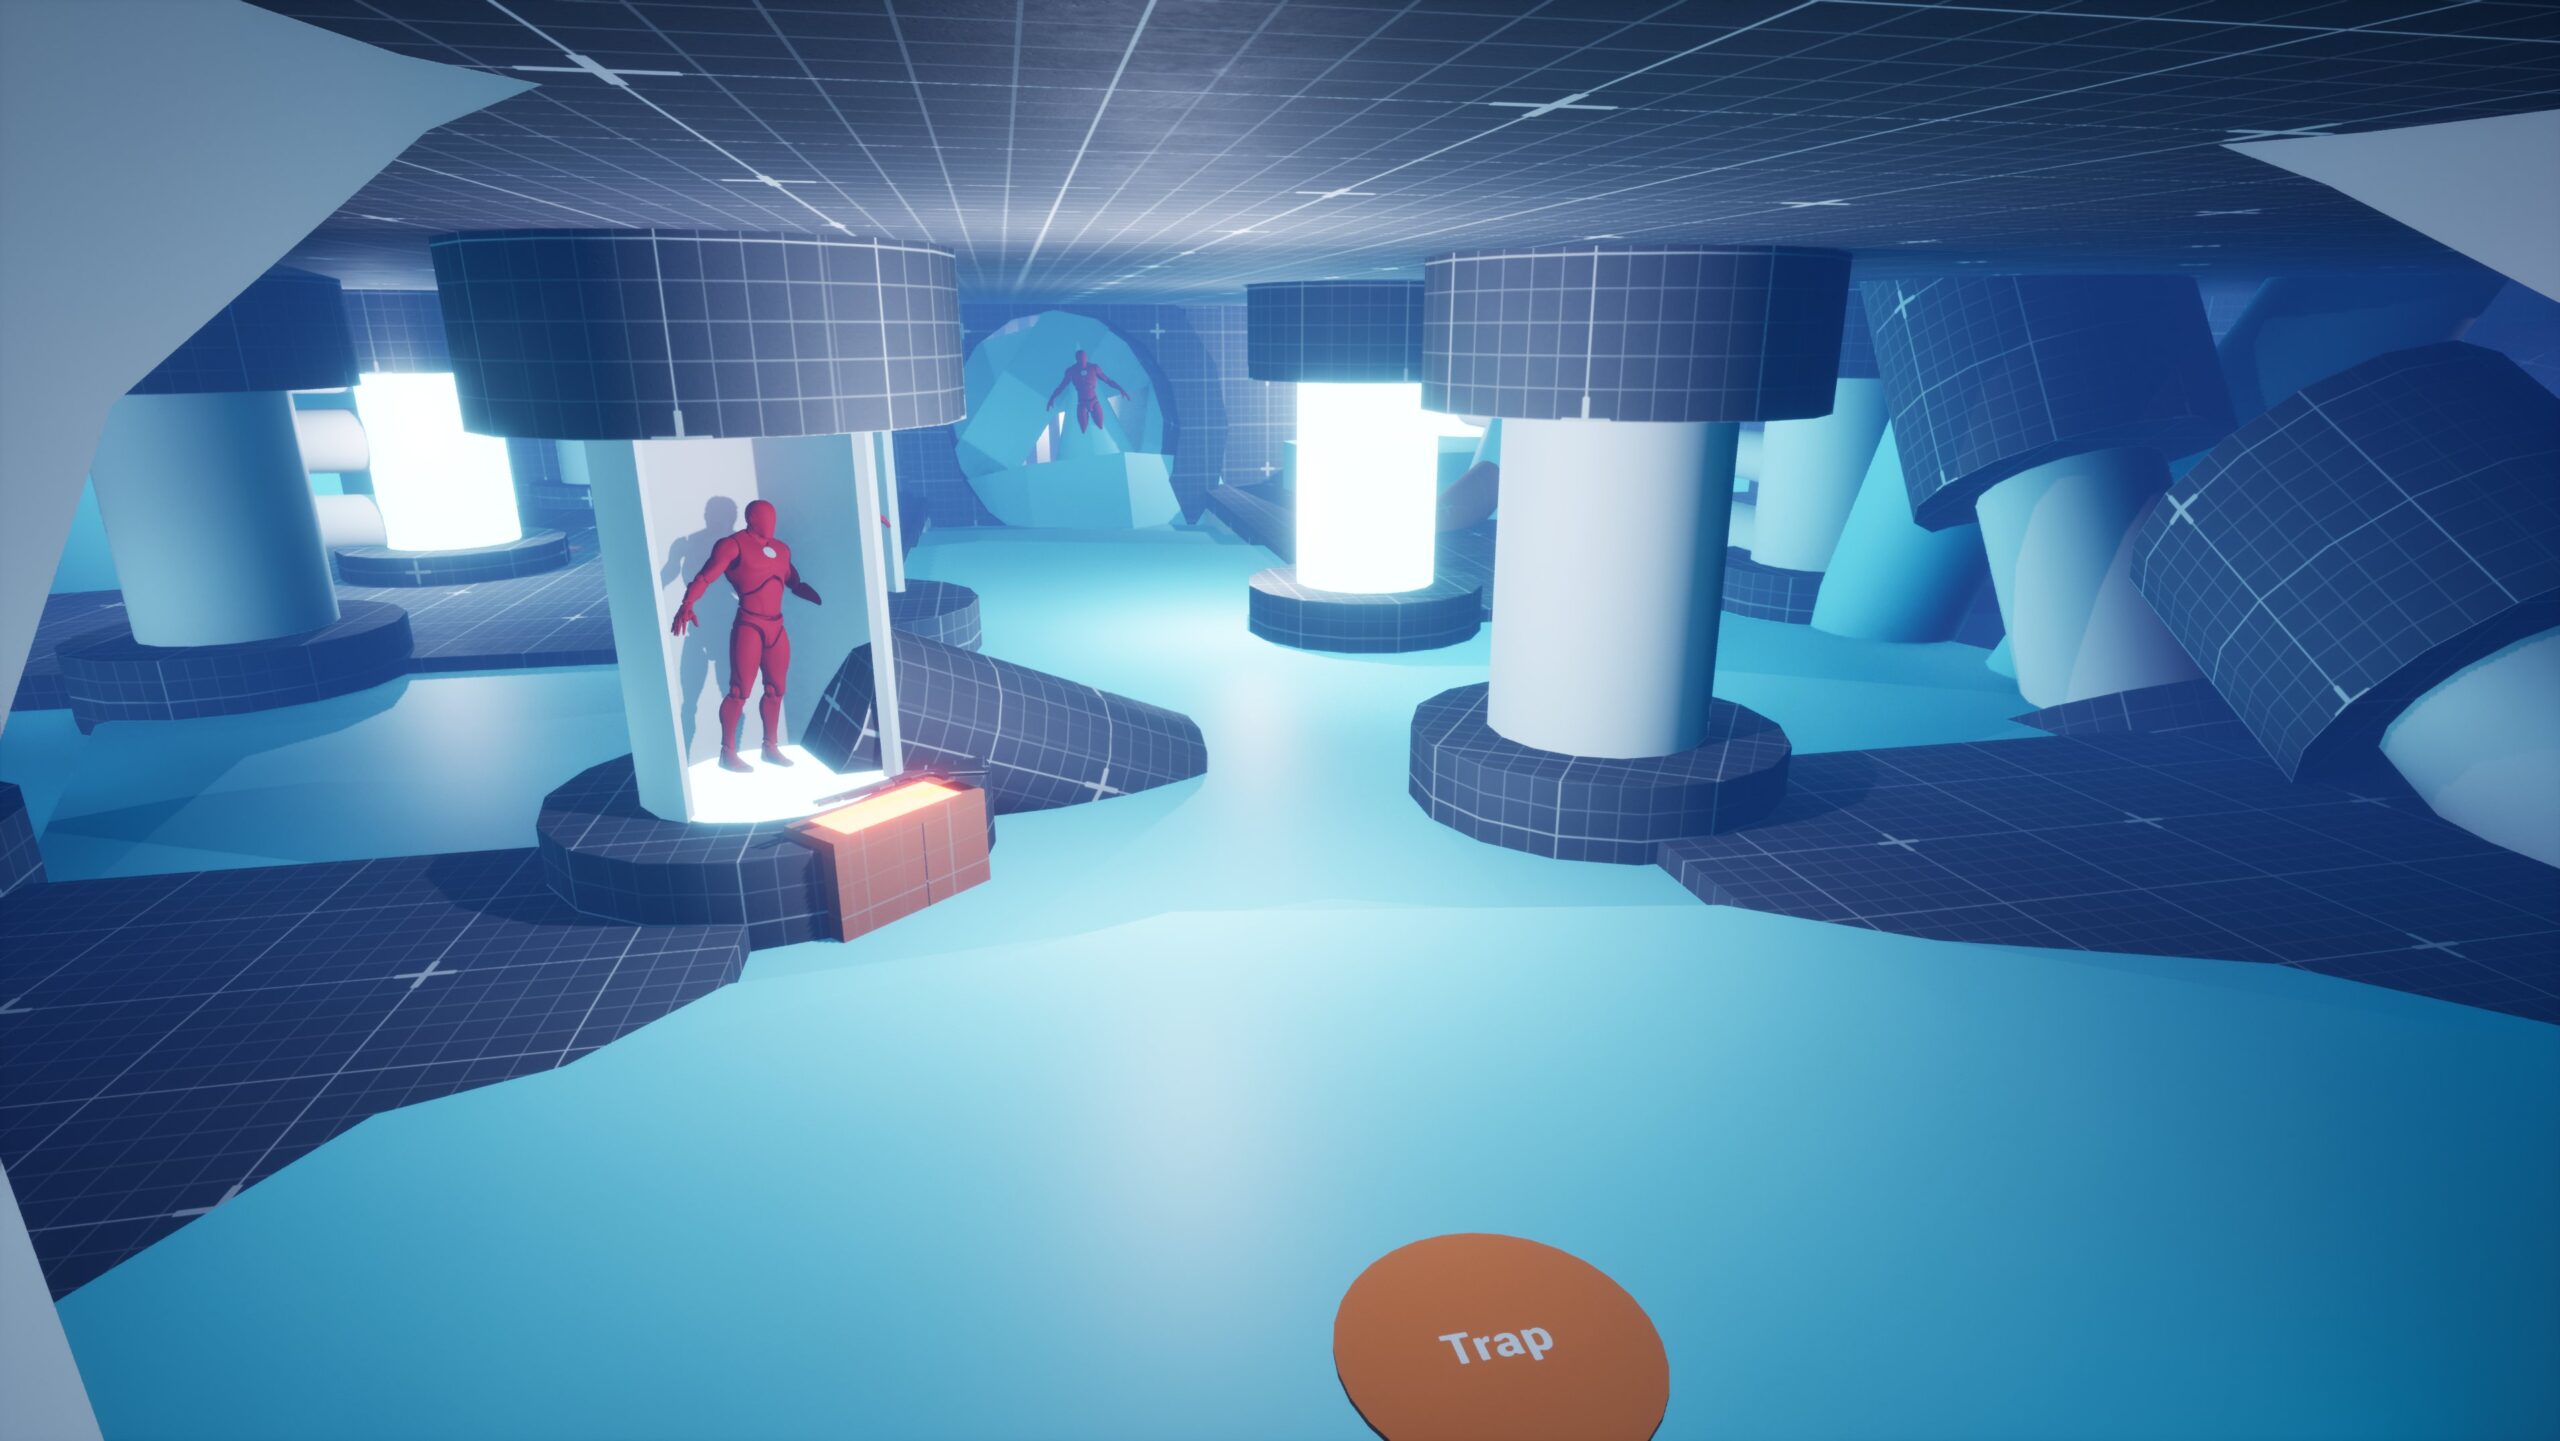
Once severed from the plugs, the freed cyborg warns Ada that the bridge must never be activated, before abruptly launching her down a disposal chute. Ada plunges into a sprawling laboratory filled with stasis tubes that immediately shatter, releasing waves of aggressive enemies. Scavenge the shotgun and fight to survive.
Beat 7: Scale the energy pipelines to reach the Factory.
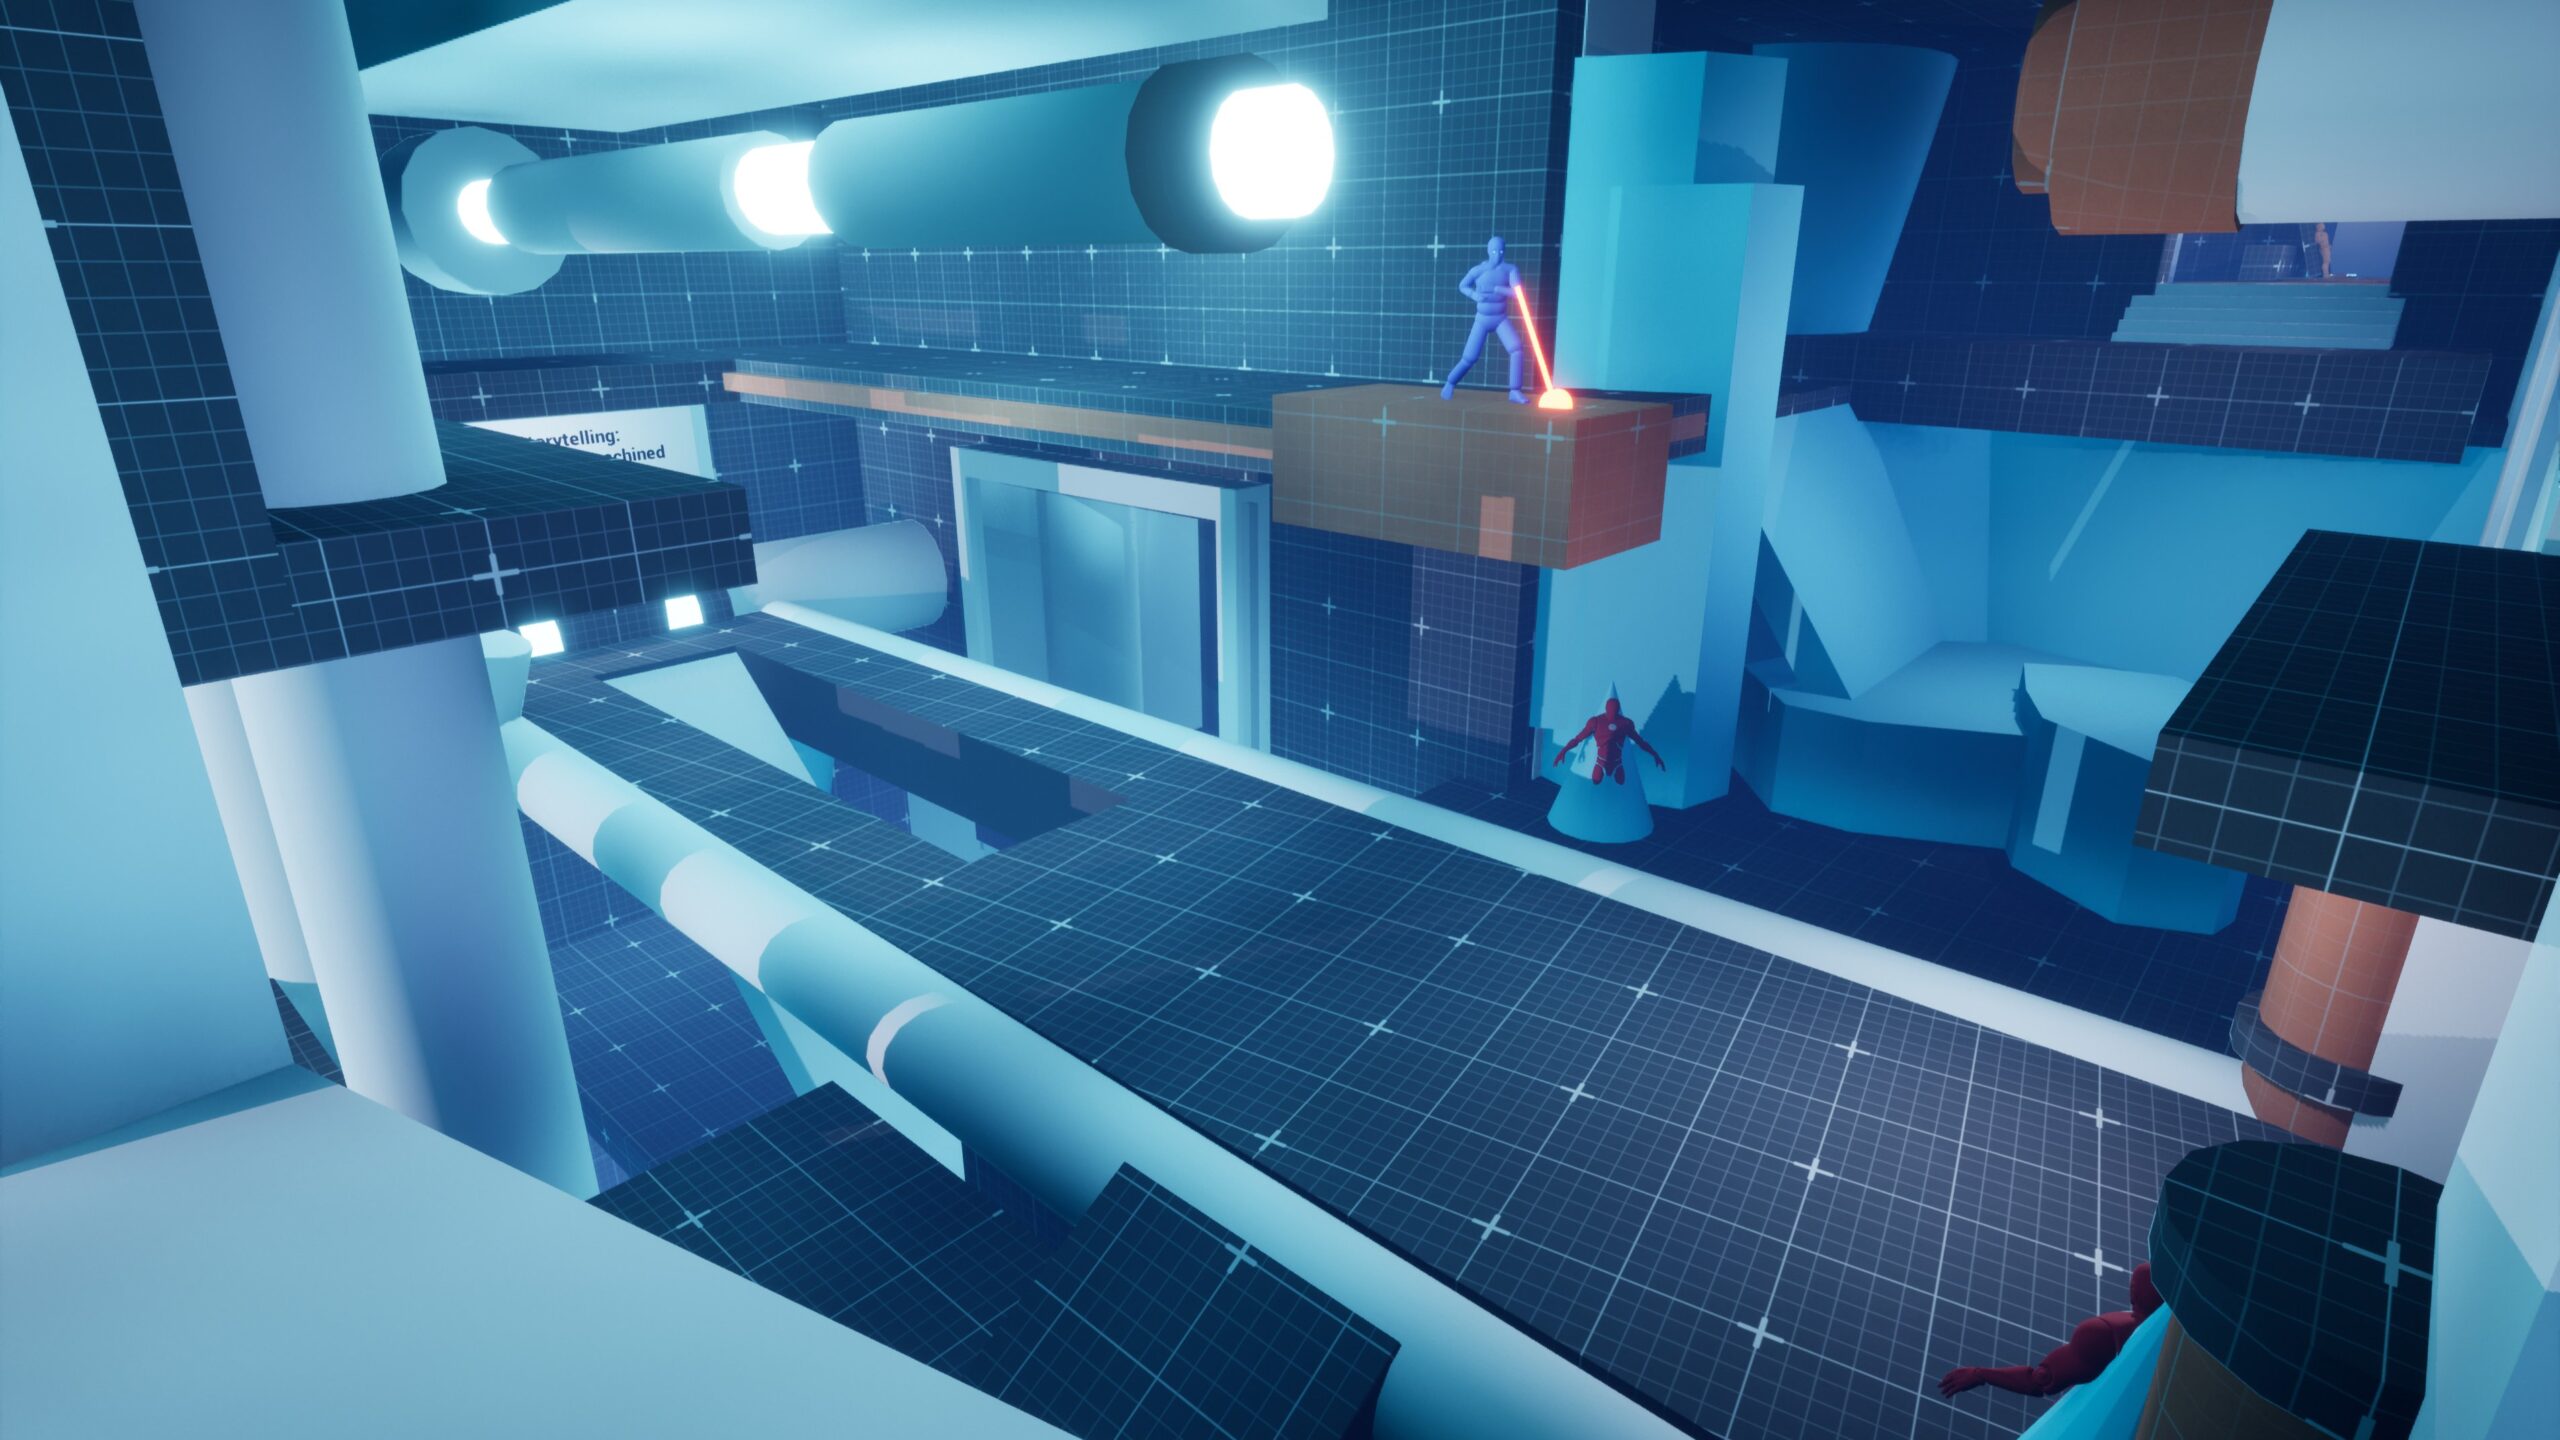
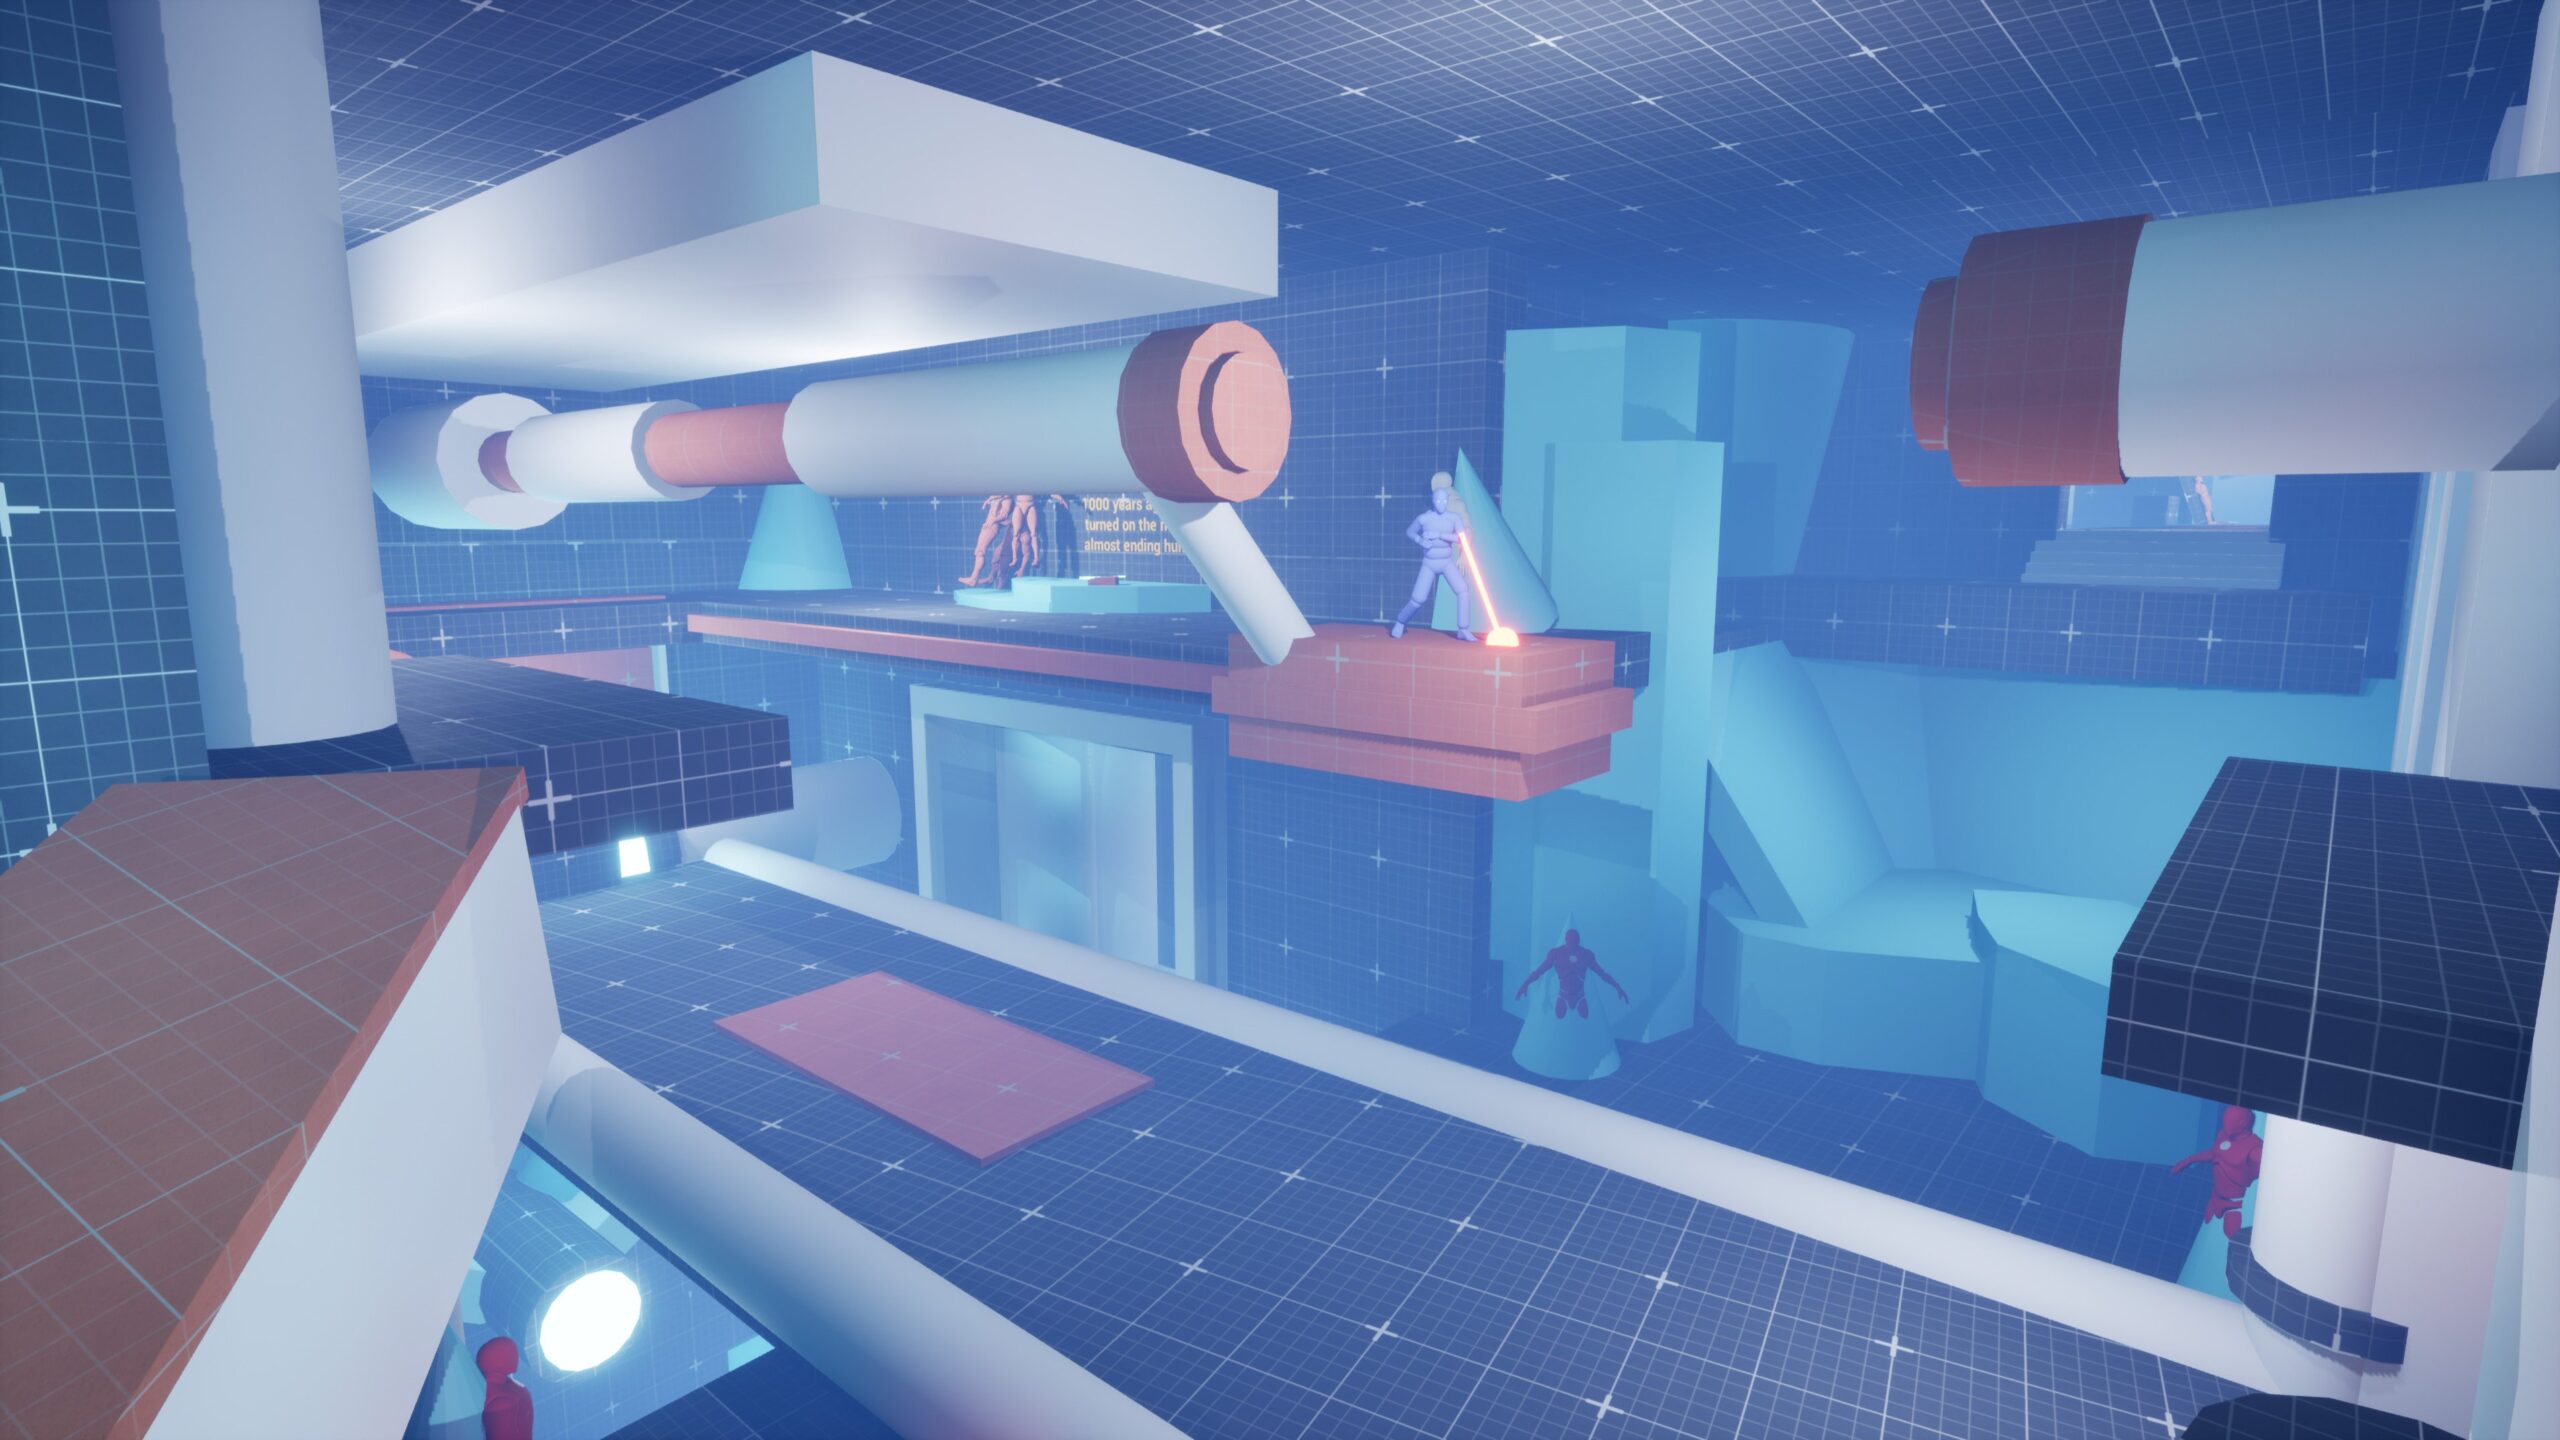
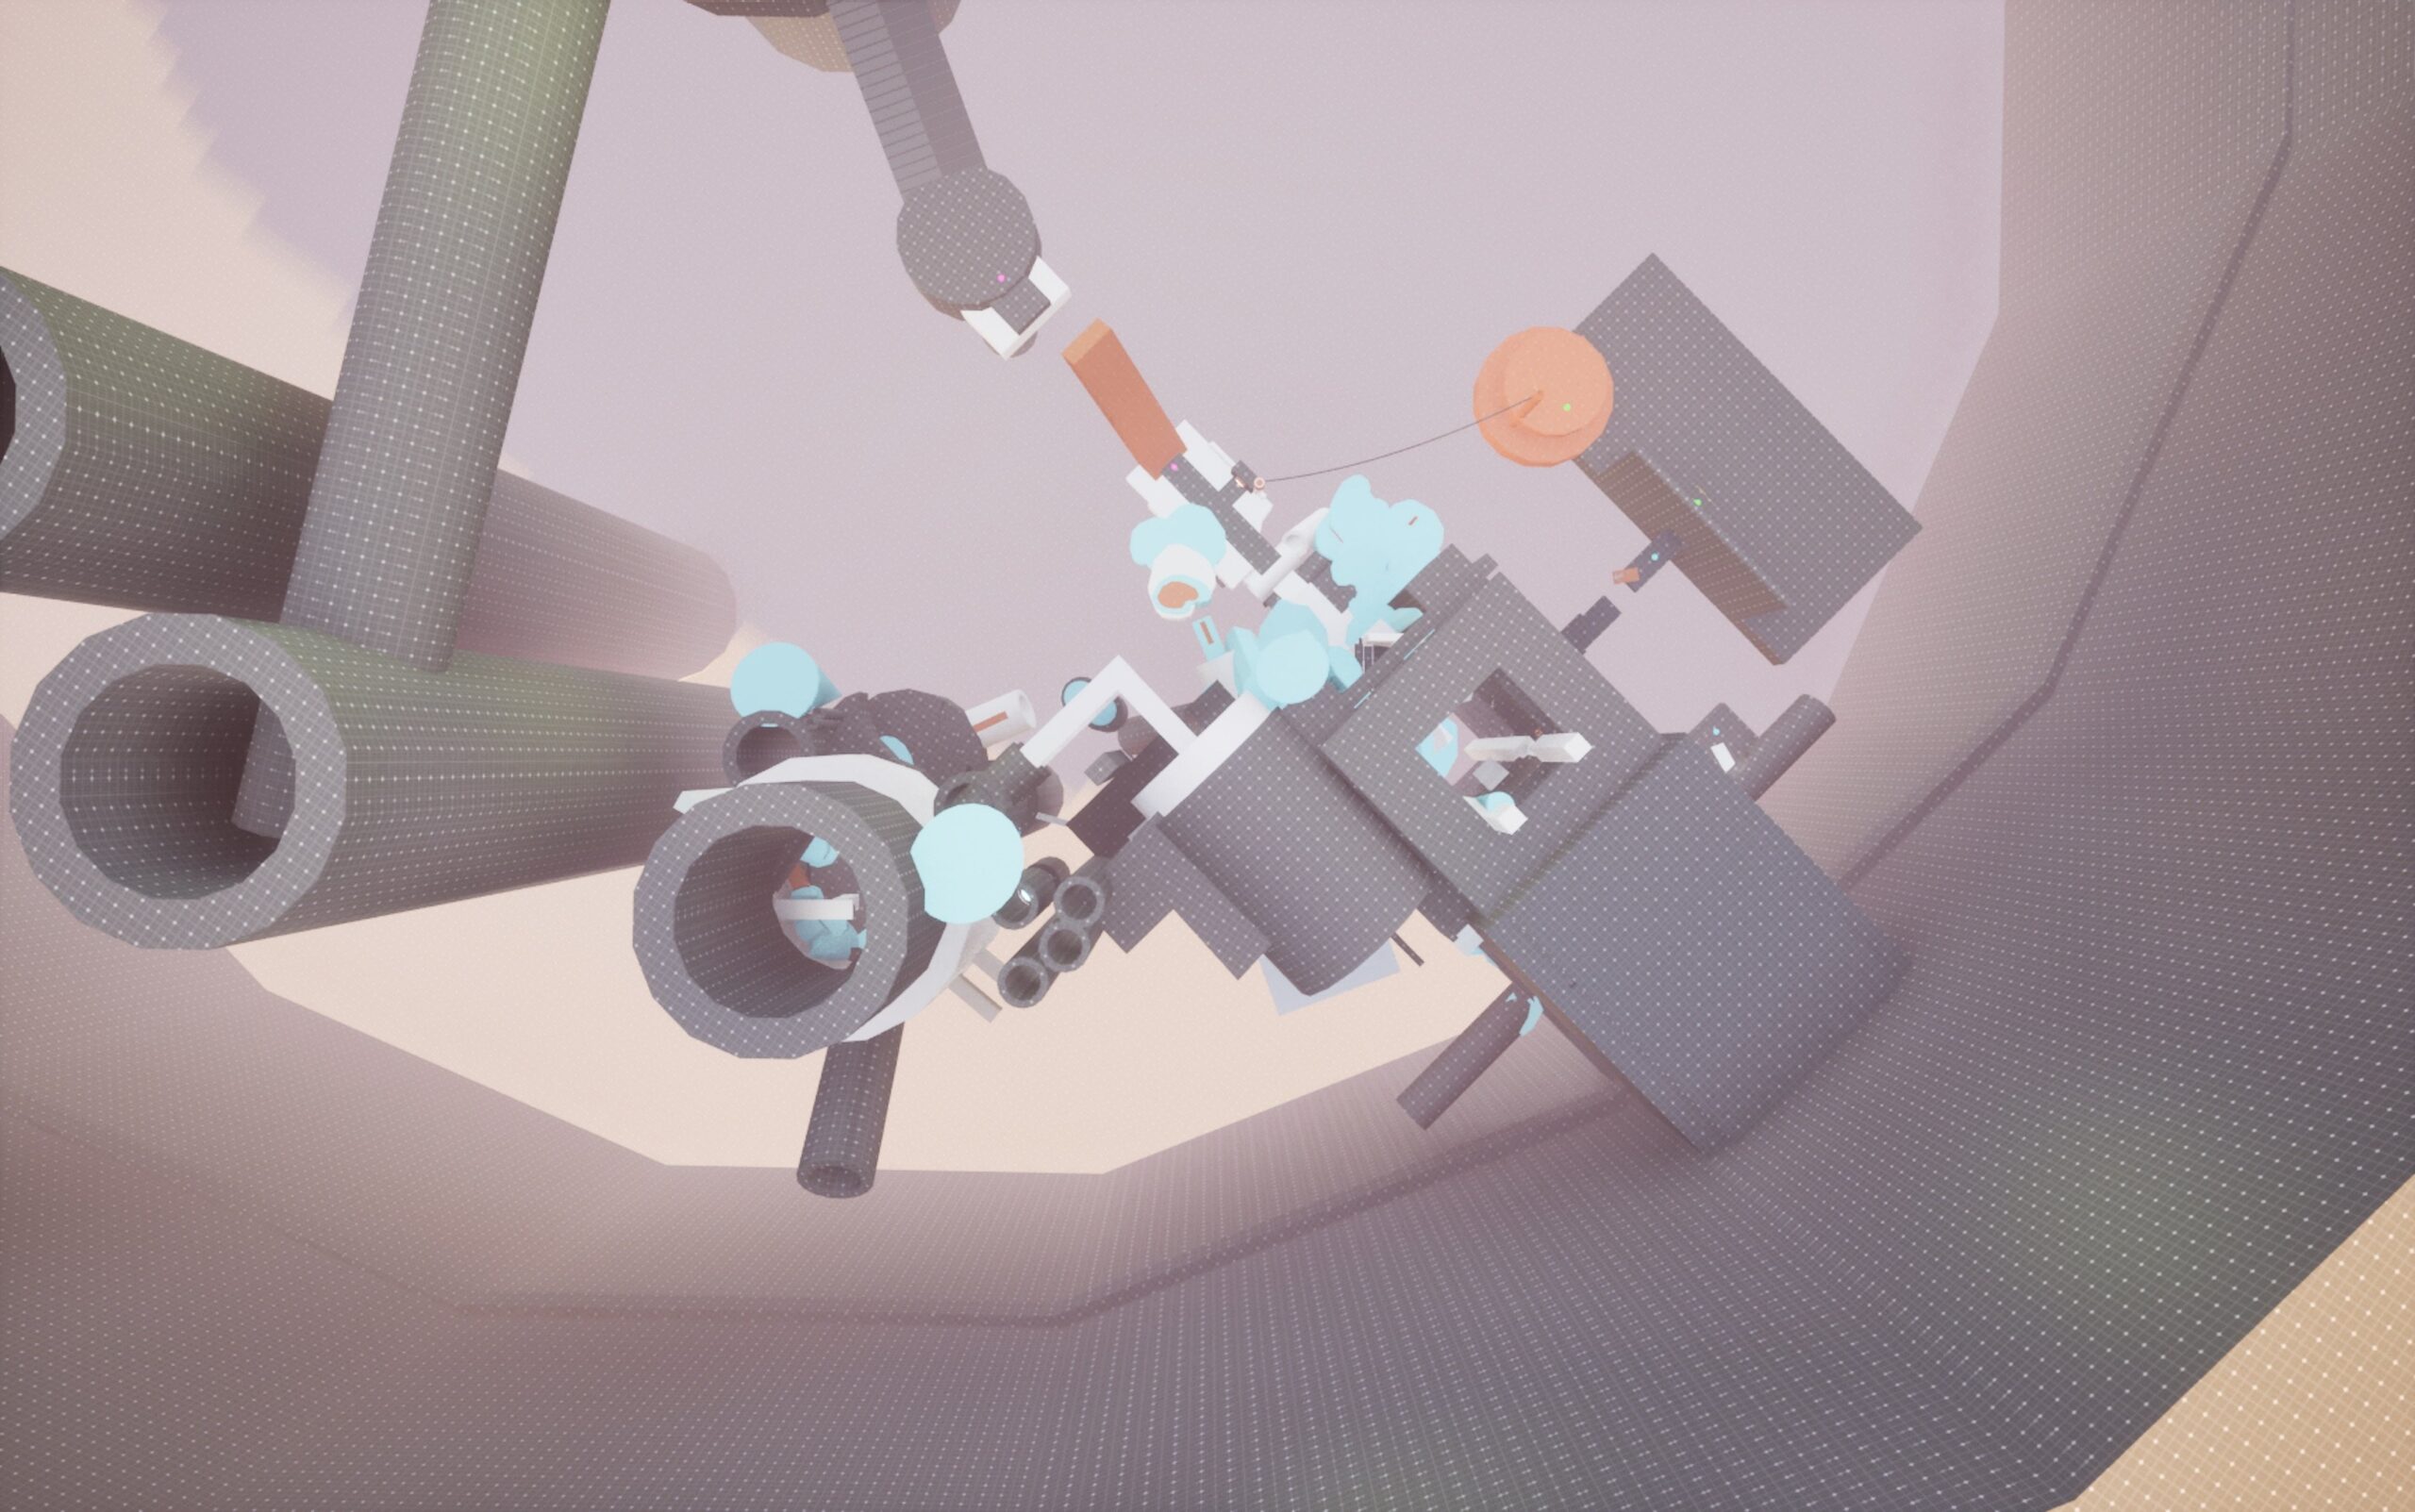
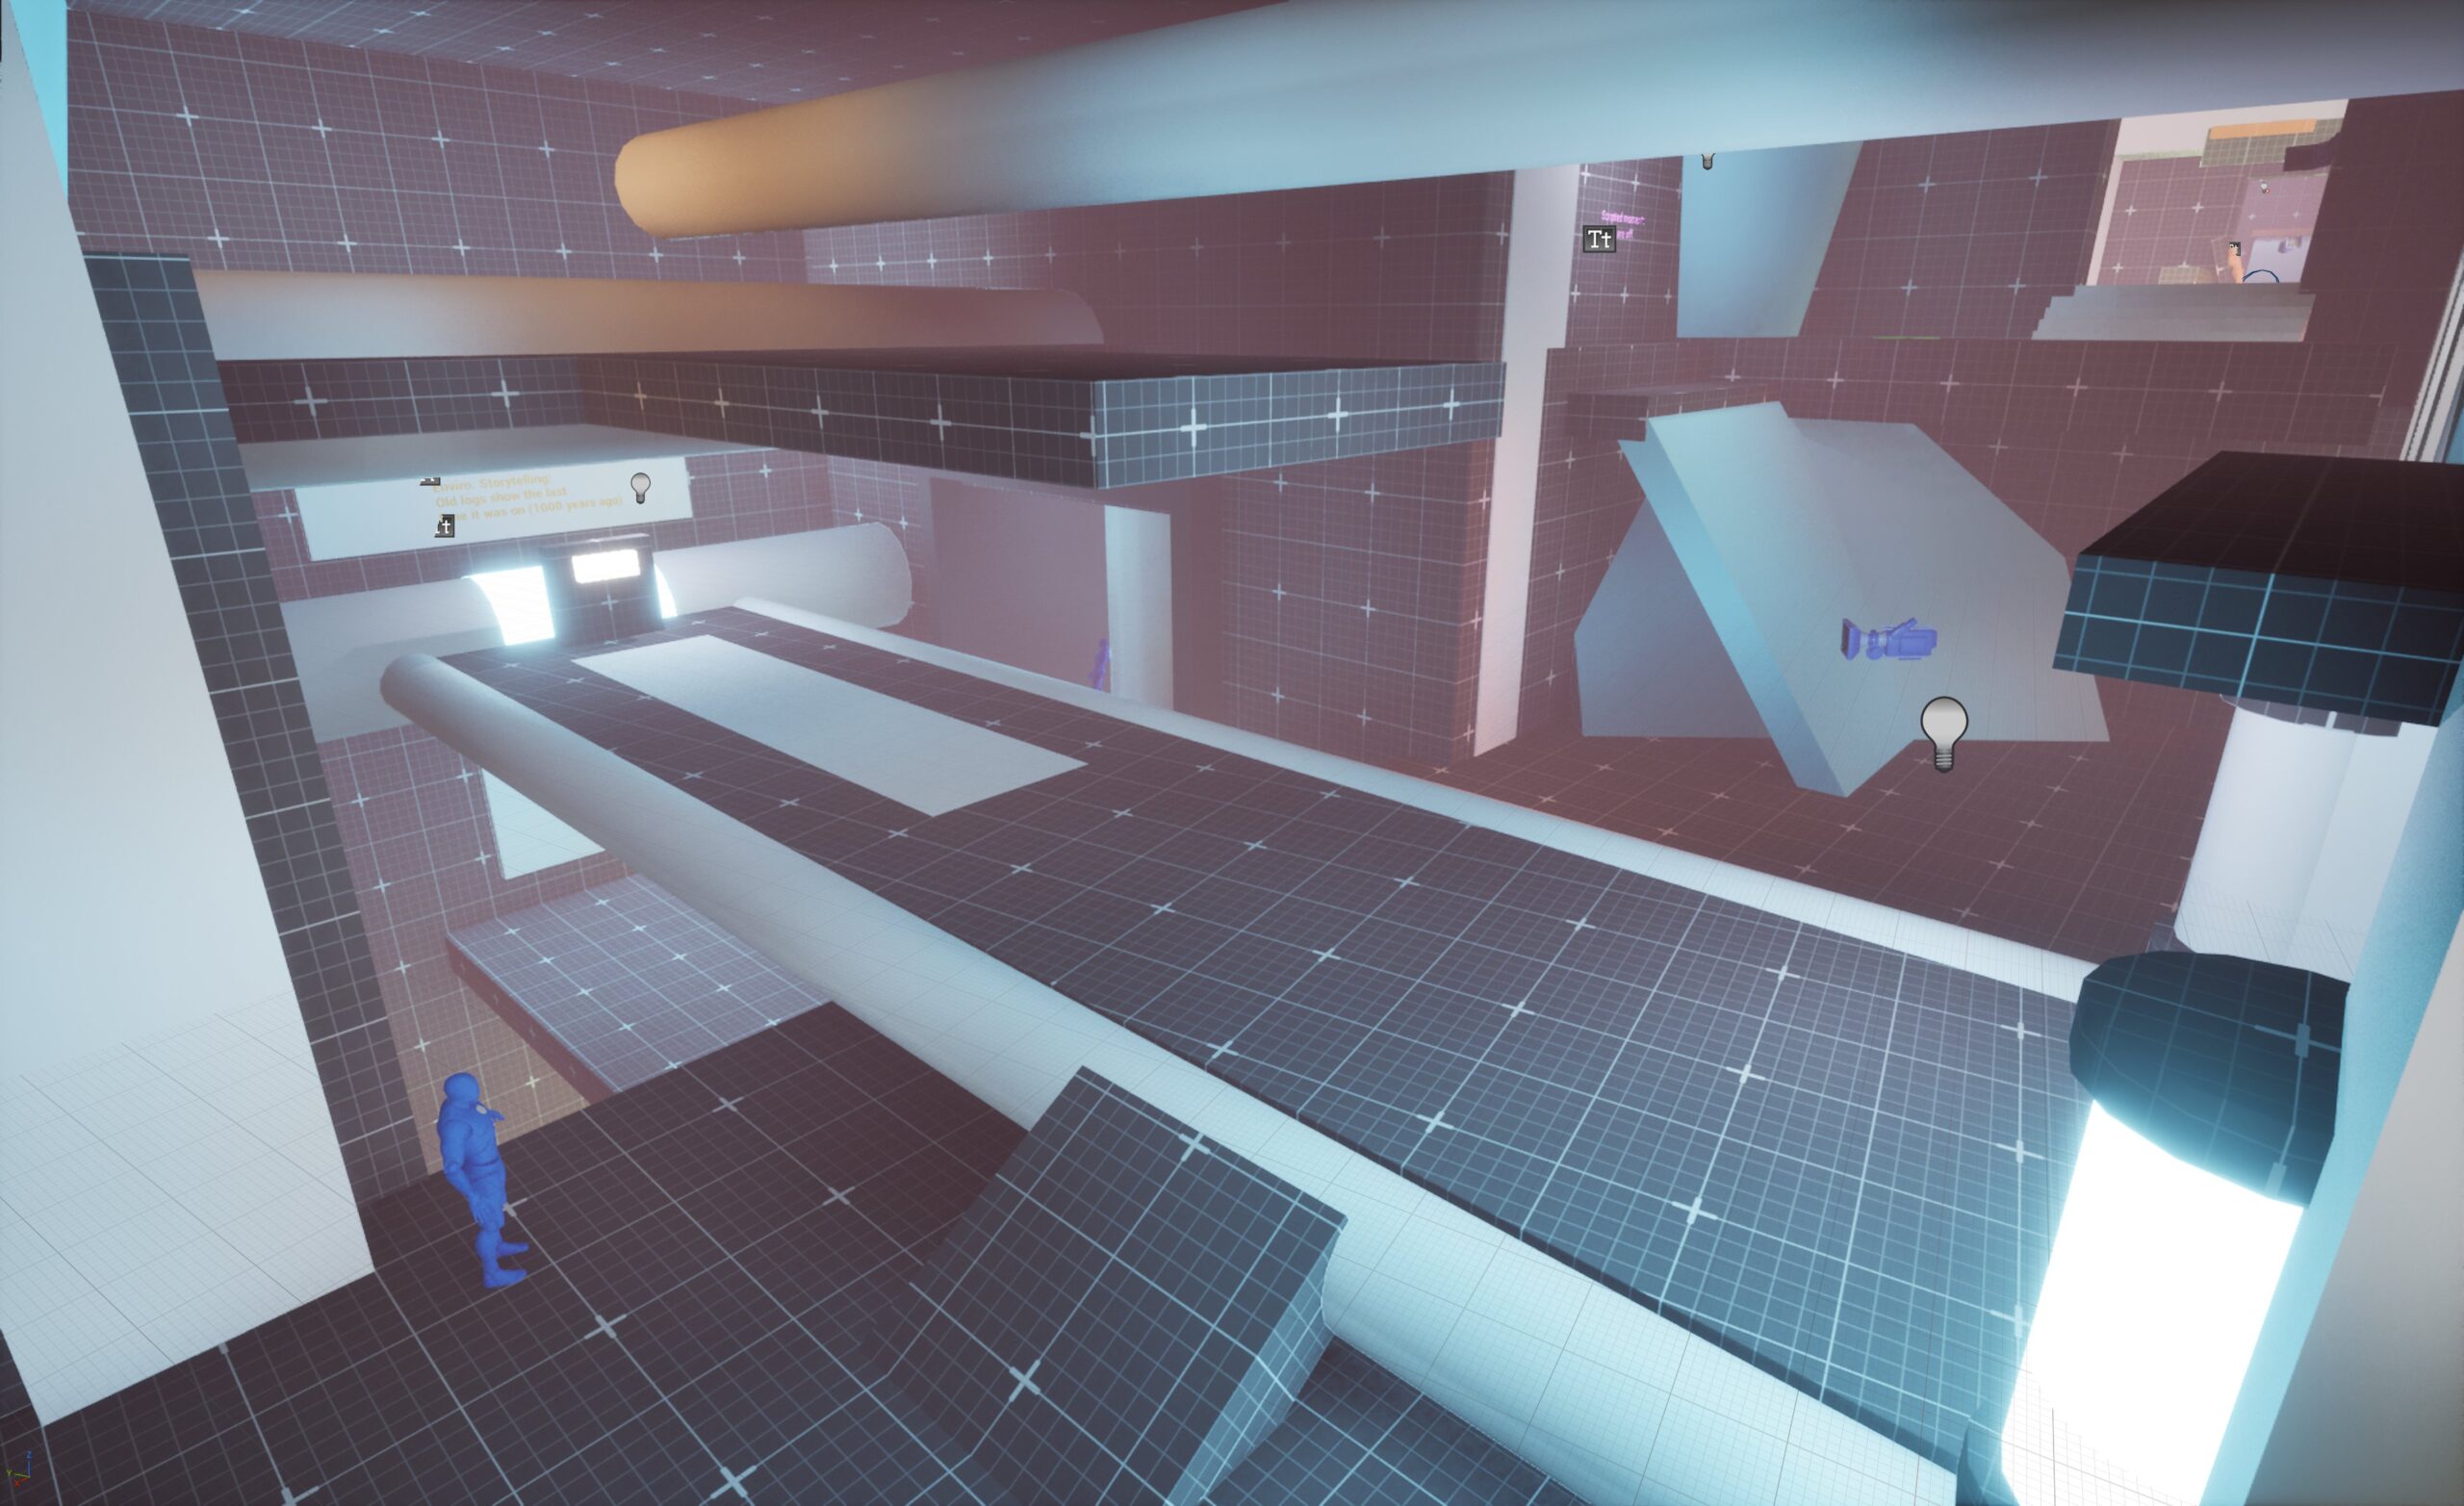
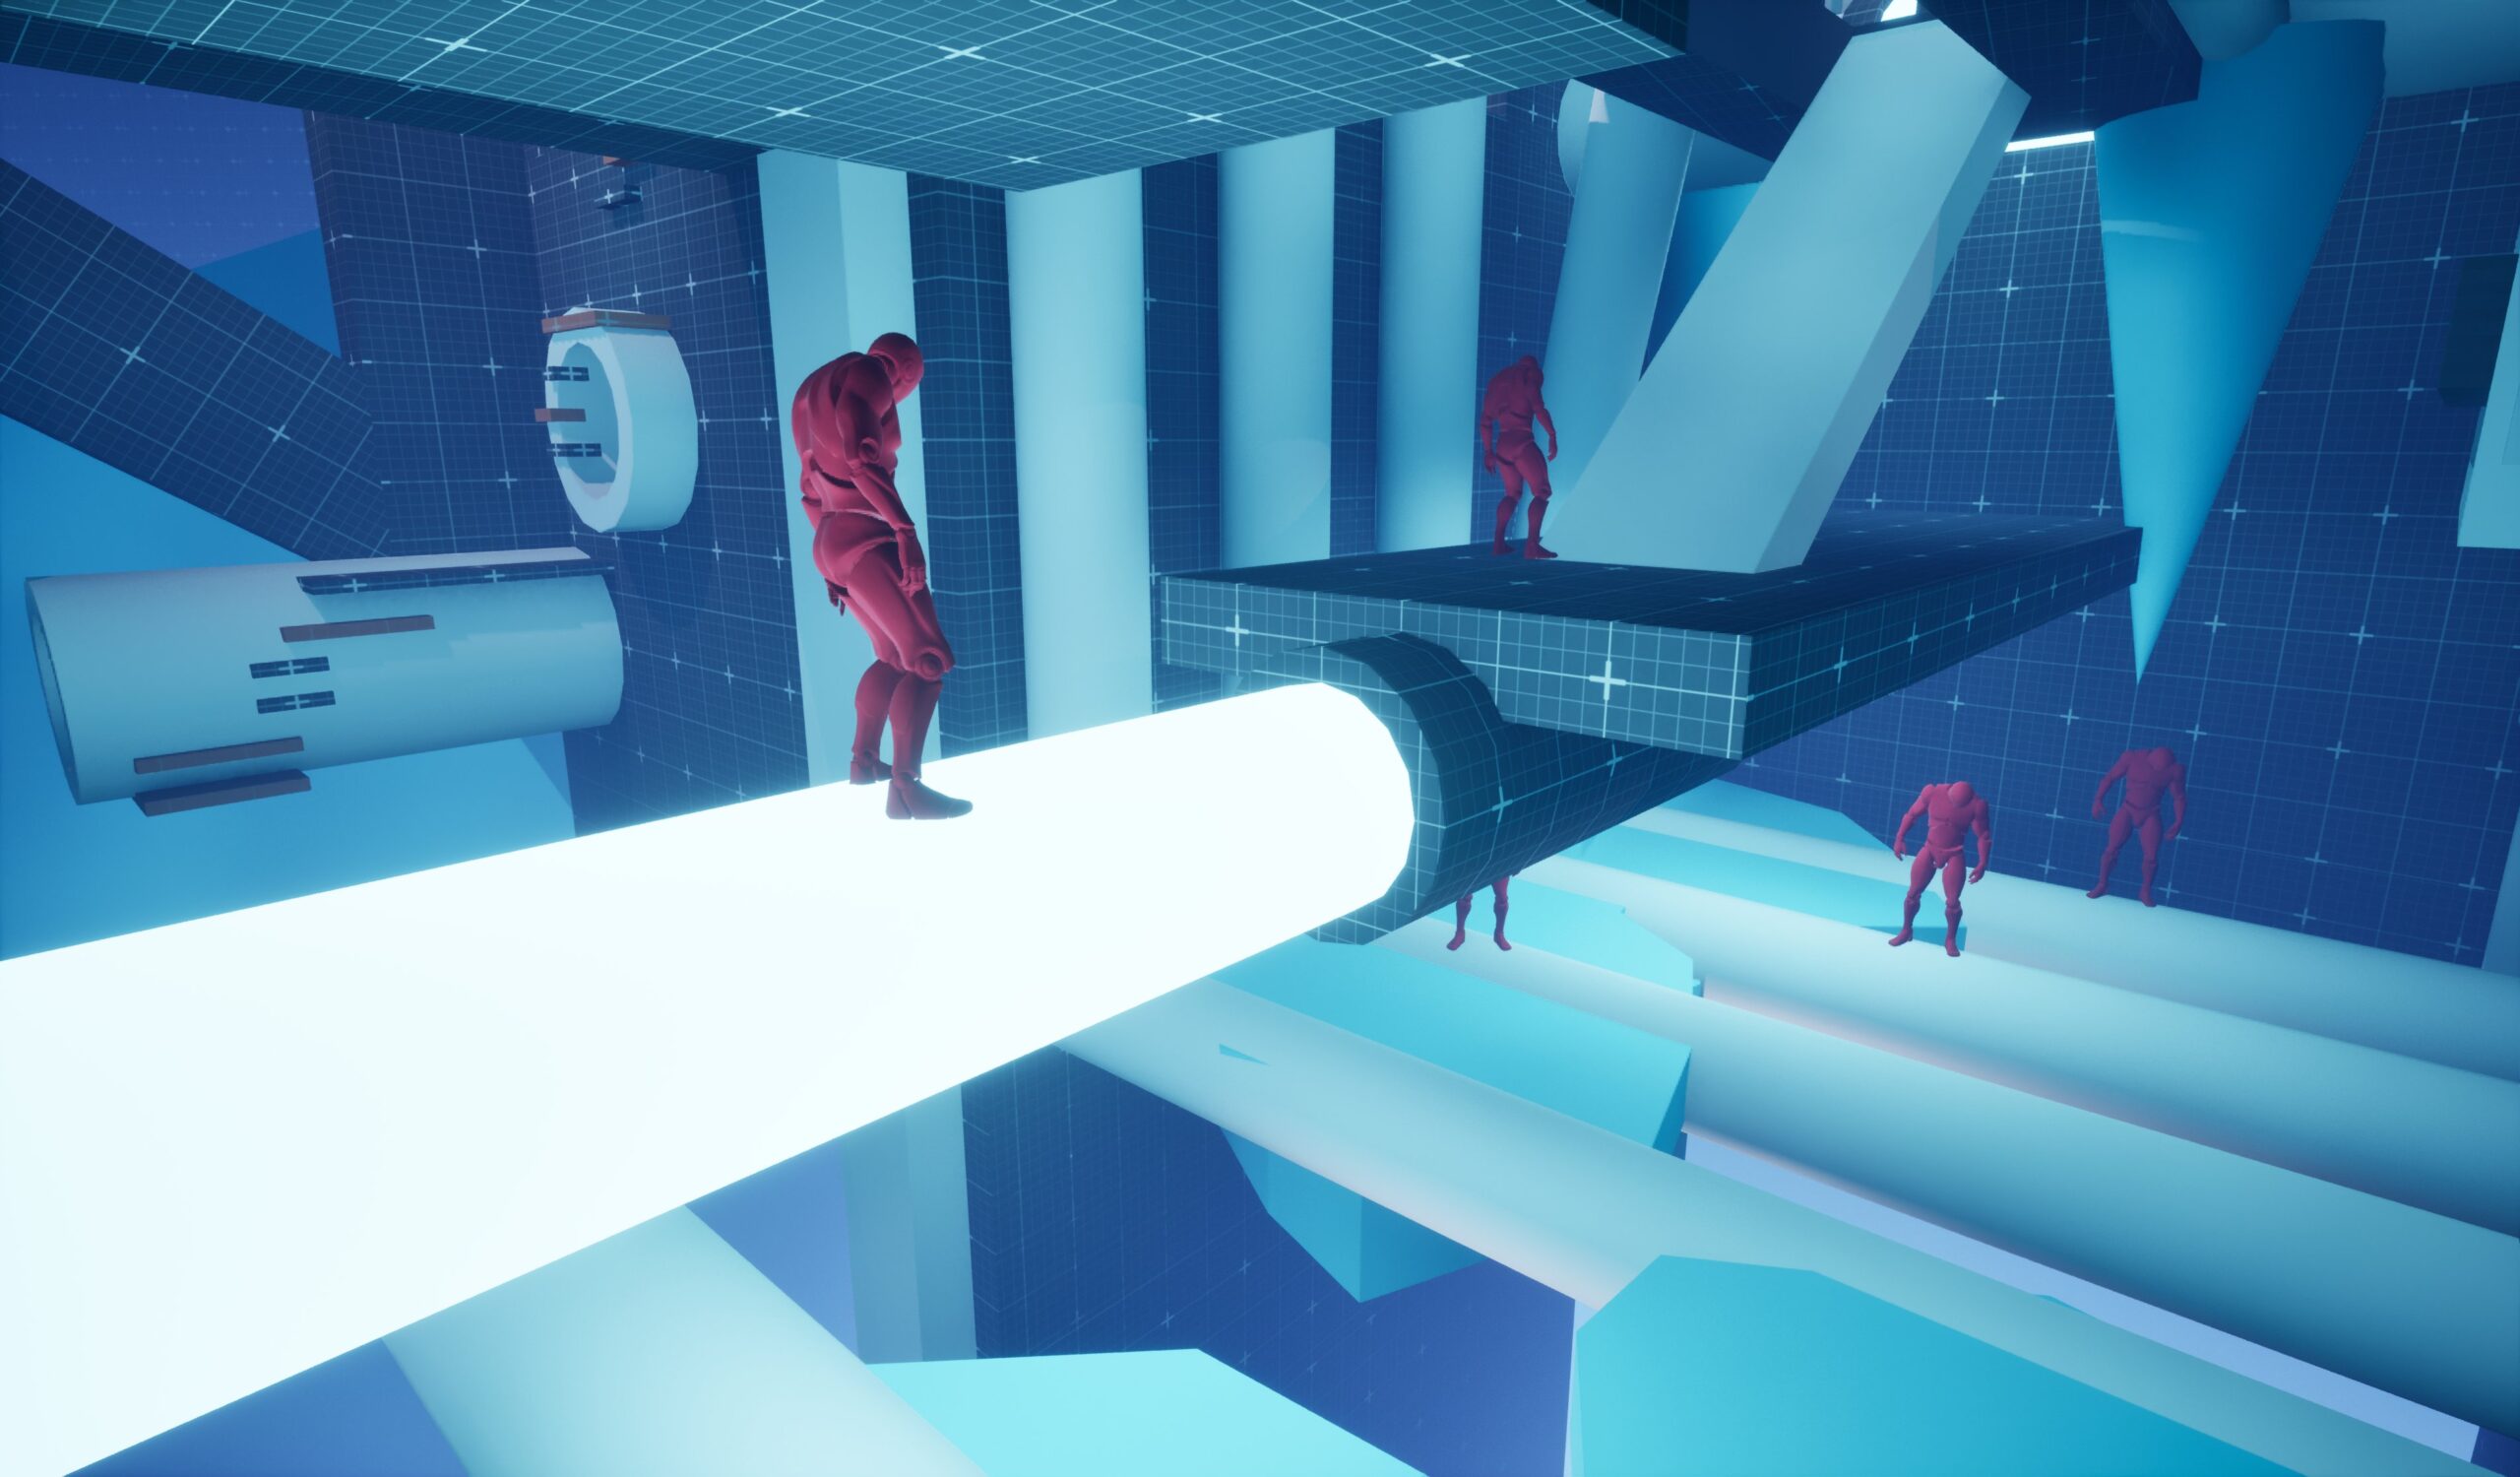
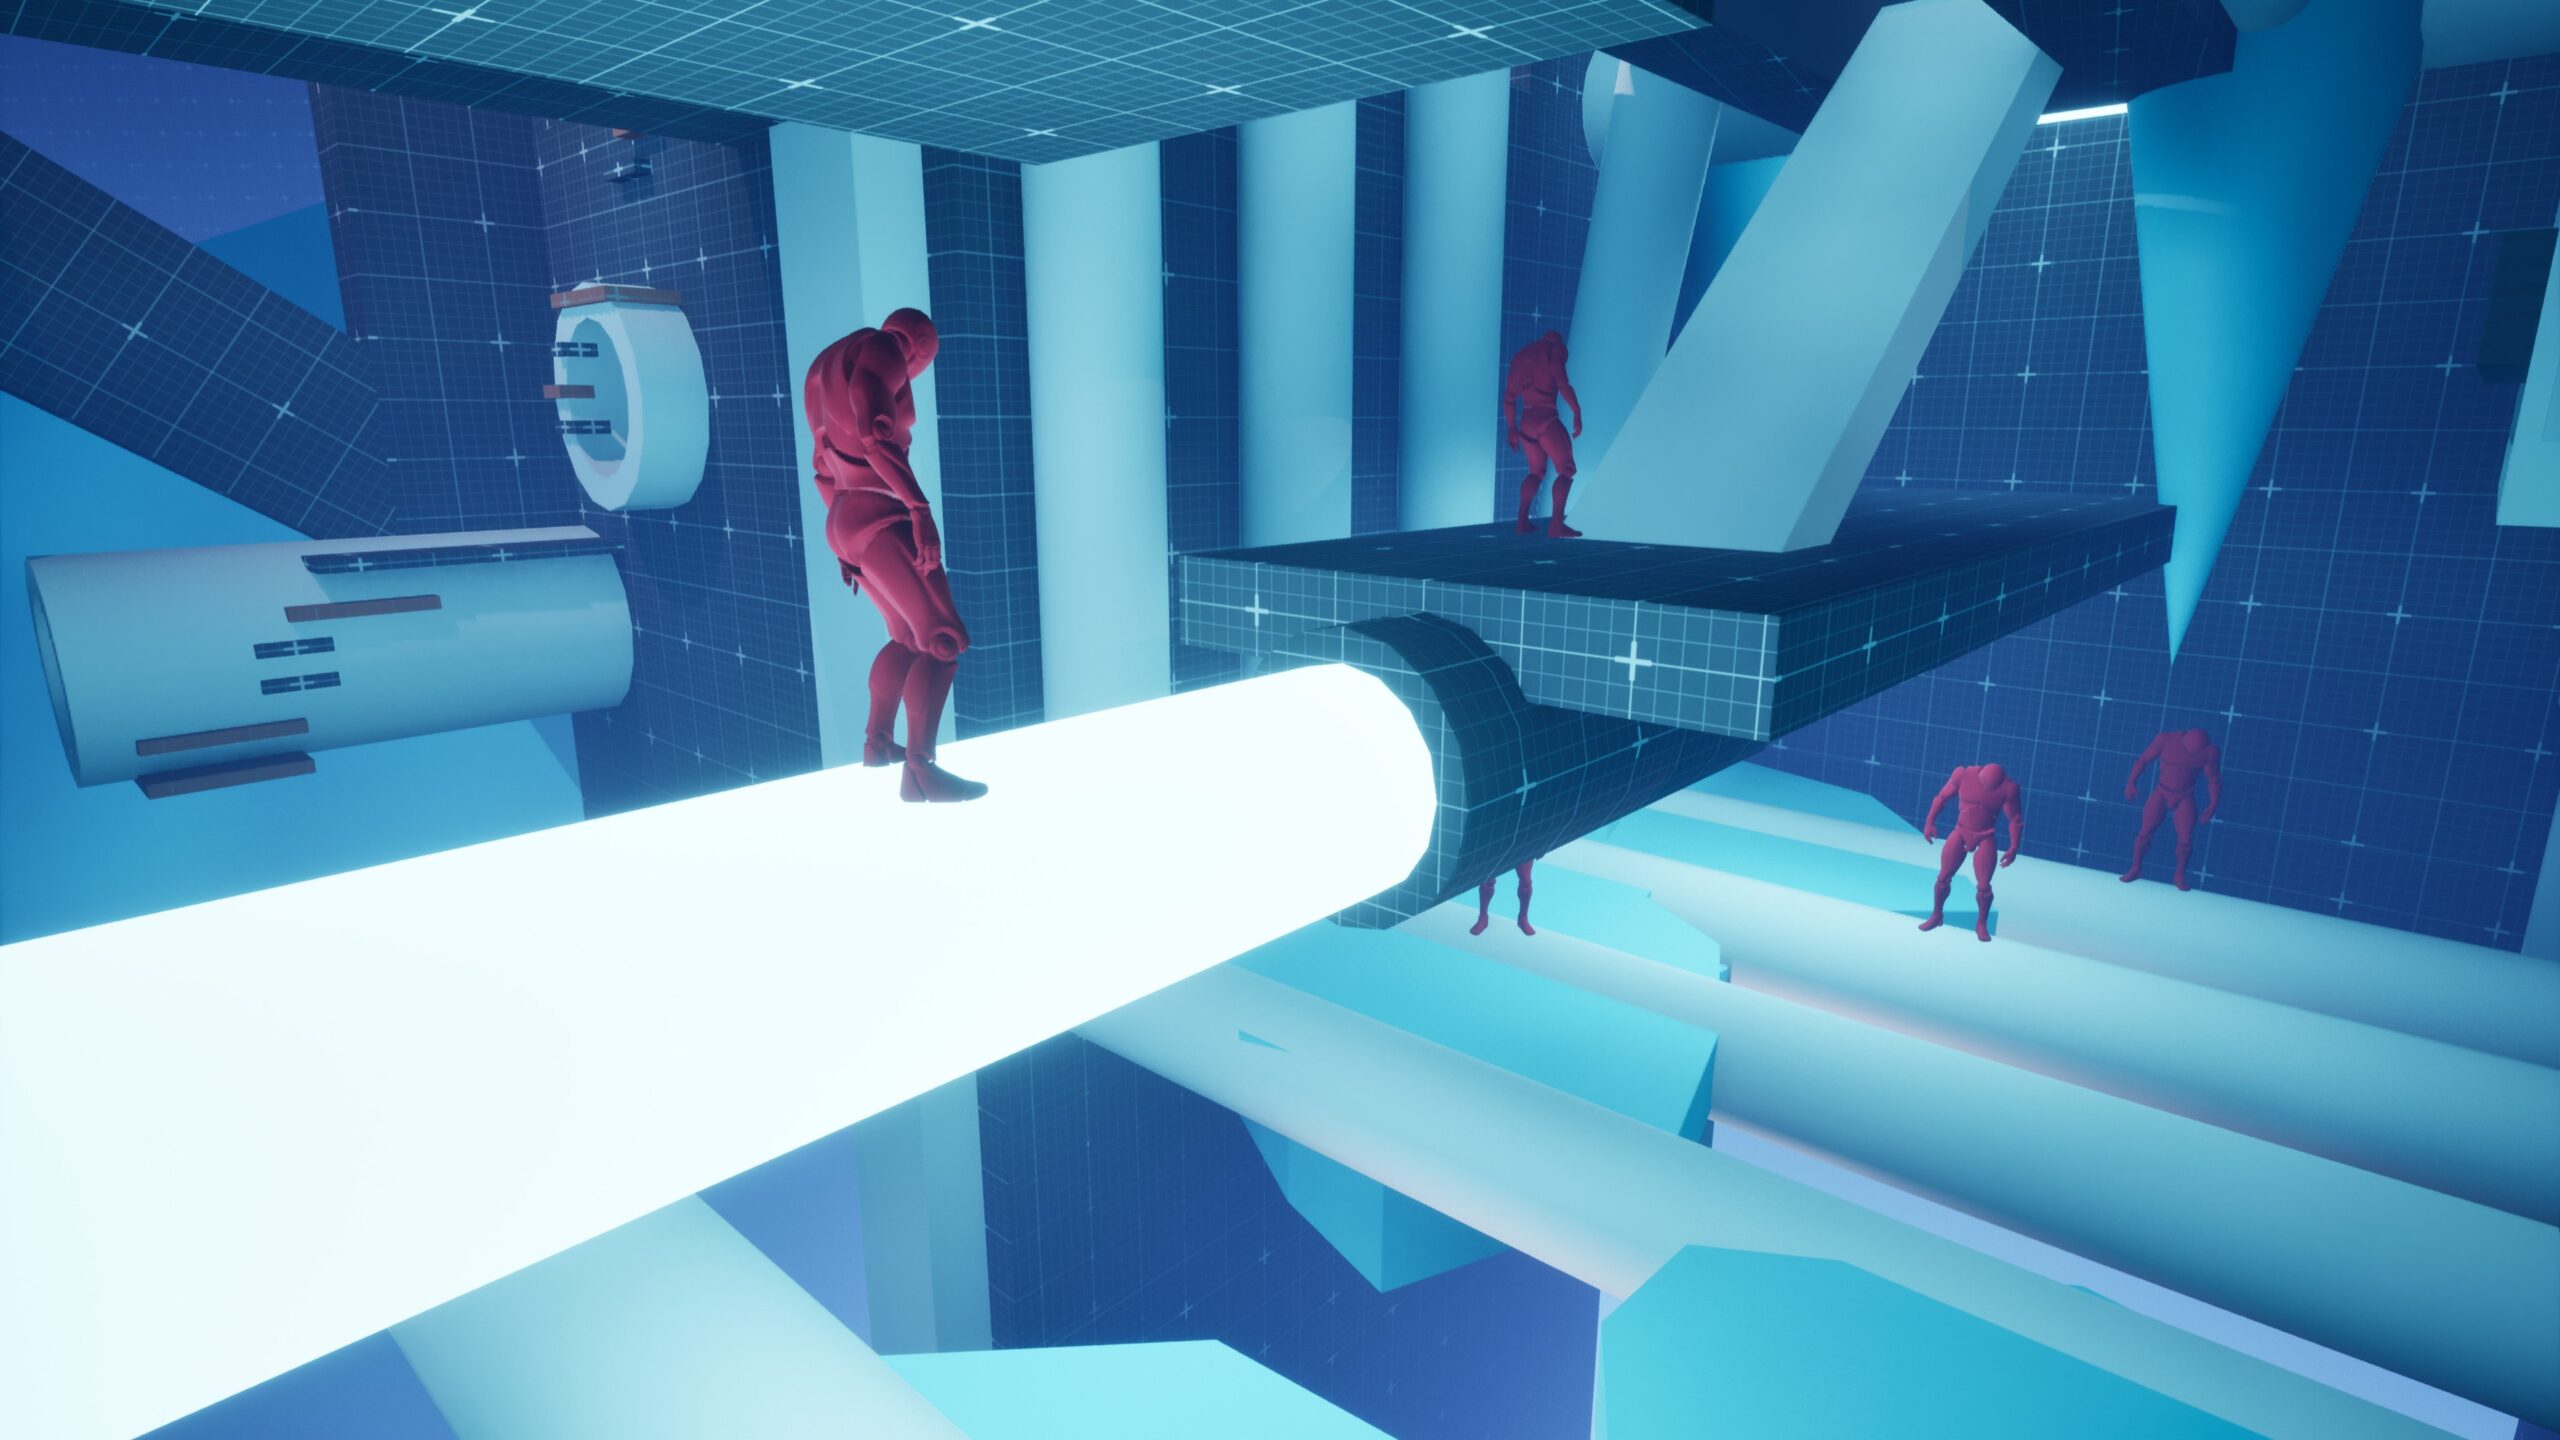
Stepping out of the lab reveals a risky vertical chasm between two colossal structures, braced by intersecting pipe networks. Climb and jump across the exterior pipework to bypass a previously inaccessible dead end and reach the upper factory entrance.
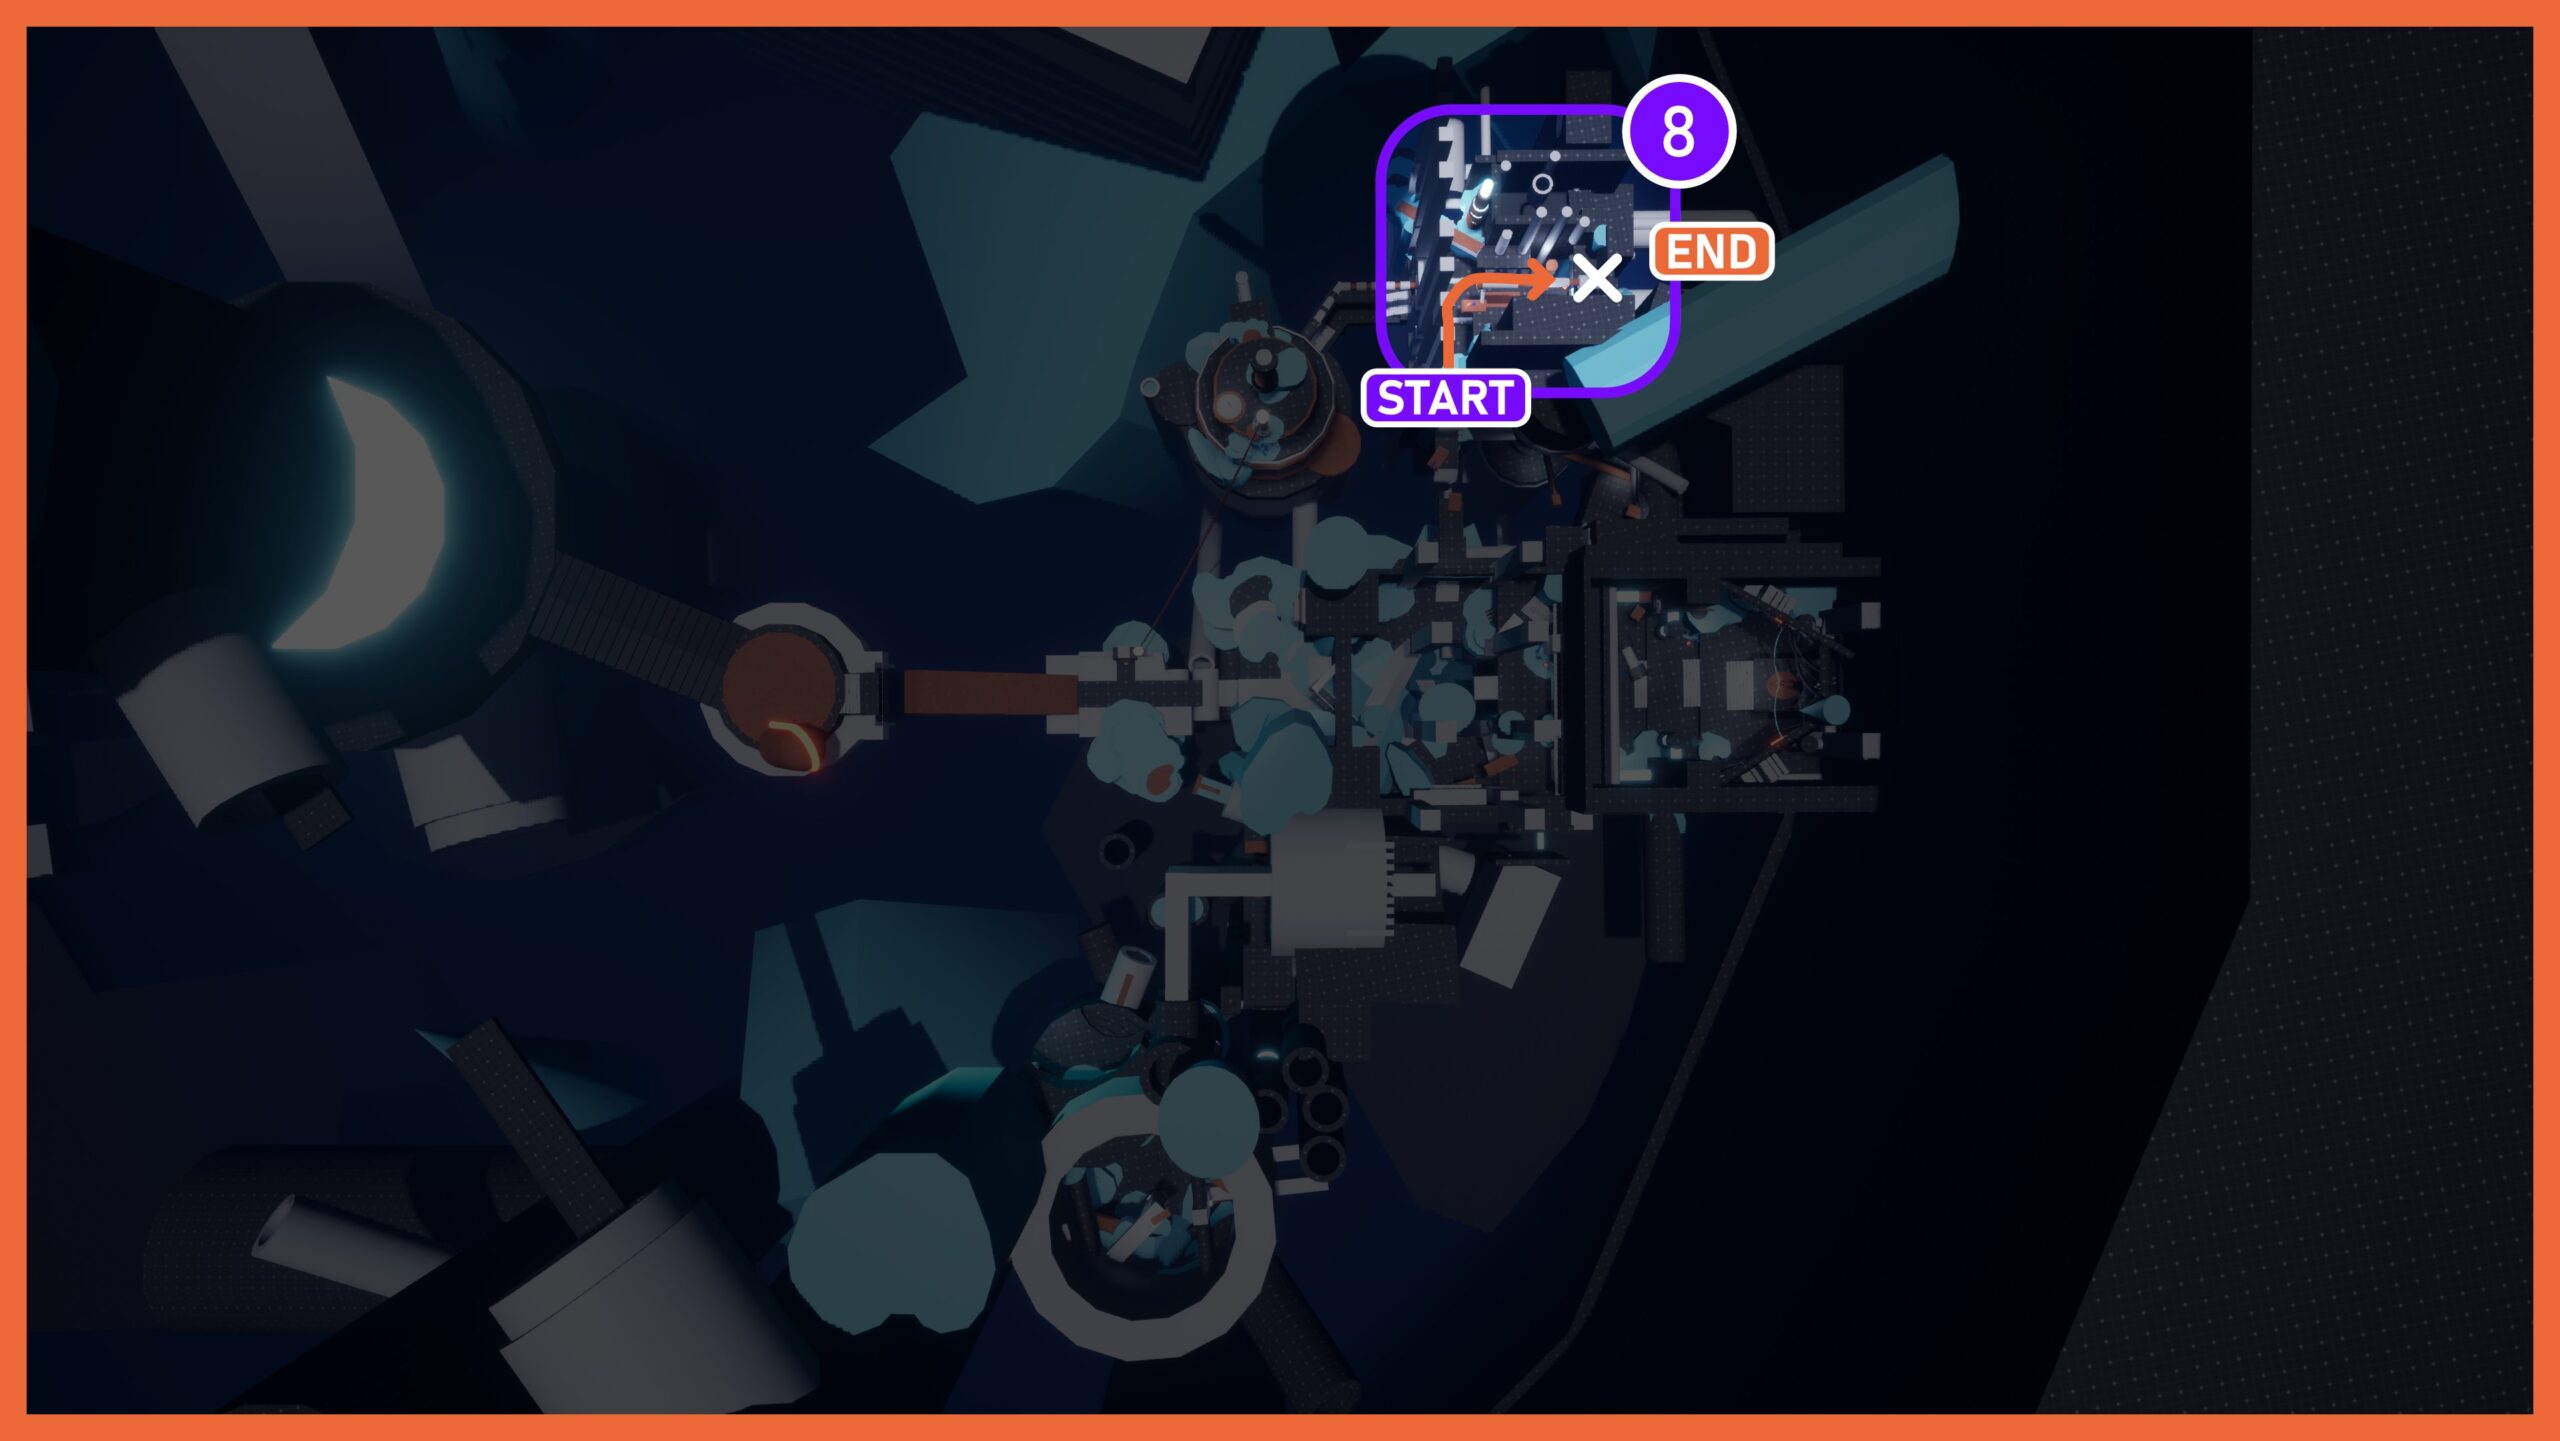
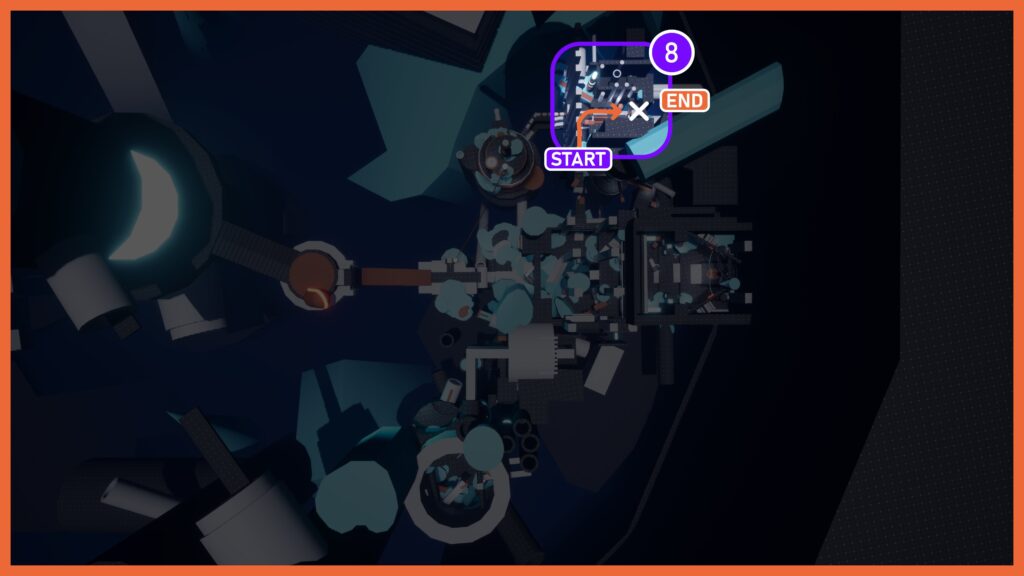
Beat 8: Activate the primary generator.
Infiltrate the factory floor and locate the main generator terminal. Activating it successfully restores partial power but awakens a horde of robotic zombies. Grab the nearby automatic rifle to eliminate the high-density threat before they can close the distance.
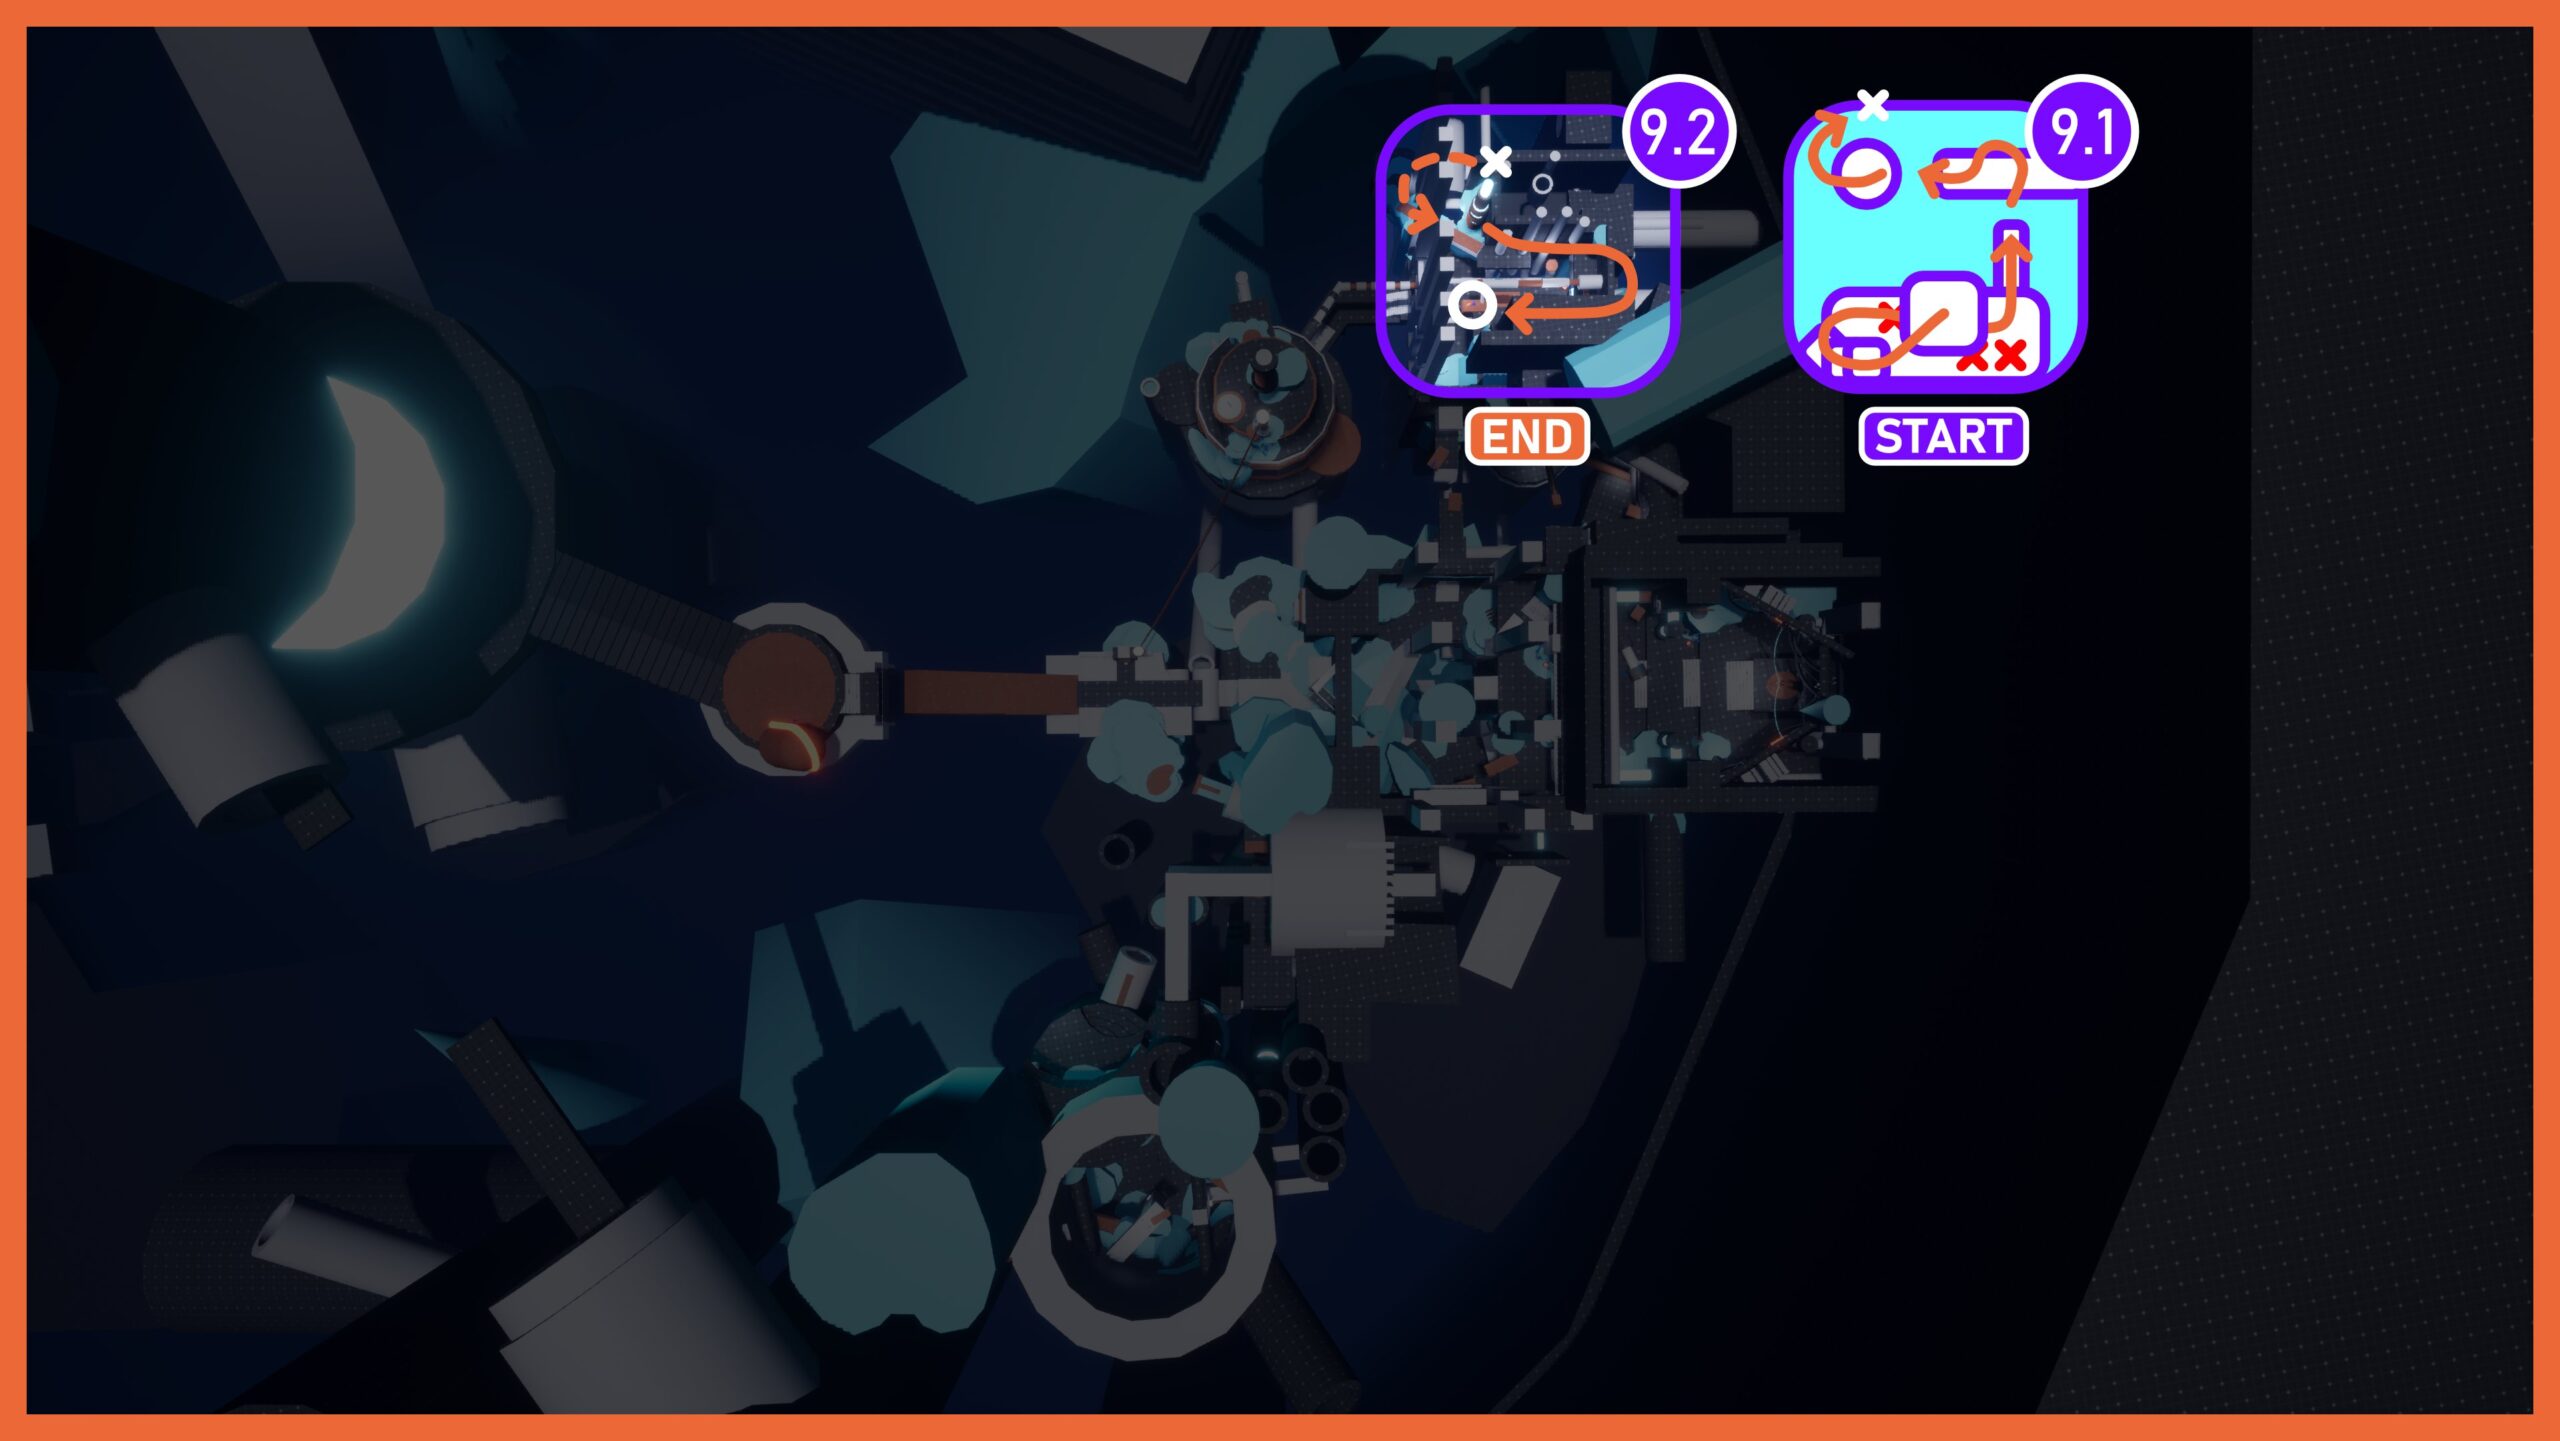
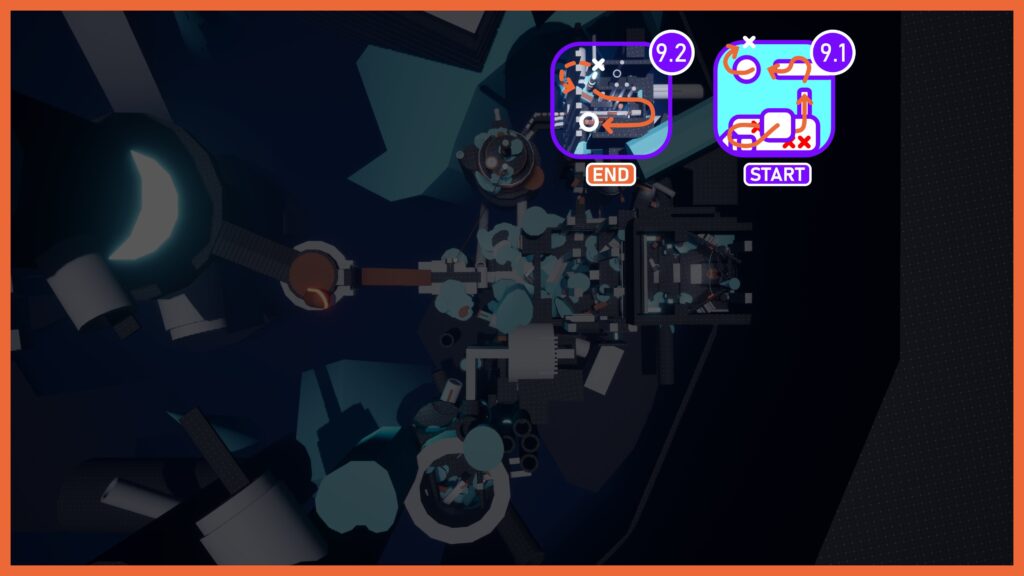
Beat 9: Override the lockdown and route power to the tower.
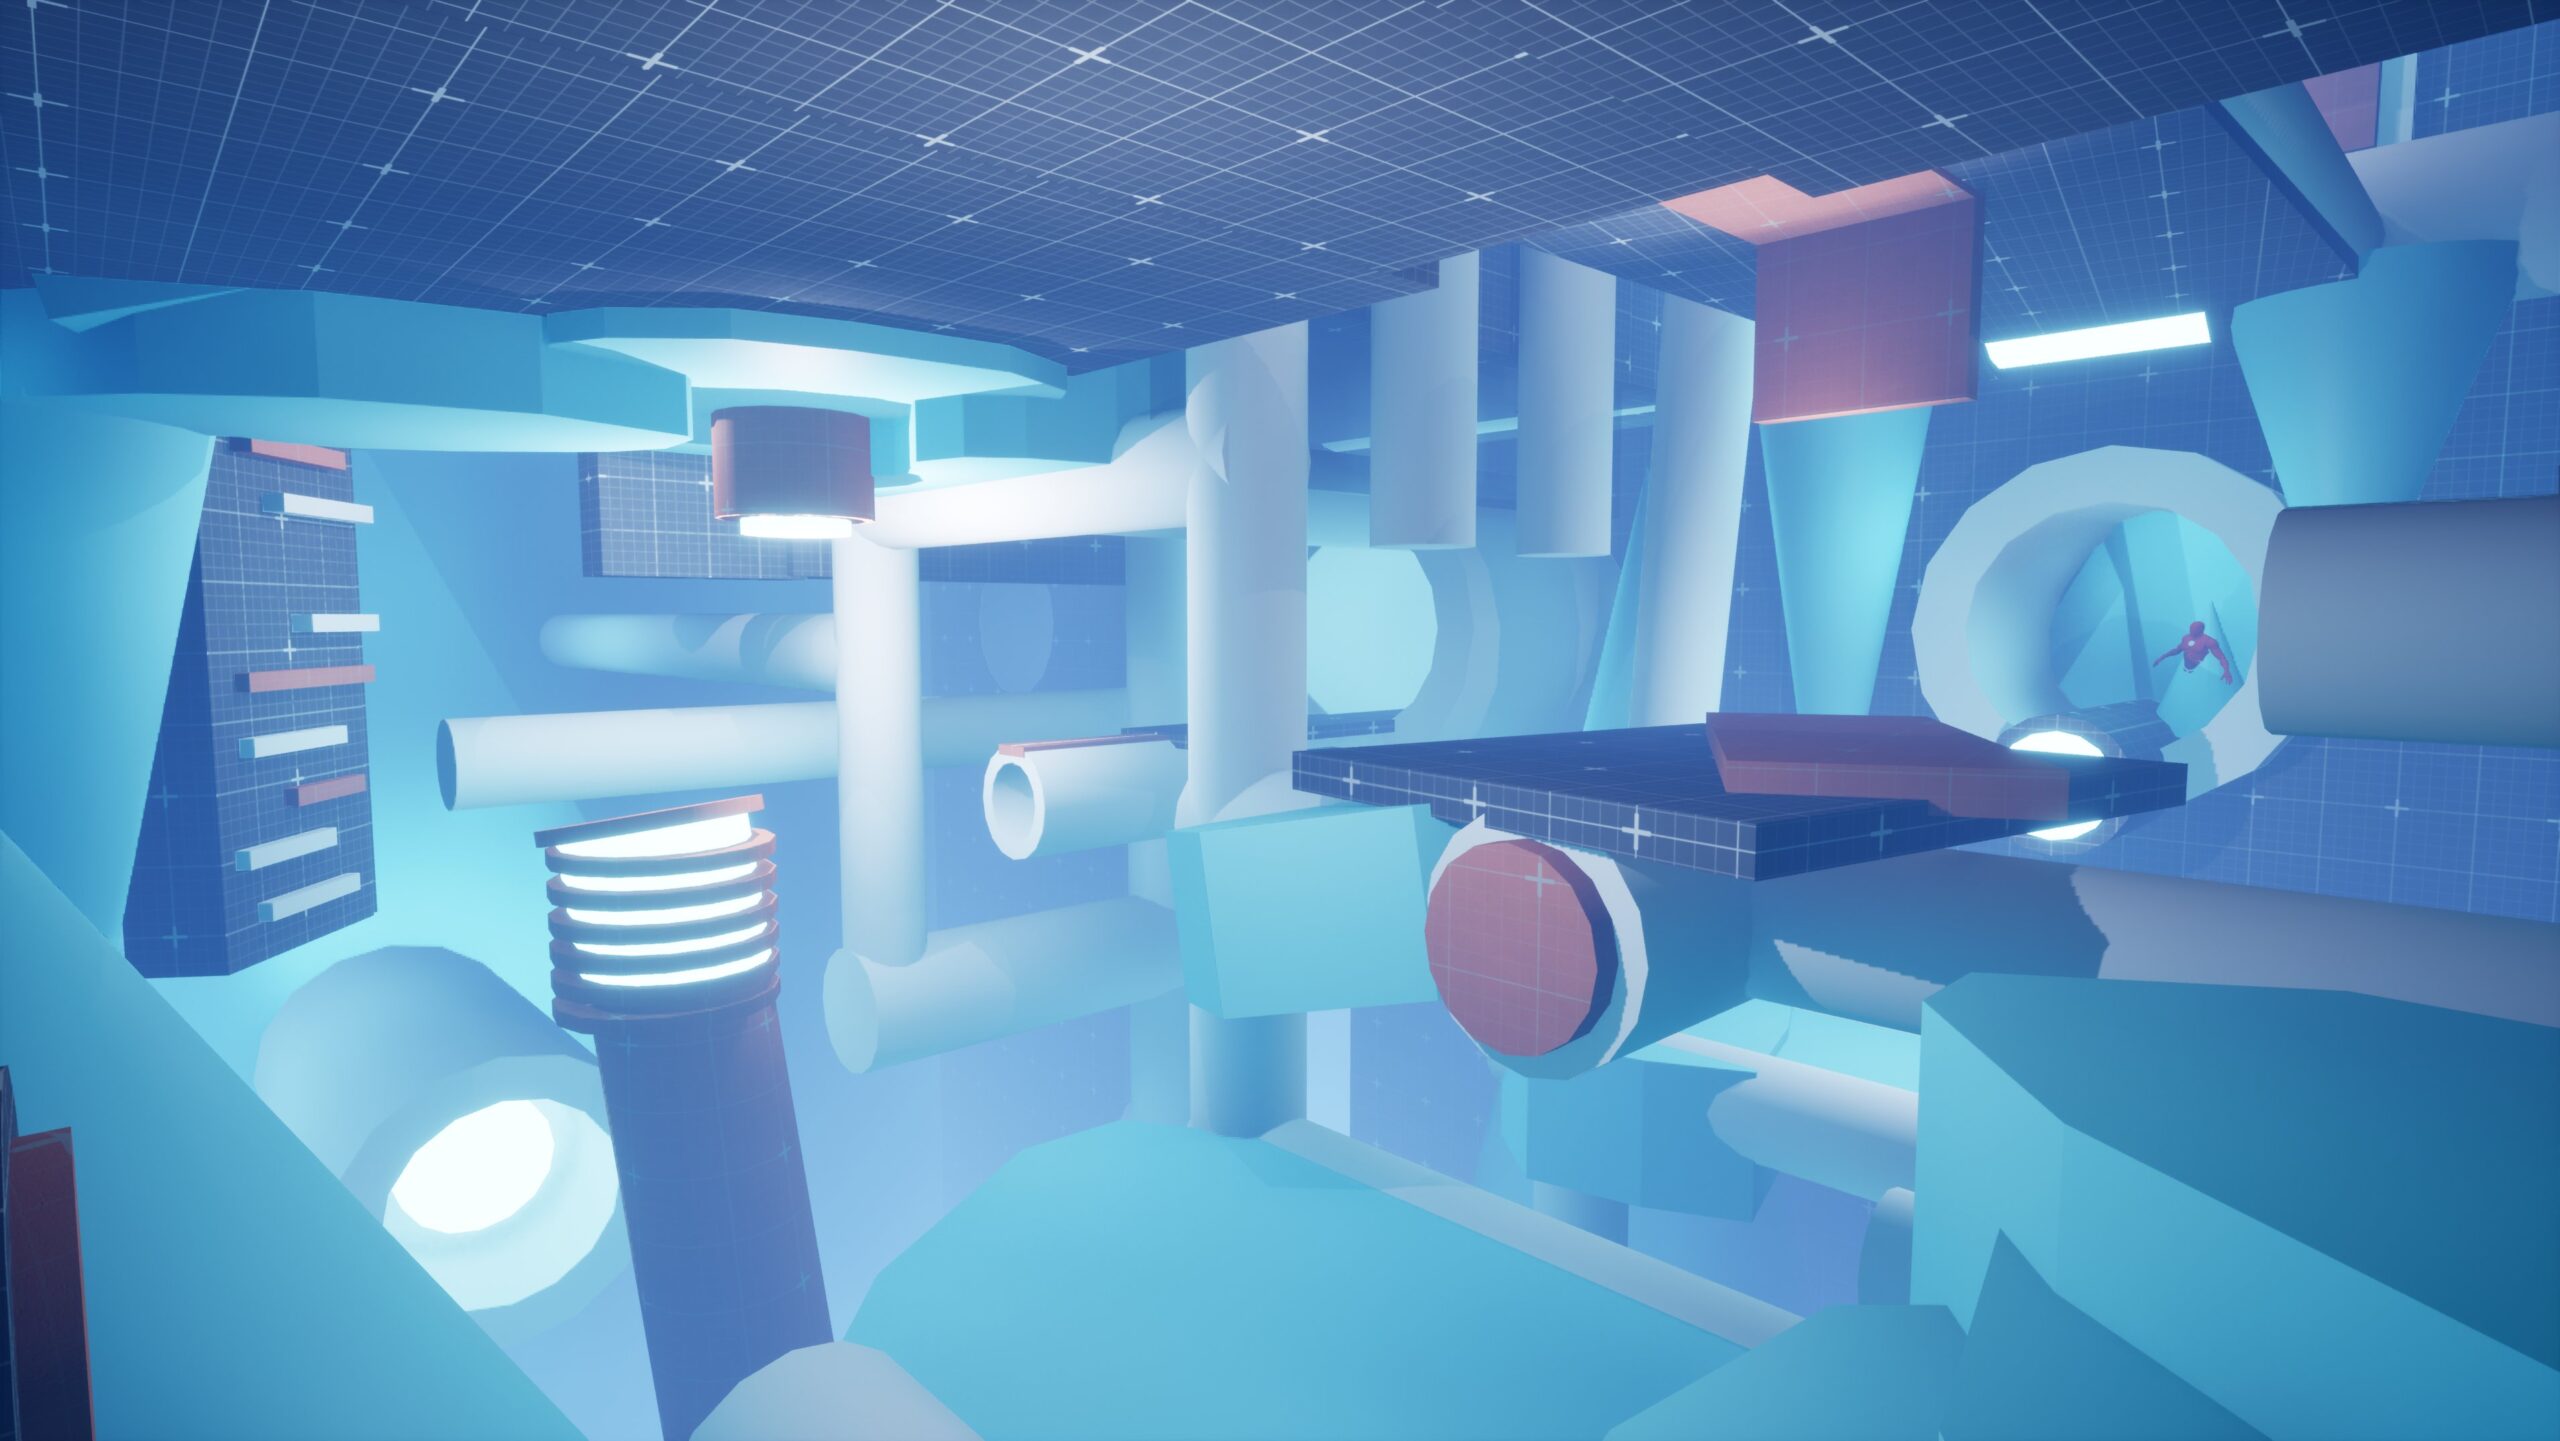
Although the generators are active, the blast doors leading to the main tower remain locked down. Drop through a broken maintenance panel into the sub-zero underbelly of the factory, navigating the hazards to find a route up to the control balcony override lever.
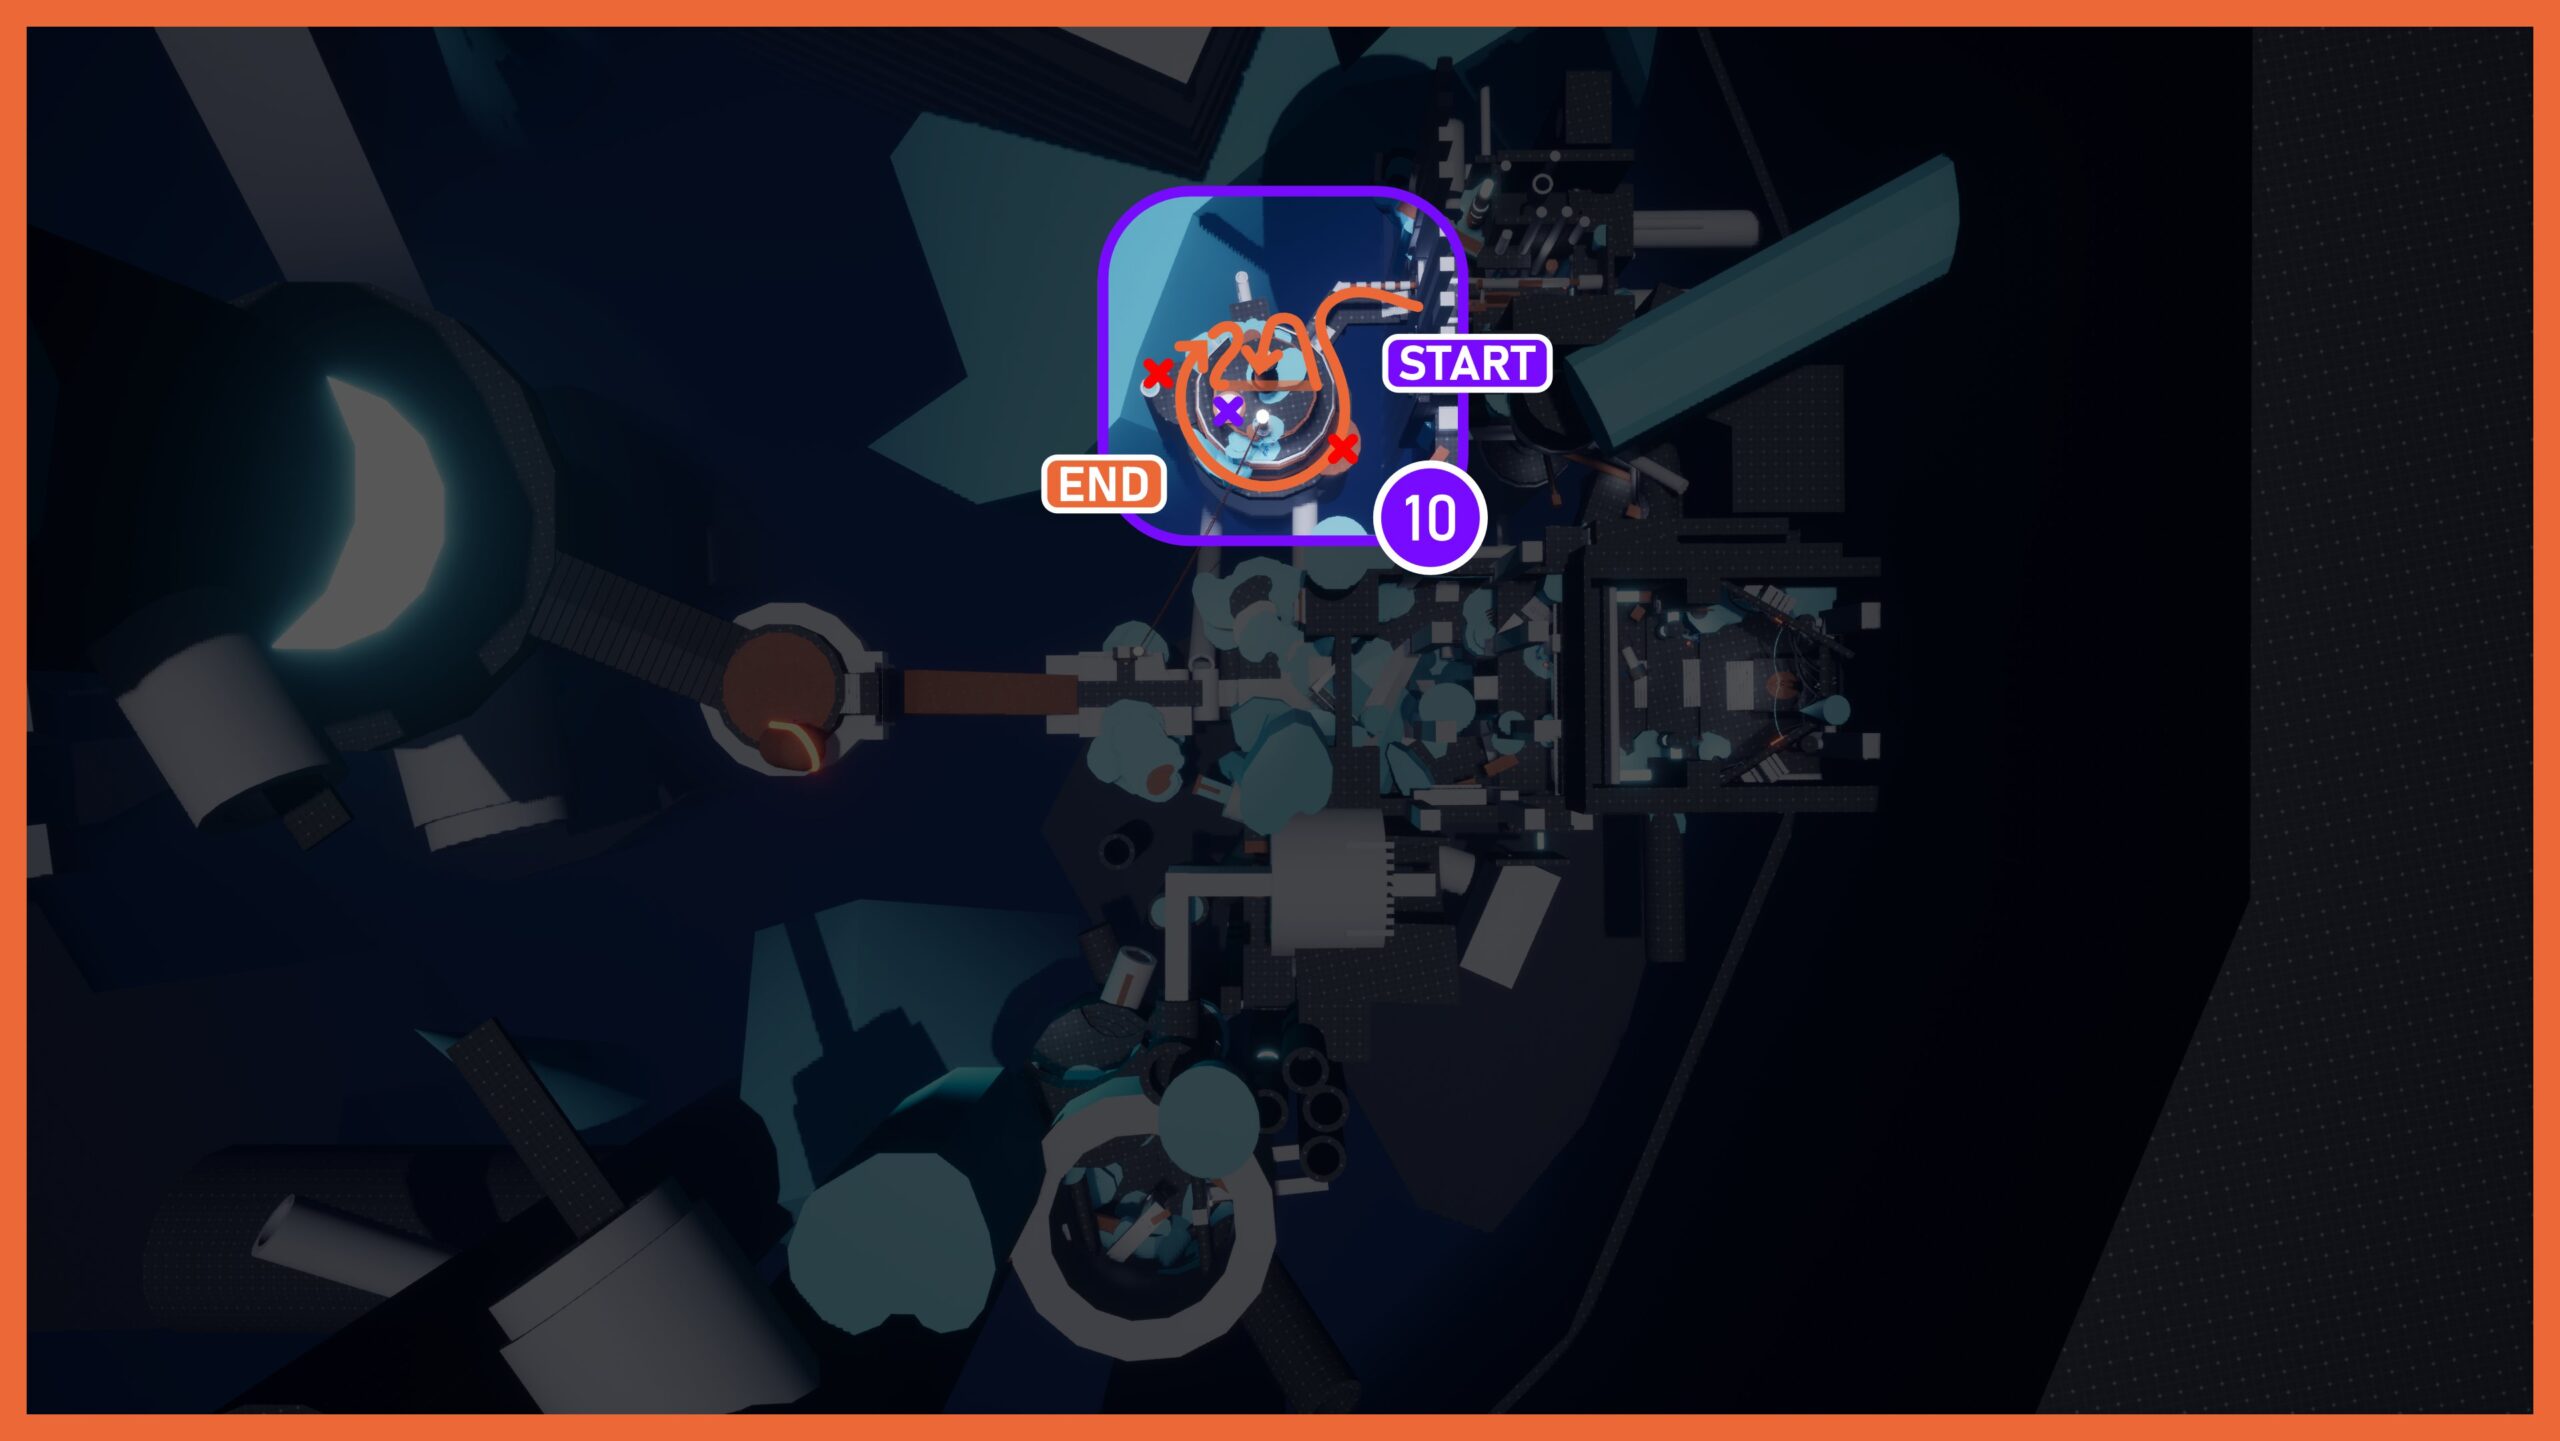
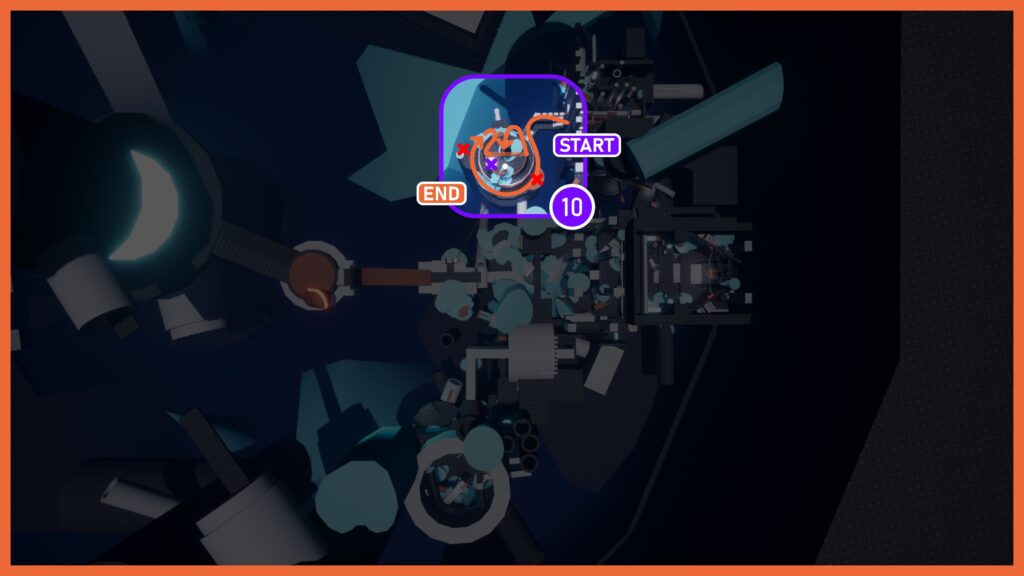
Beat 10: Fight your way to the top of the tower.
With the path now clear, push forward into the primary tower. Battle through waves of oncoming enemies while ascending the multi-tiered interior floors. At the summit, find the remains of the defense team who originally severed the power, and prepare to reverse the lockdown.
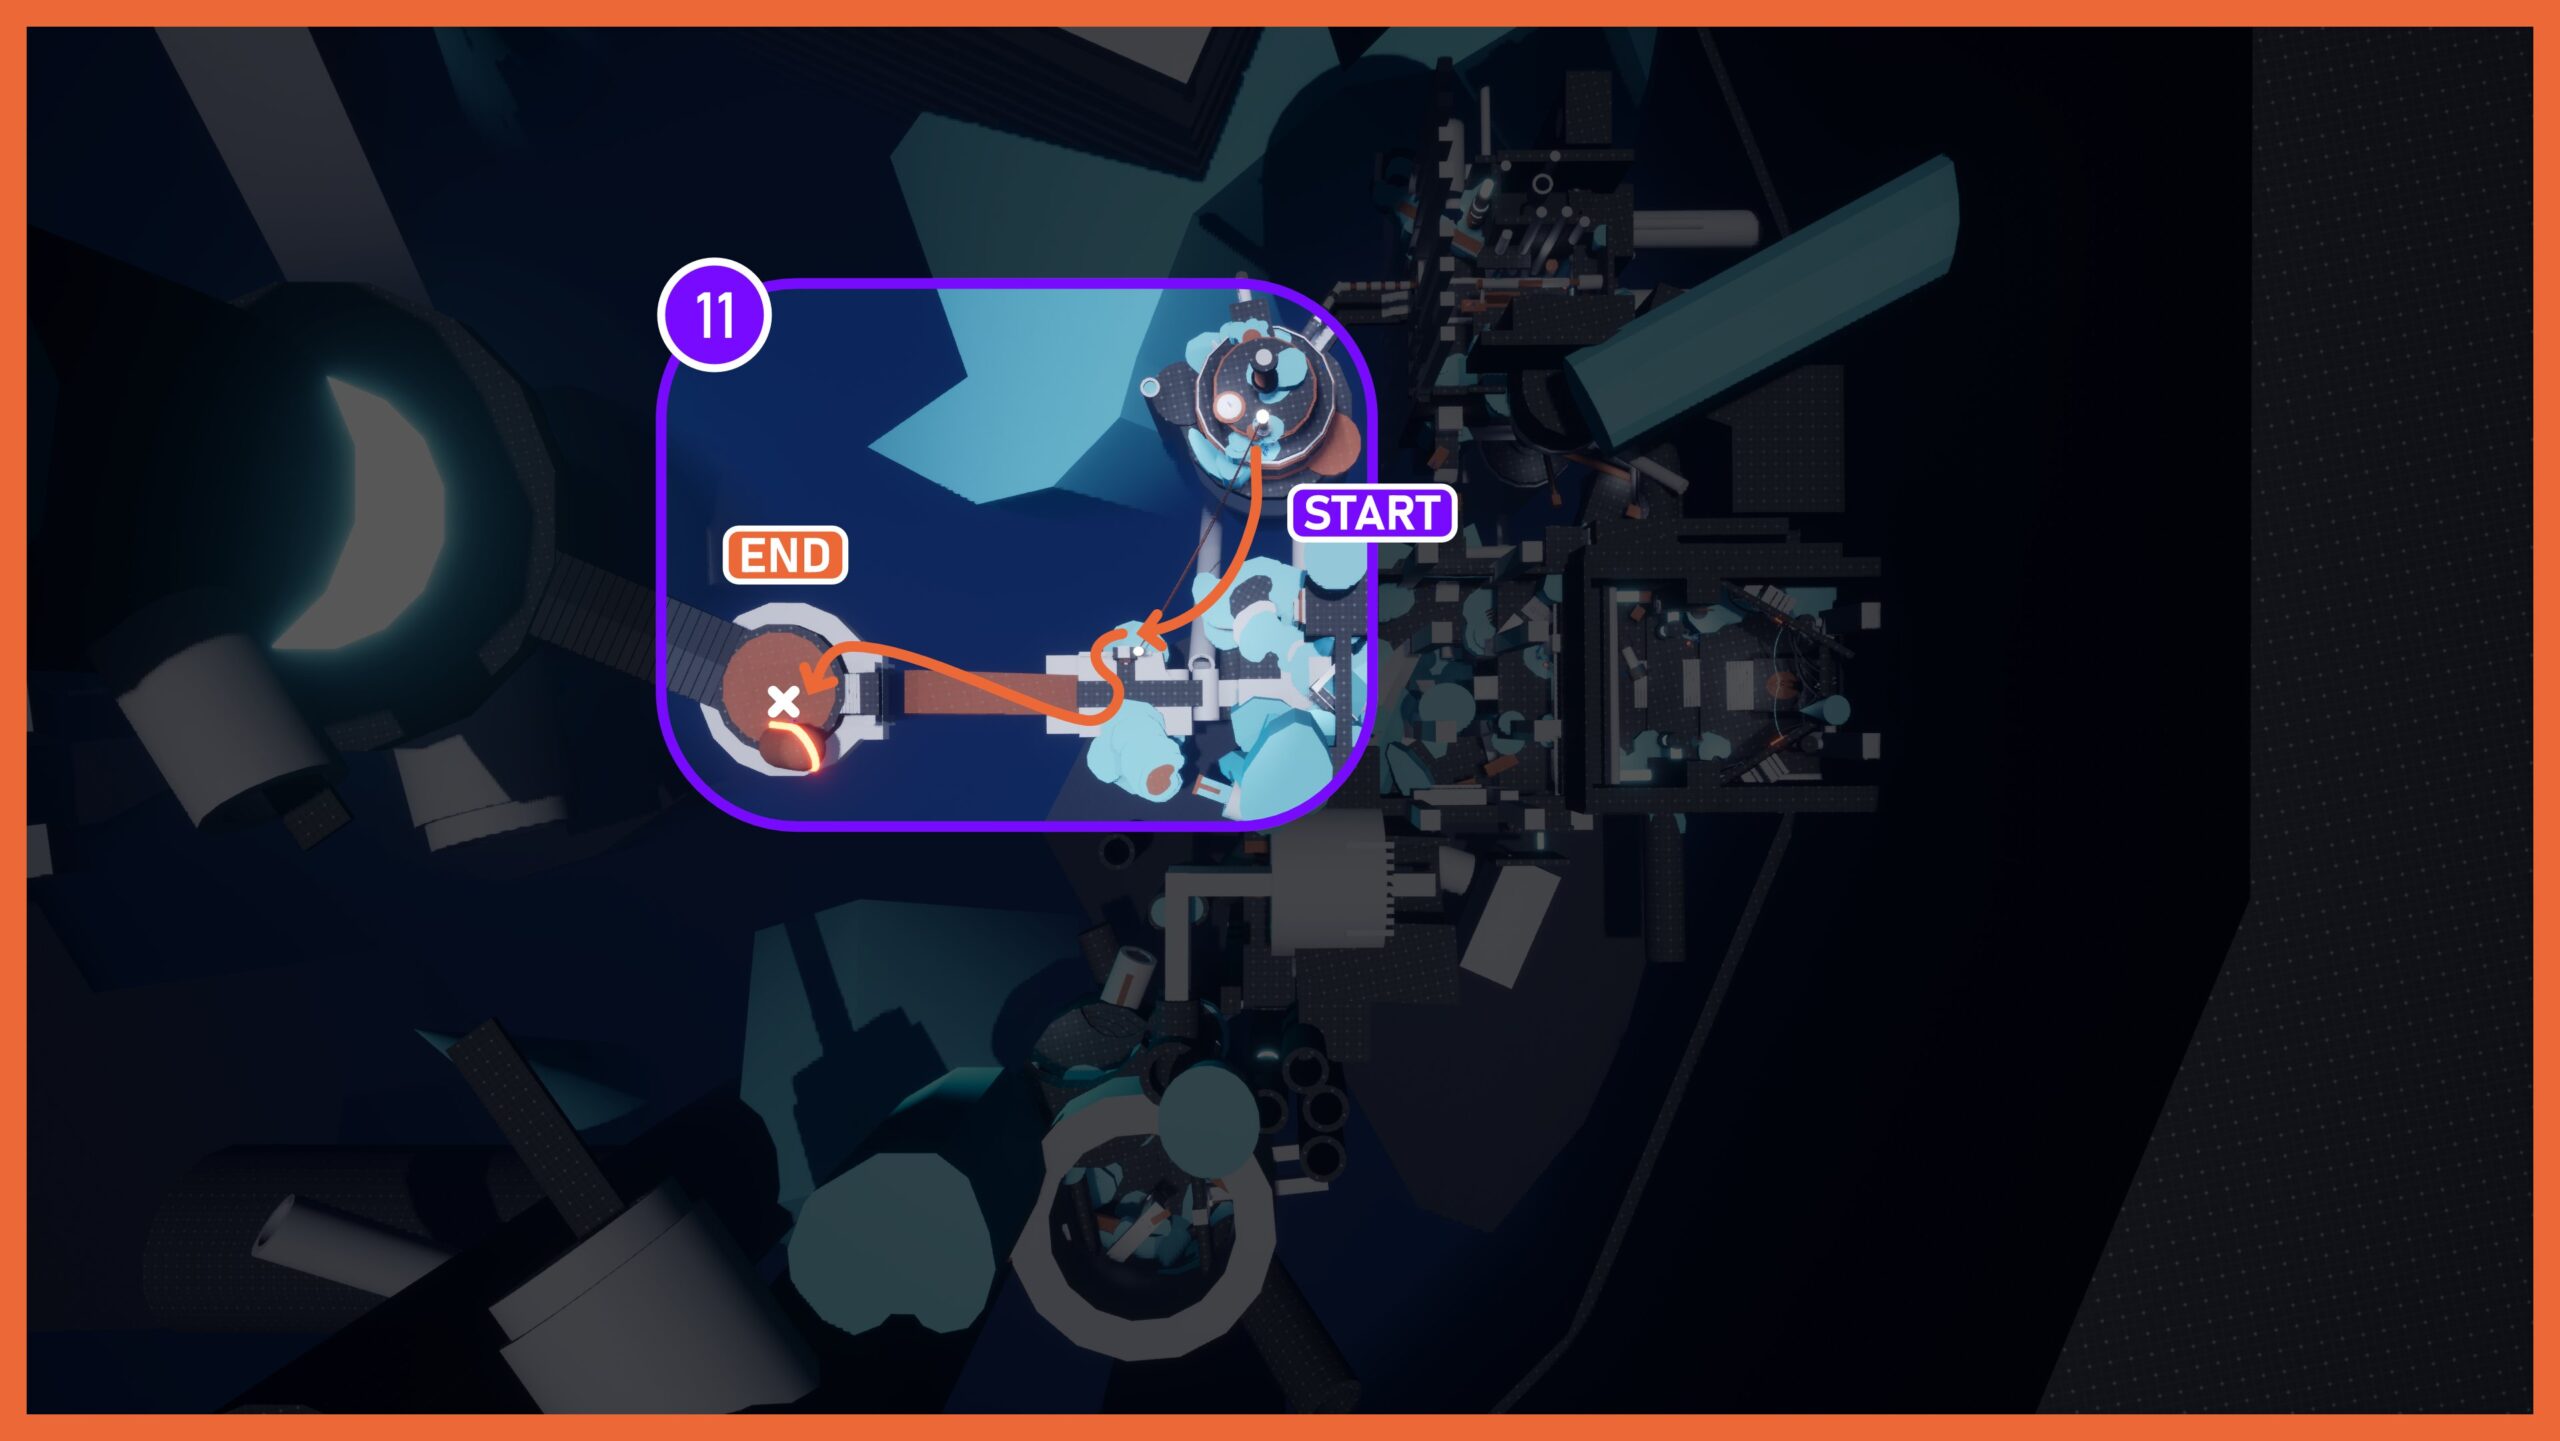
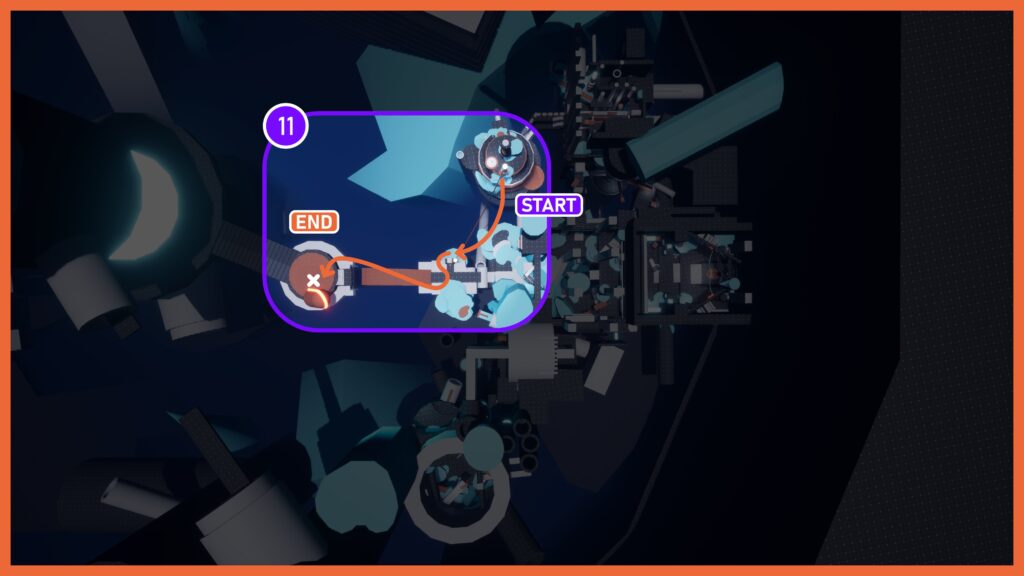
Beat 11: Ride the zipline back to the bridge and rescue your team.
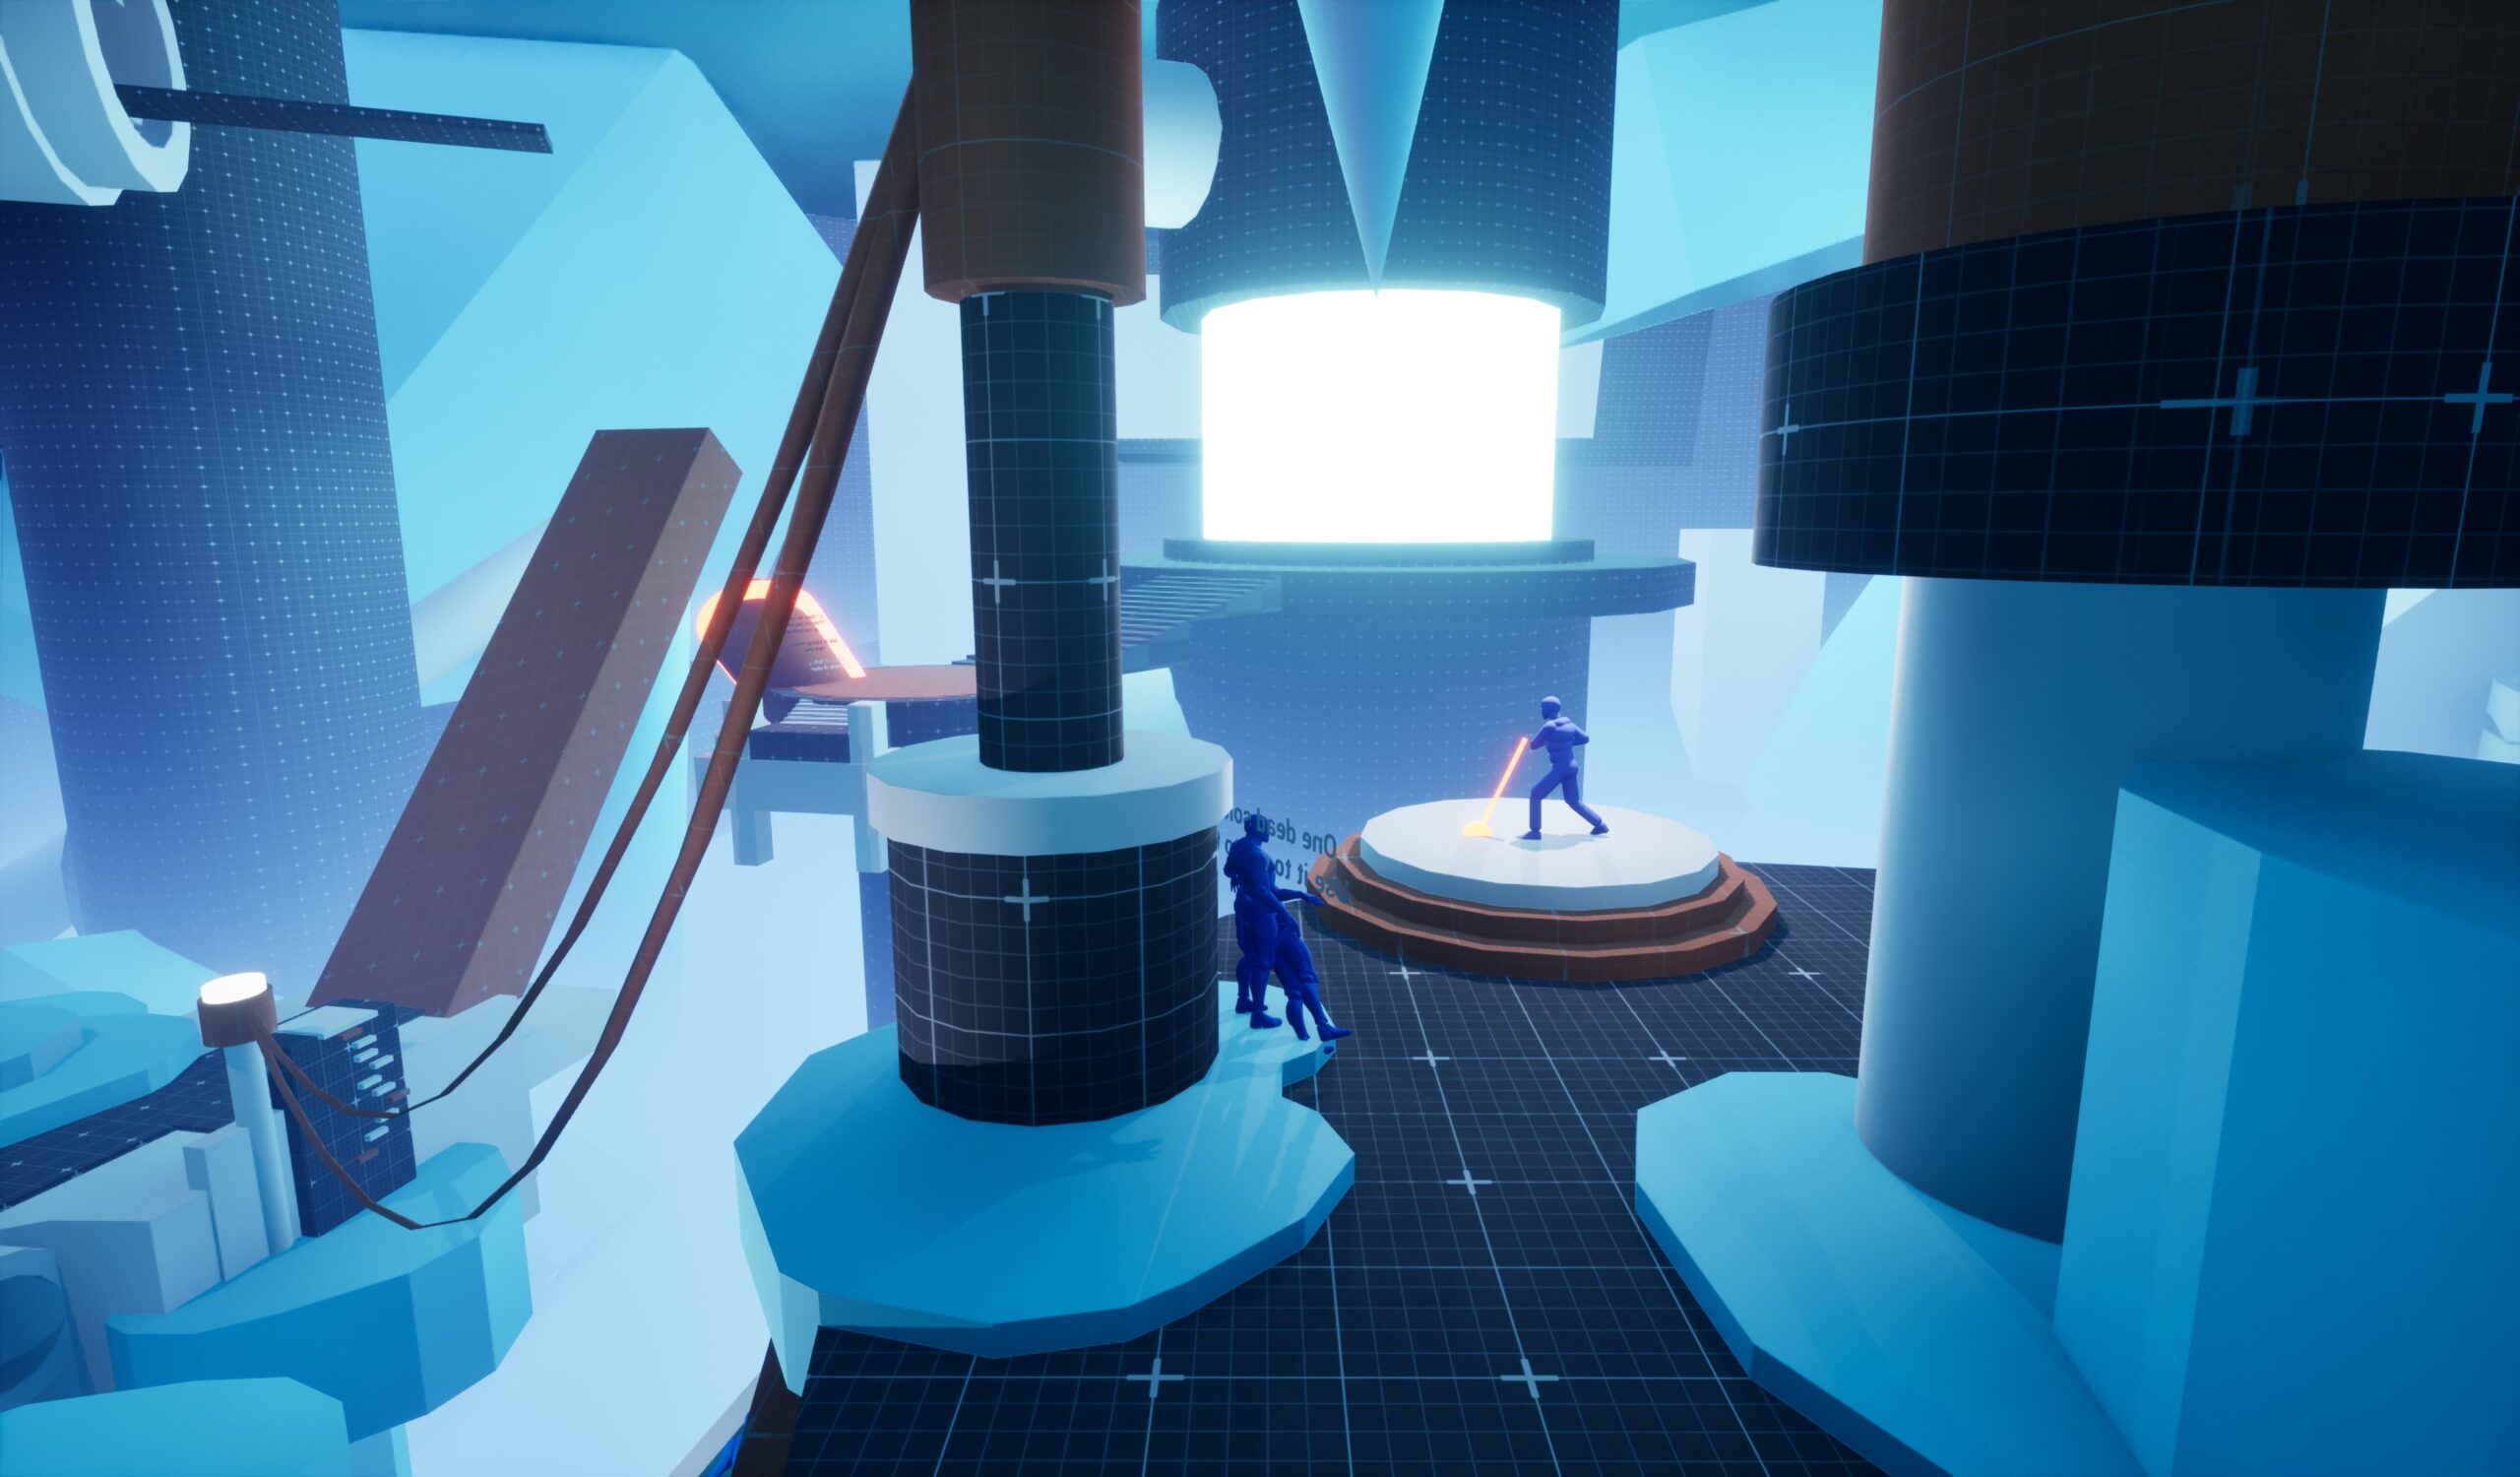
Pulling the primary lever fully extends the main bridge below. A high-tension cable stretches across the cavern chasm toward the terminal. Scavenge an industrial hook from a nearby corpse, zipline back down across the massive cavern, and sprint across the newly formed bridge to rescue your surviving crew.
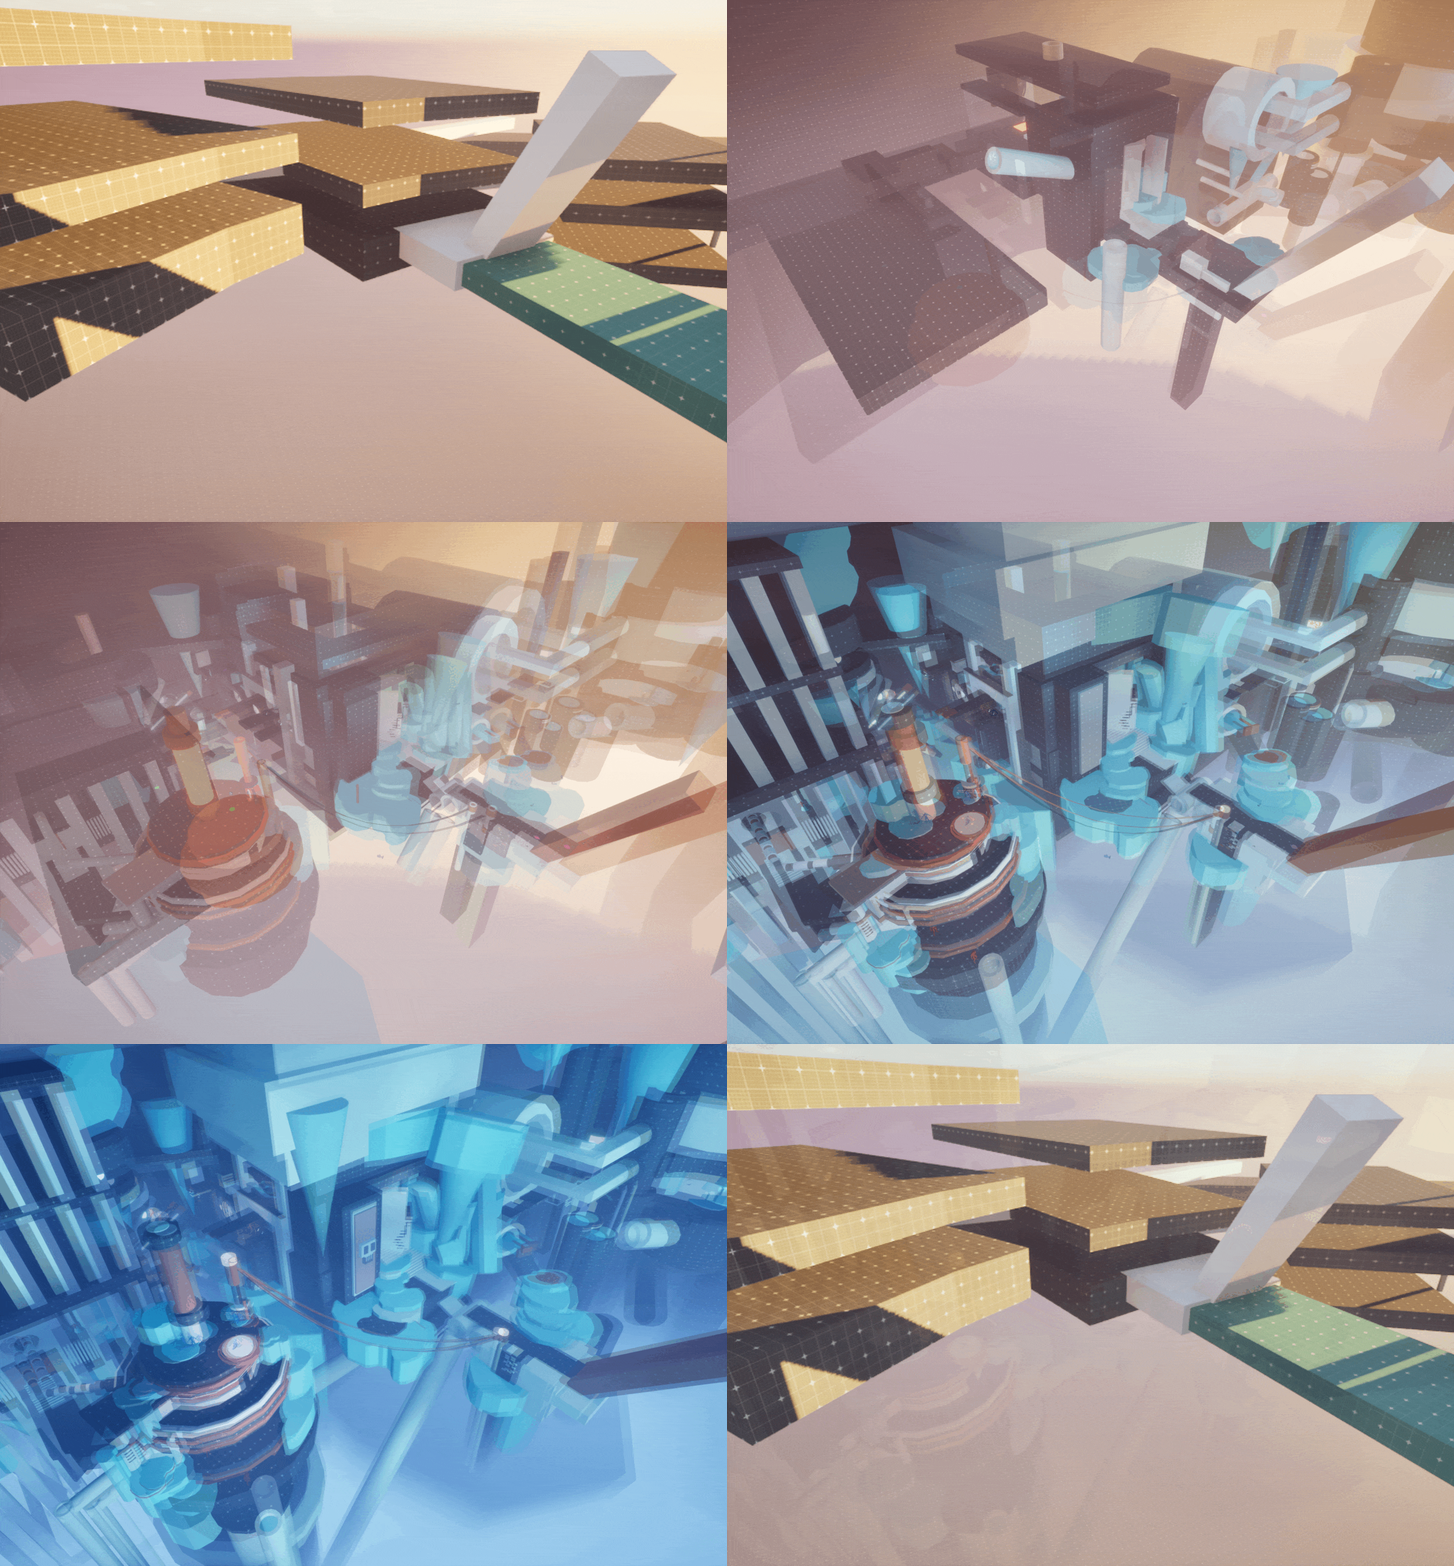
PROCESS BREAKDOWN
OVERVIEW
1. Research, Ideation & Planning
At the start of the course, I dedicated a week to pre-production and research. I knew early on that I wanted to merge the cosmic horror of the Lovecraft mythos with an industrial, robotic aesthetic.
To establish the atmosphere, I studied the brutalist, desolate architecture and dark sci-fi themes found in Blame! and The Matrix universe. To analyze layout flow, player pacing, and environmental storytelling, I studied and deconstructed design elements from games like Control, NaissanceE, Tomb Raider, and The Last of Us.
This research phase provided a strong foundation, directly shaping my initial map drafts, beat sheets, intensity curves, and Level Design Document (LDD).
2. Level Design Document
Following the research phase, I translated my concepts into structural documentation, design charts, and maps to solidify the level’s core foundation. I developed:
- A concise Level Design Document (LDD) outlining the project overview, core pillars, level objectives, narrative premise, and setting.
- A detailed Beat Sheet mapping out critical narrative milestones, core gameplay loops, and specific environment locations for each phase of the level.
- An Pacing and Intensity Curve to track and balance the desired emotional peaks, combat tension, and downtime throughout the layout.
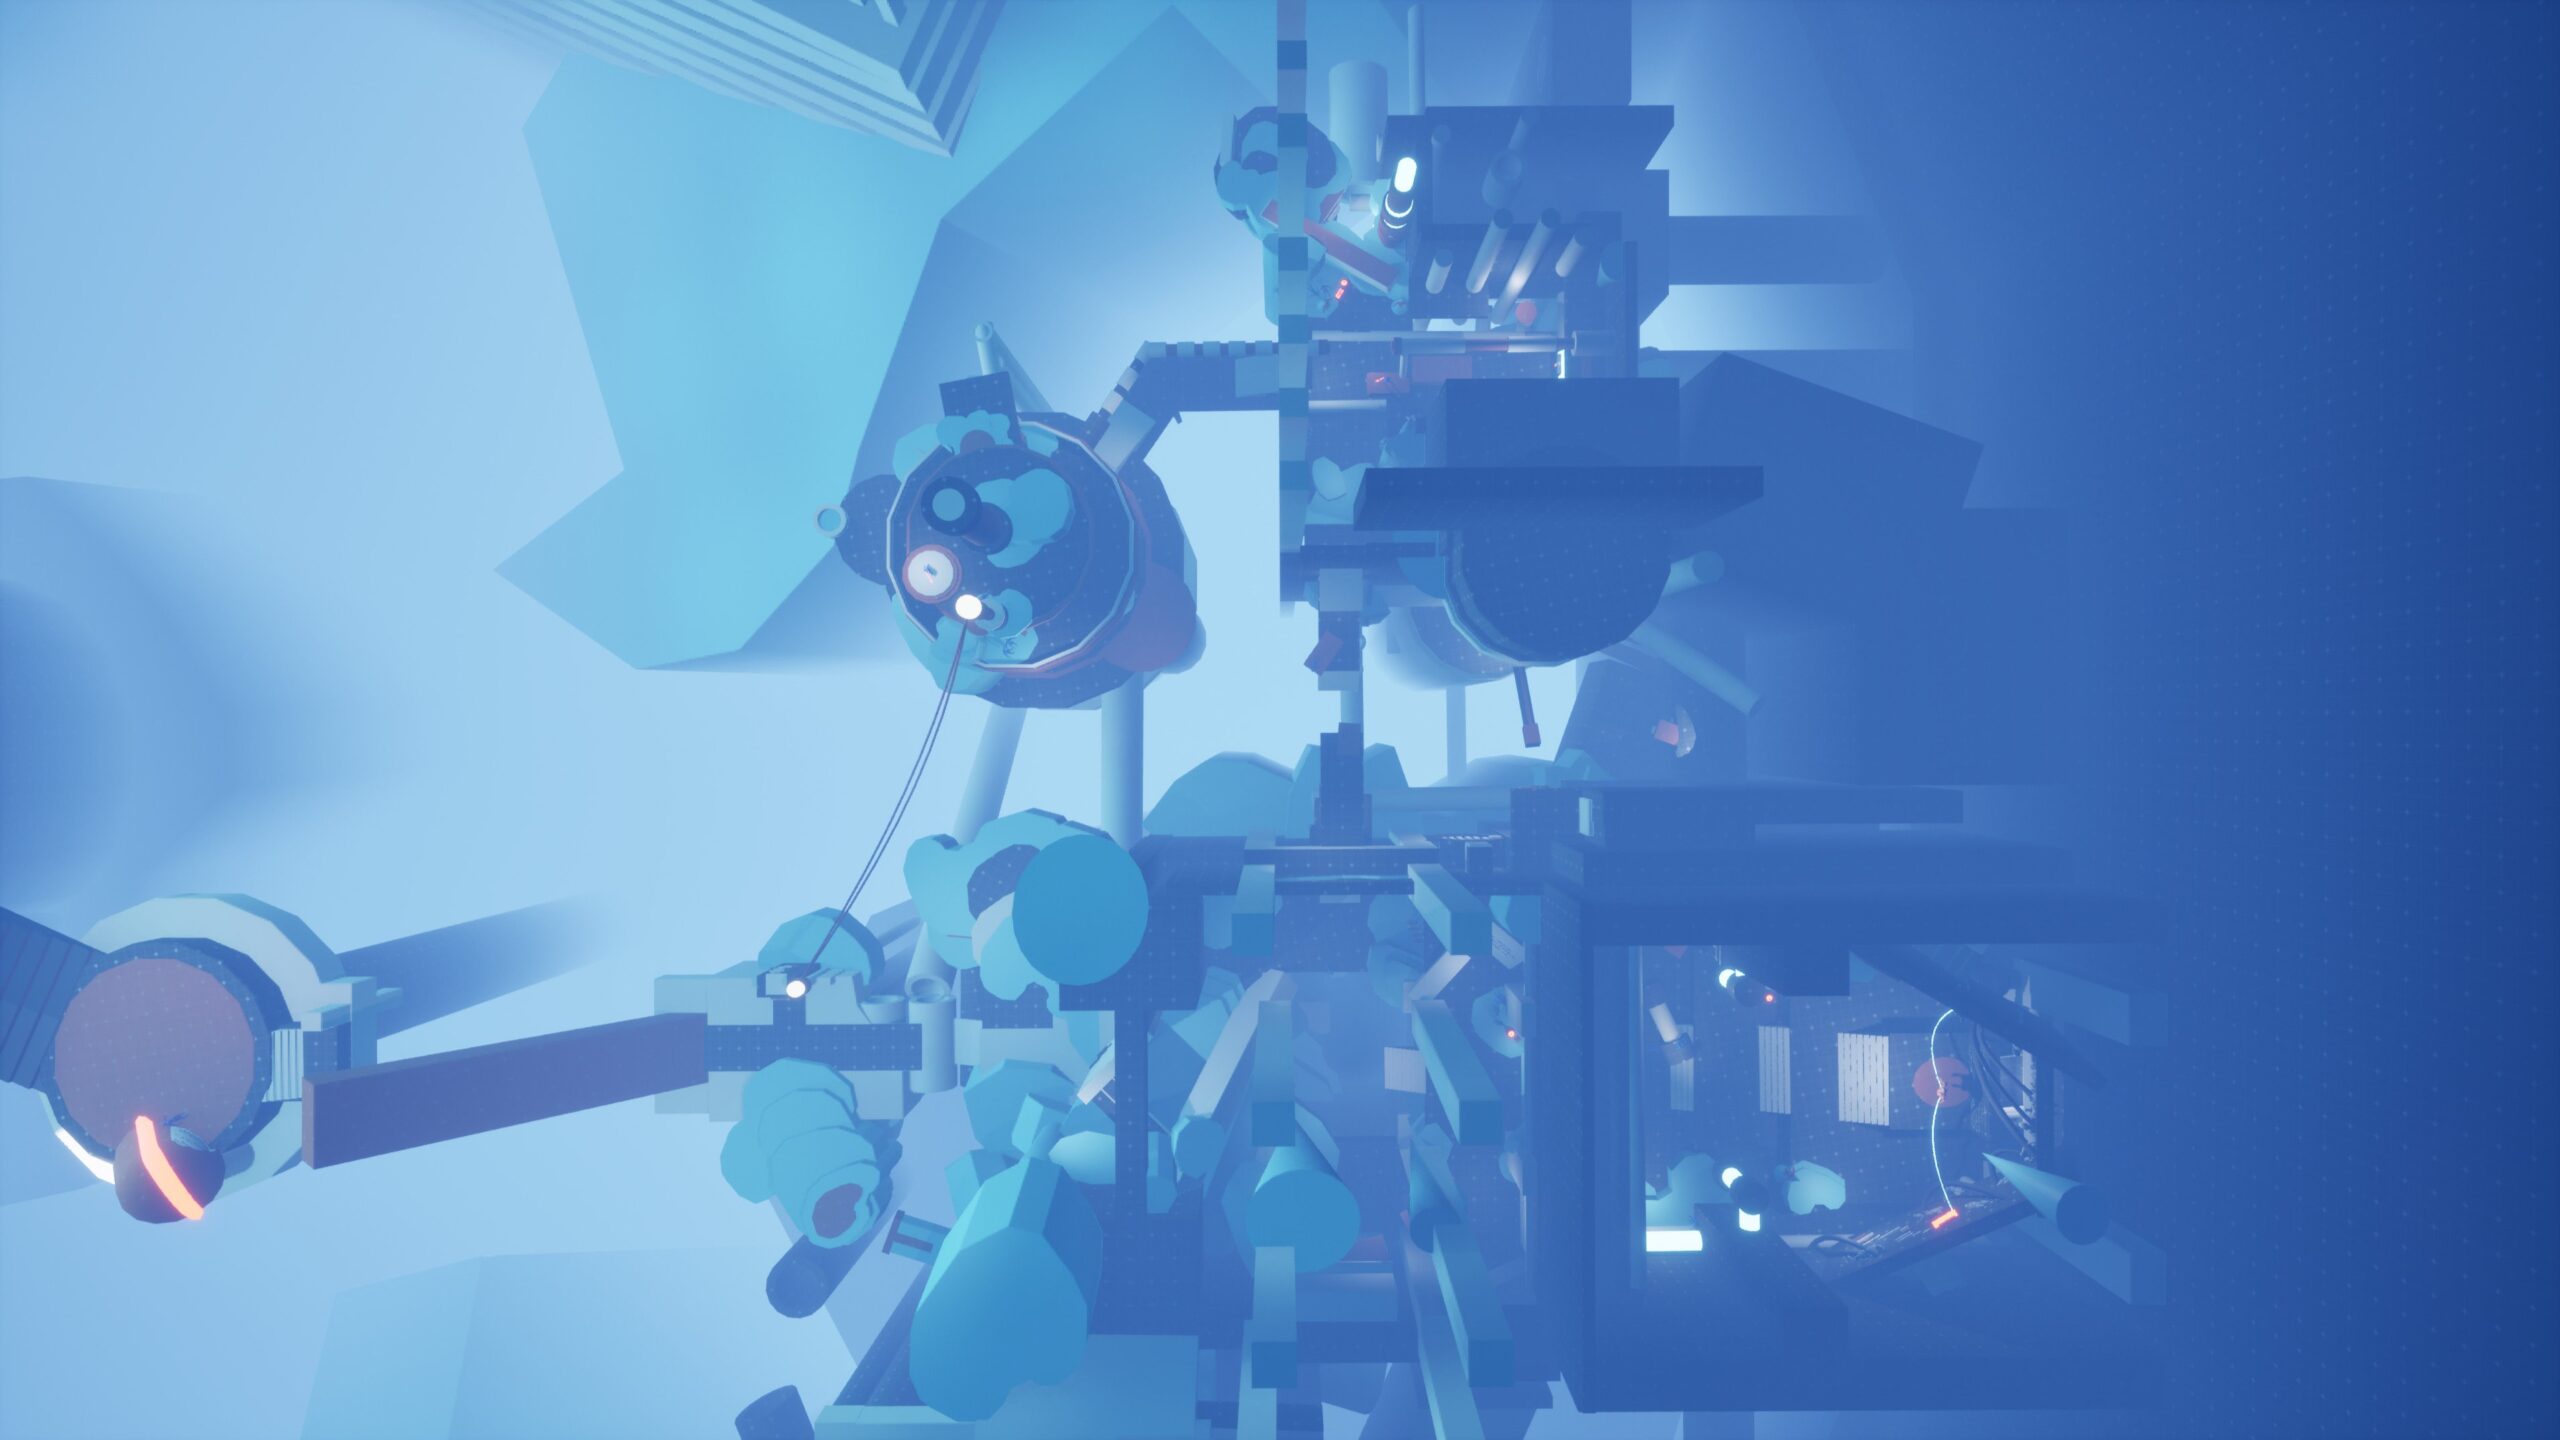
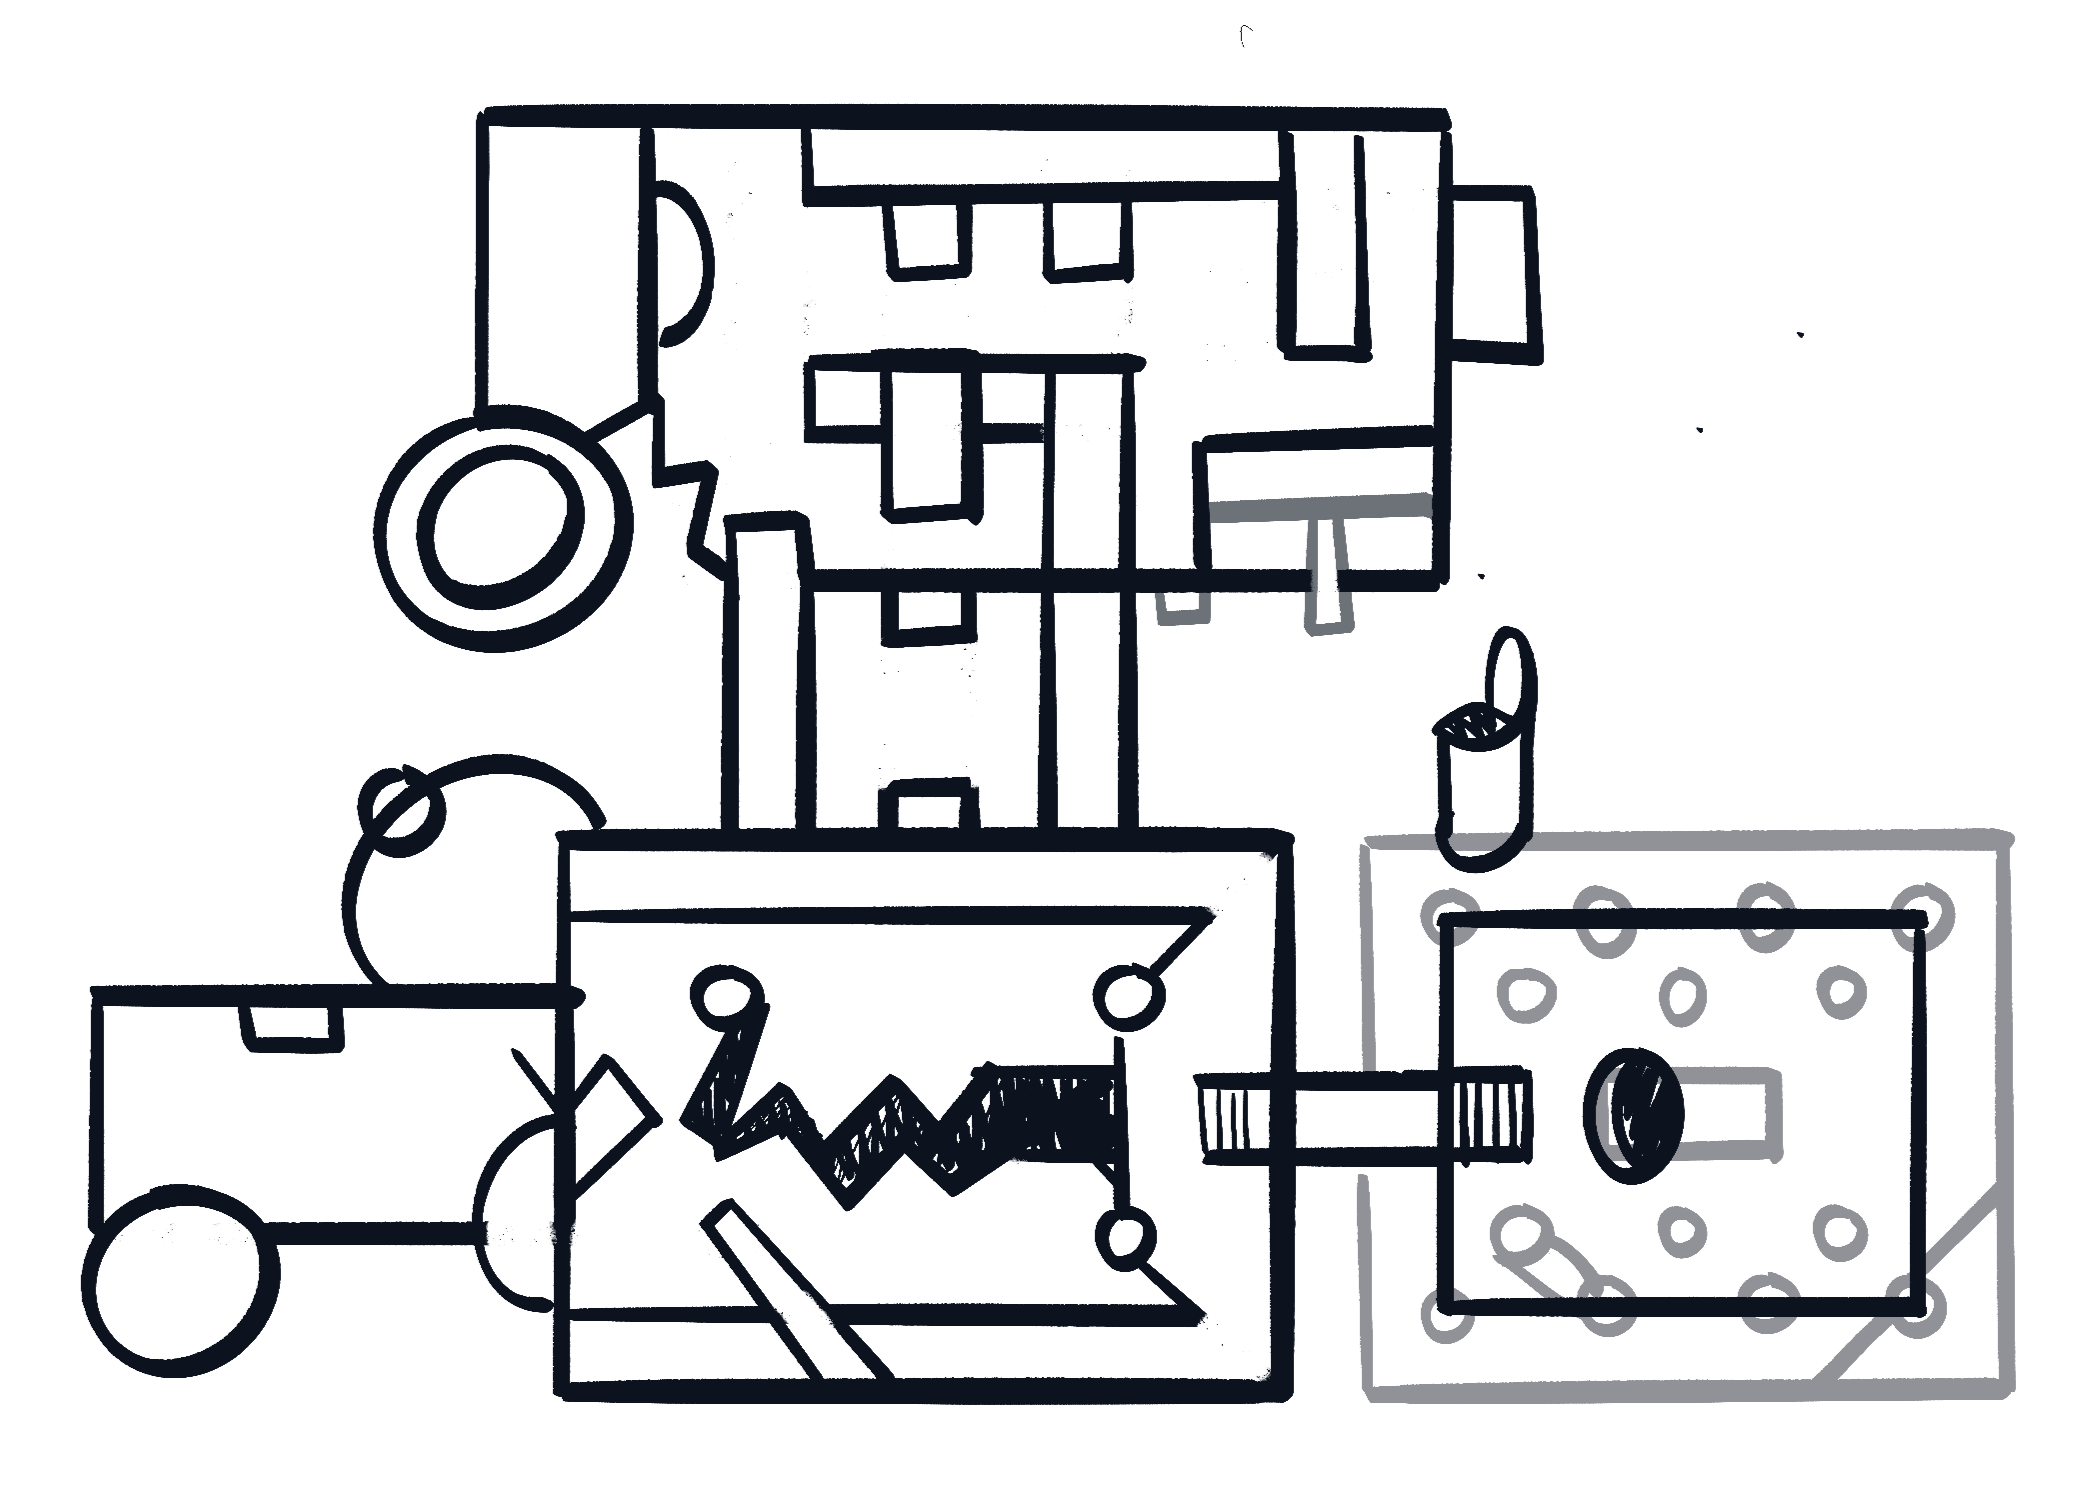
- A Macro 2D Layout Map visualizing the entire level flow, spatial distribution, distinct districts, and critical player paths.
Managing scope was a critical part of this phase. The initial concept for the level was significantly larger, requiring strategic cuts to maintain a high-quality, focused experience. Two weeks into production, I executed a second iteration of the 2D layout and beat sheet, specifically restructuring and refining the factory district to ensure tighter pacing.
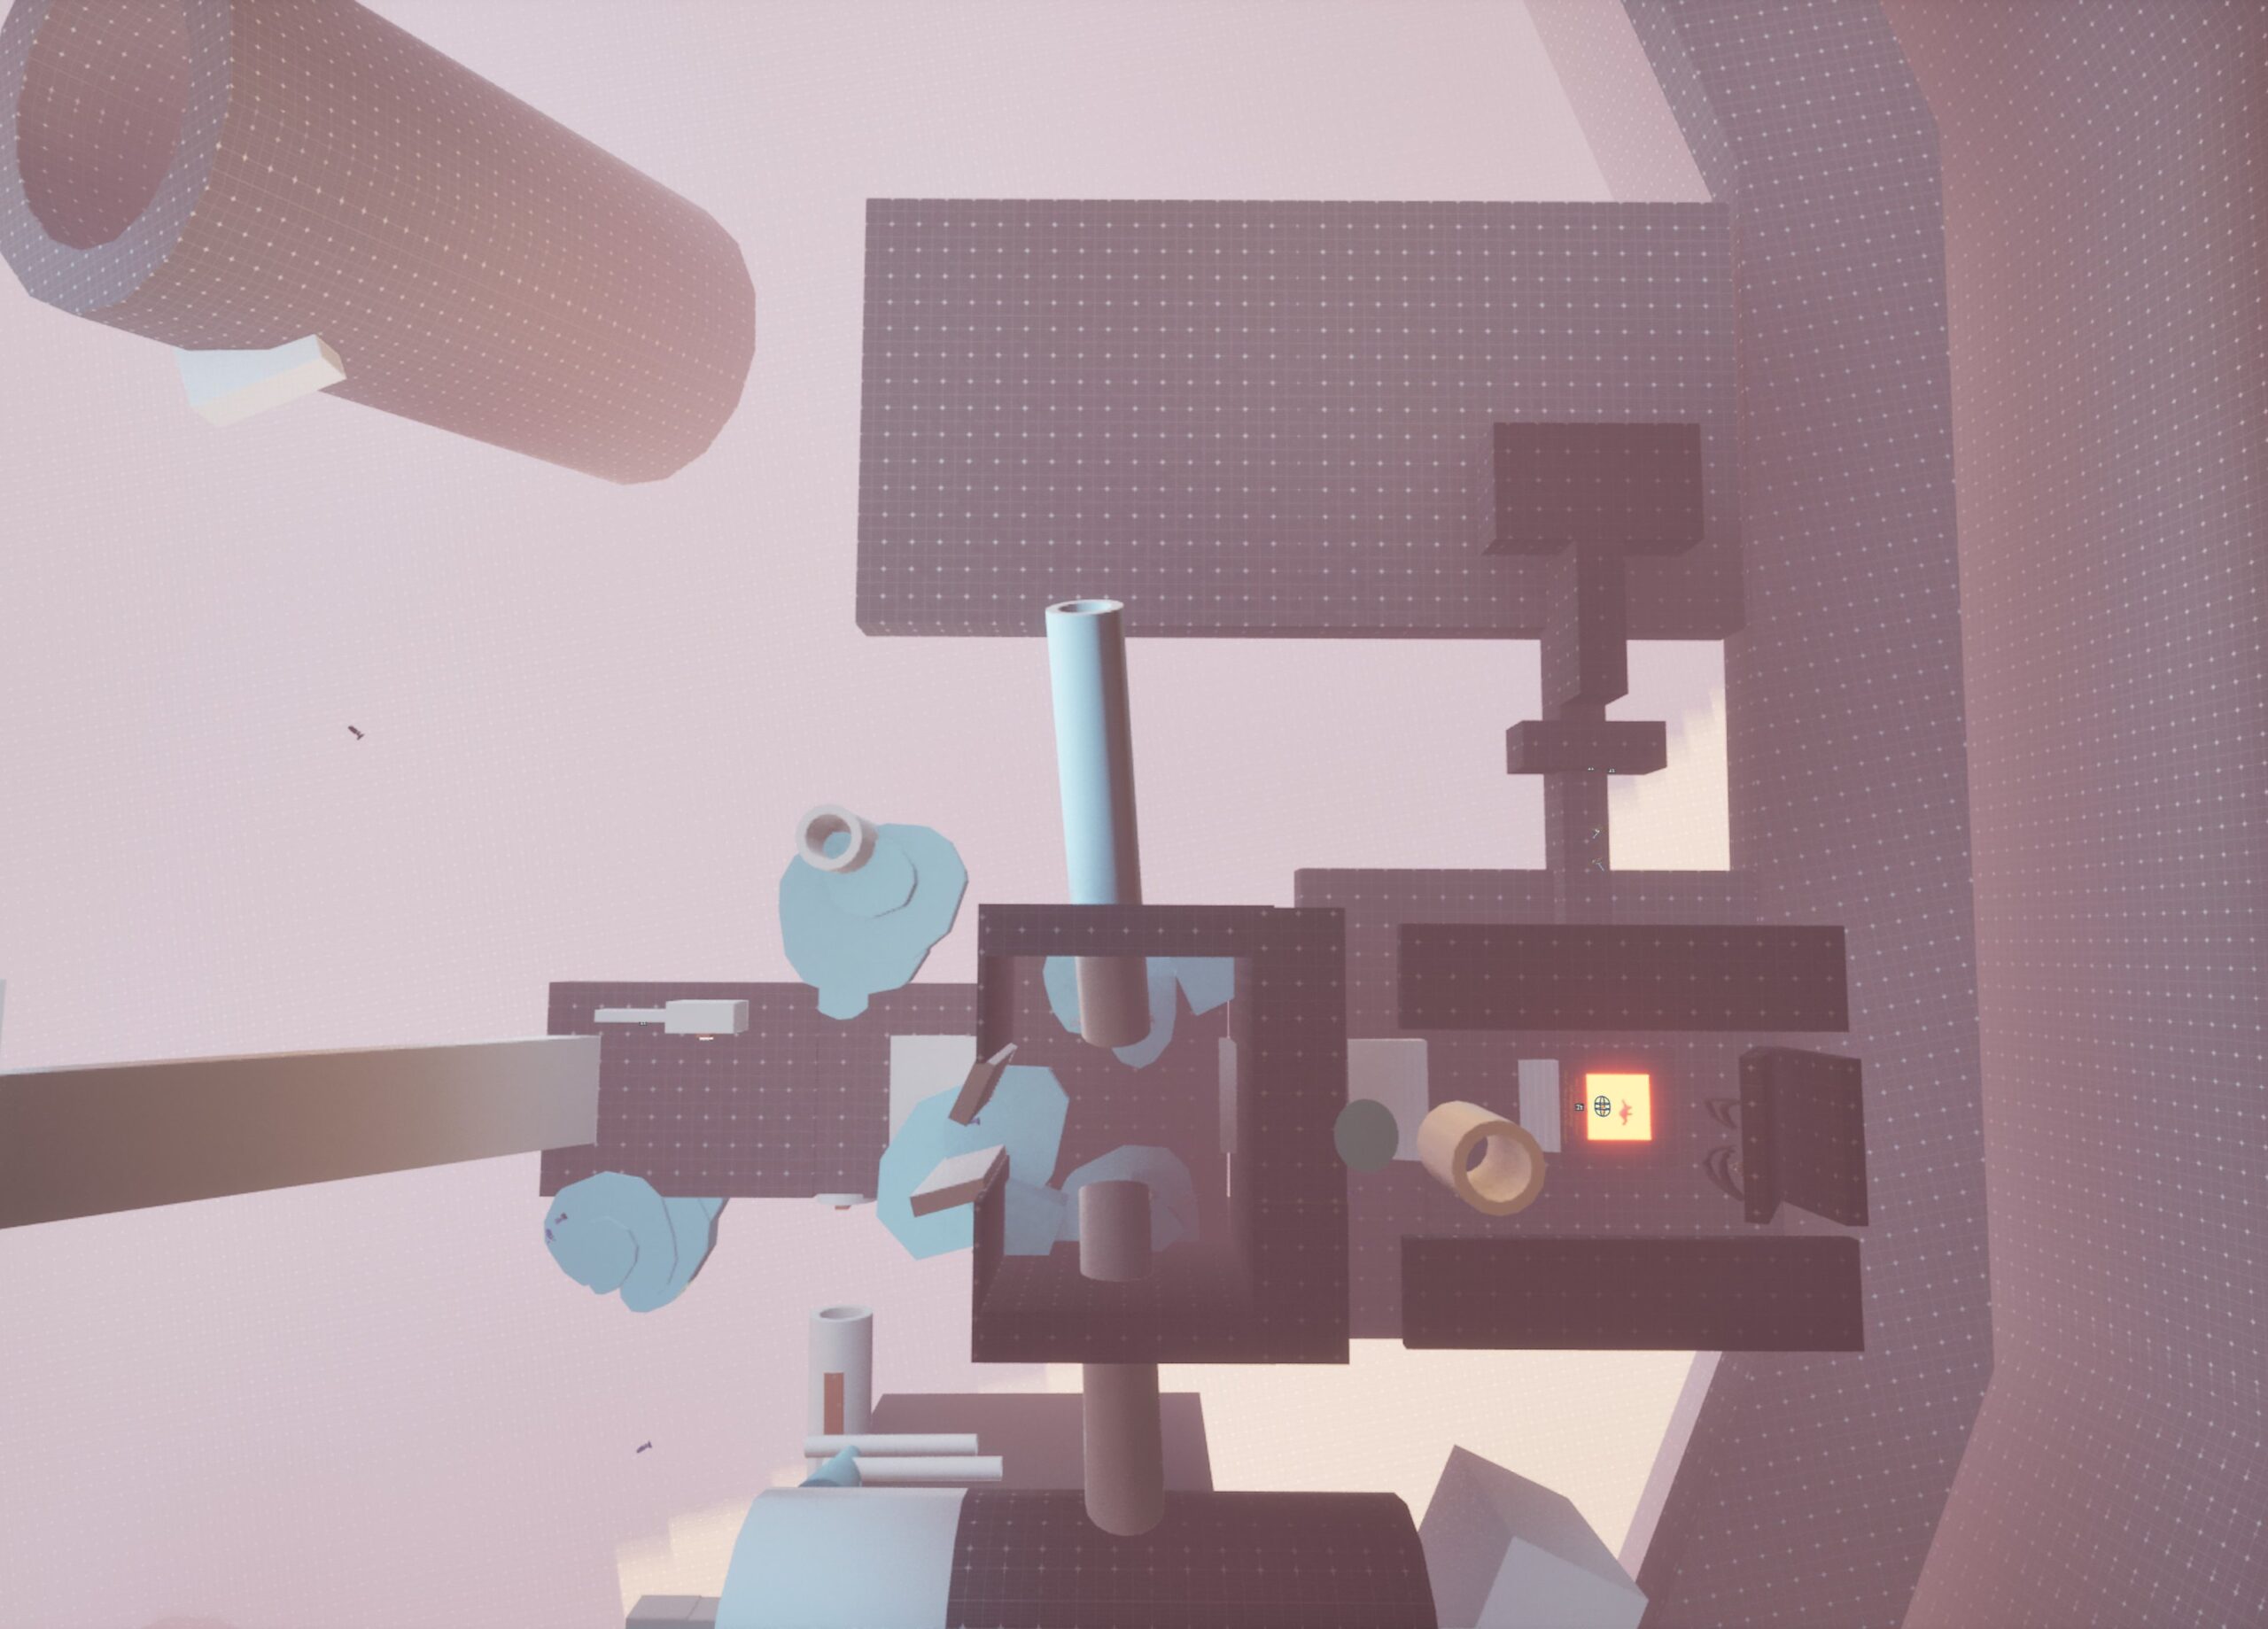
3. The First Roughout
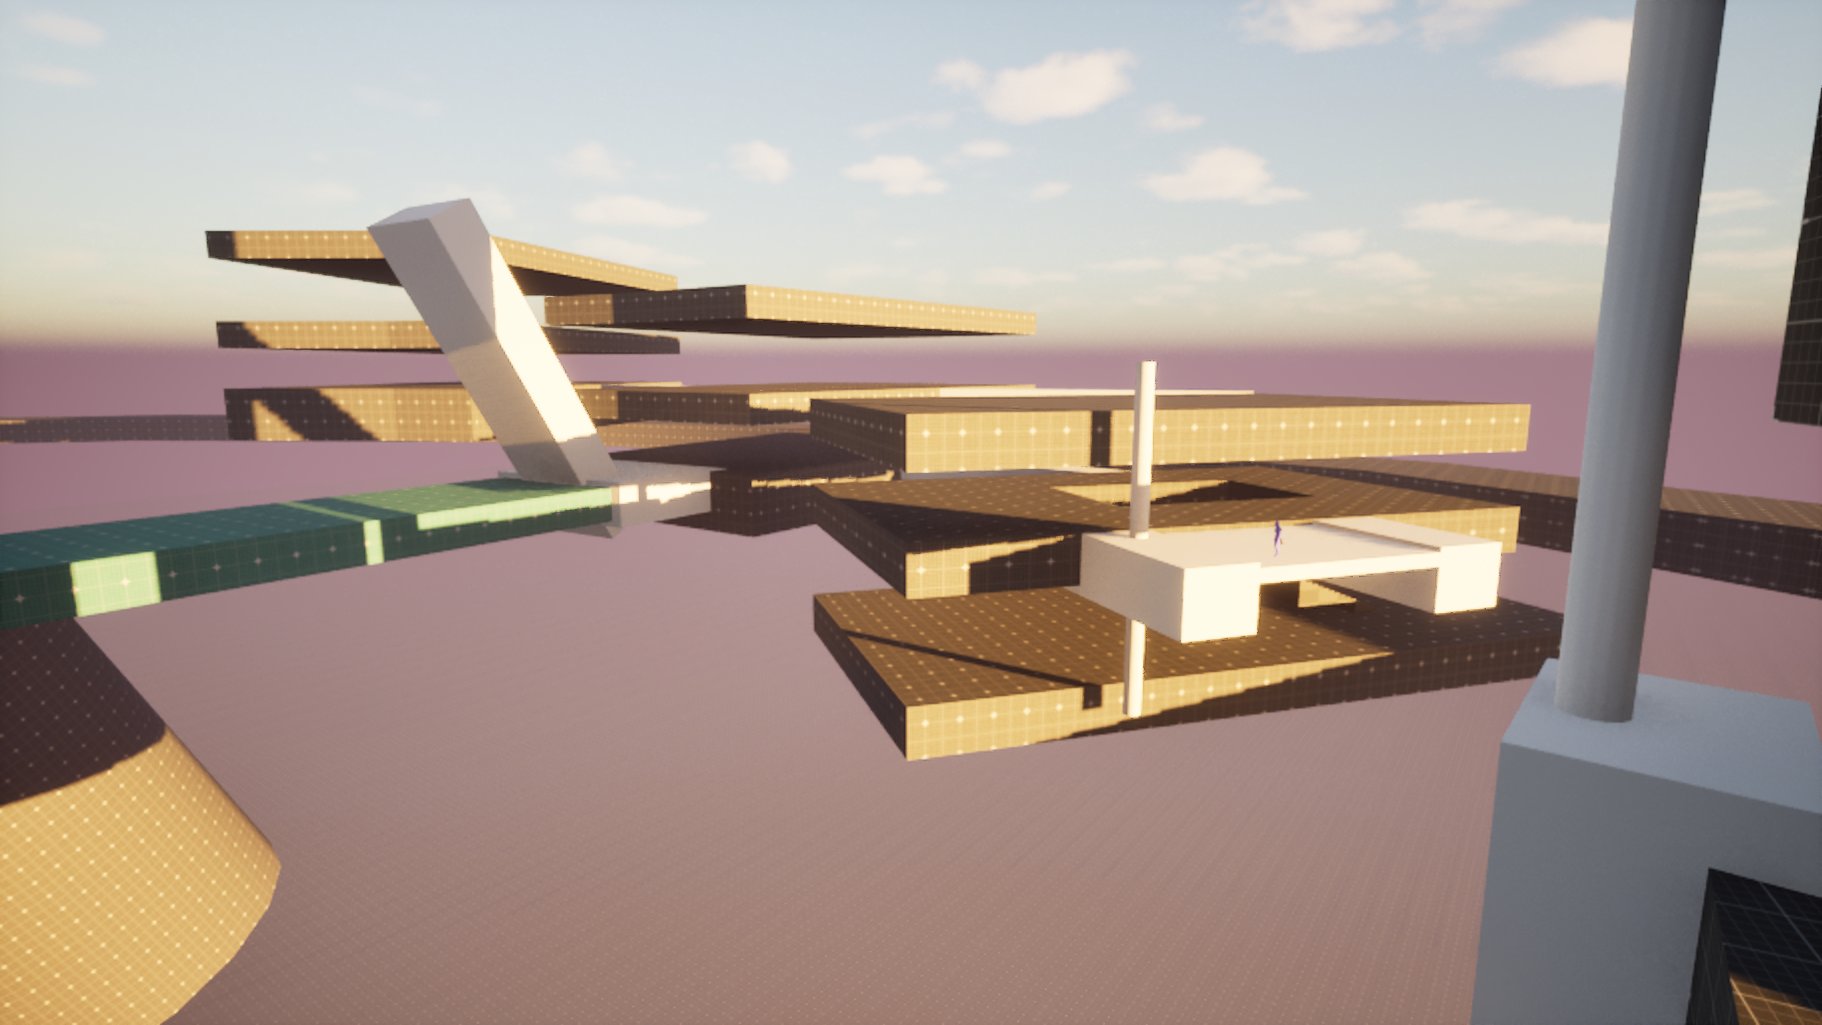
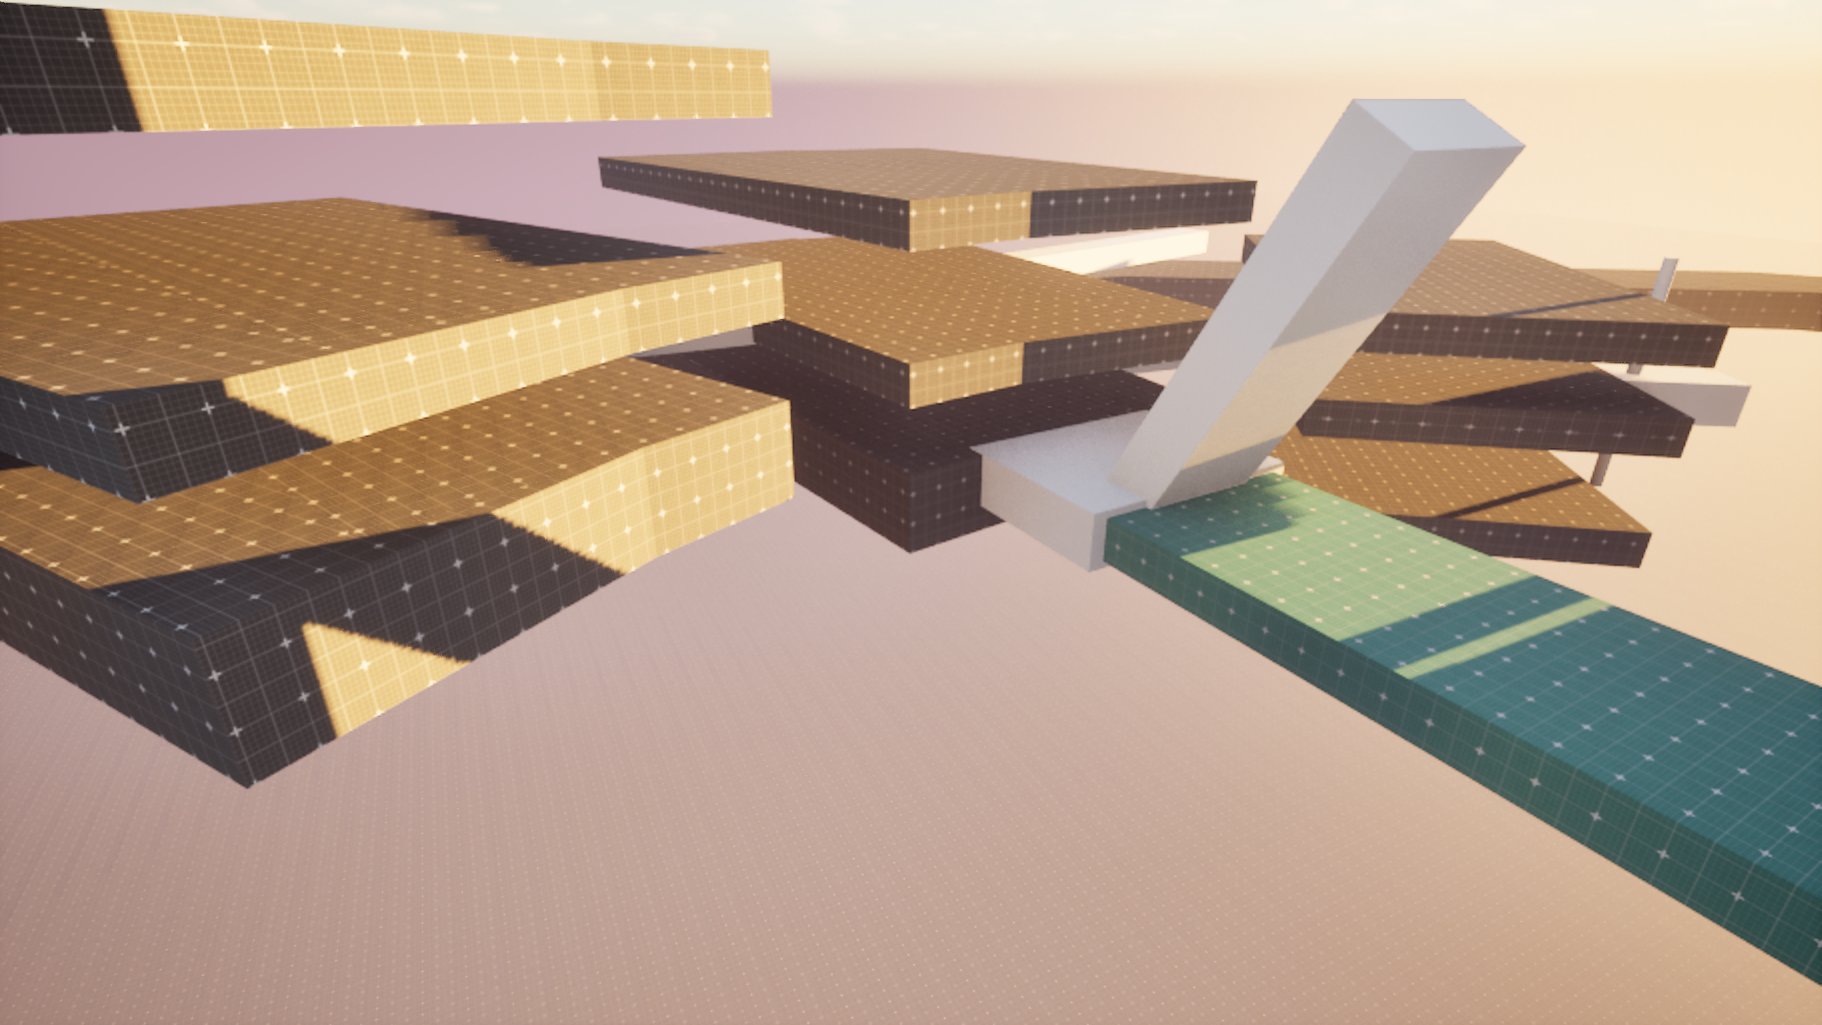
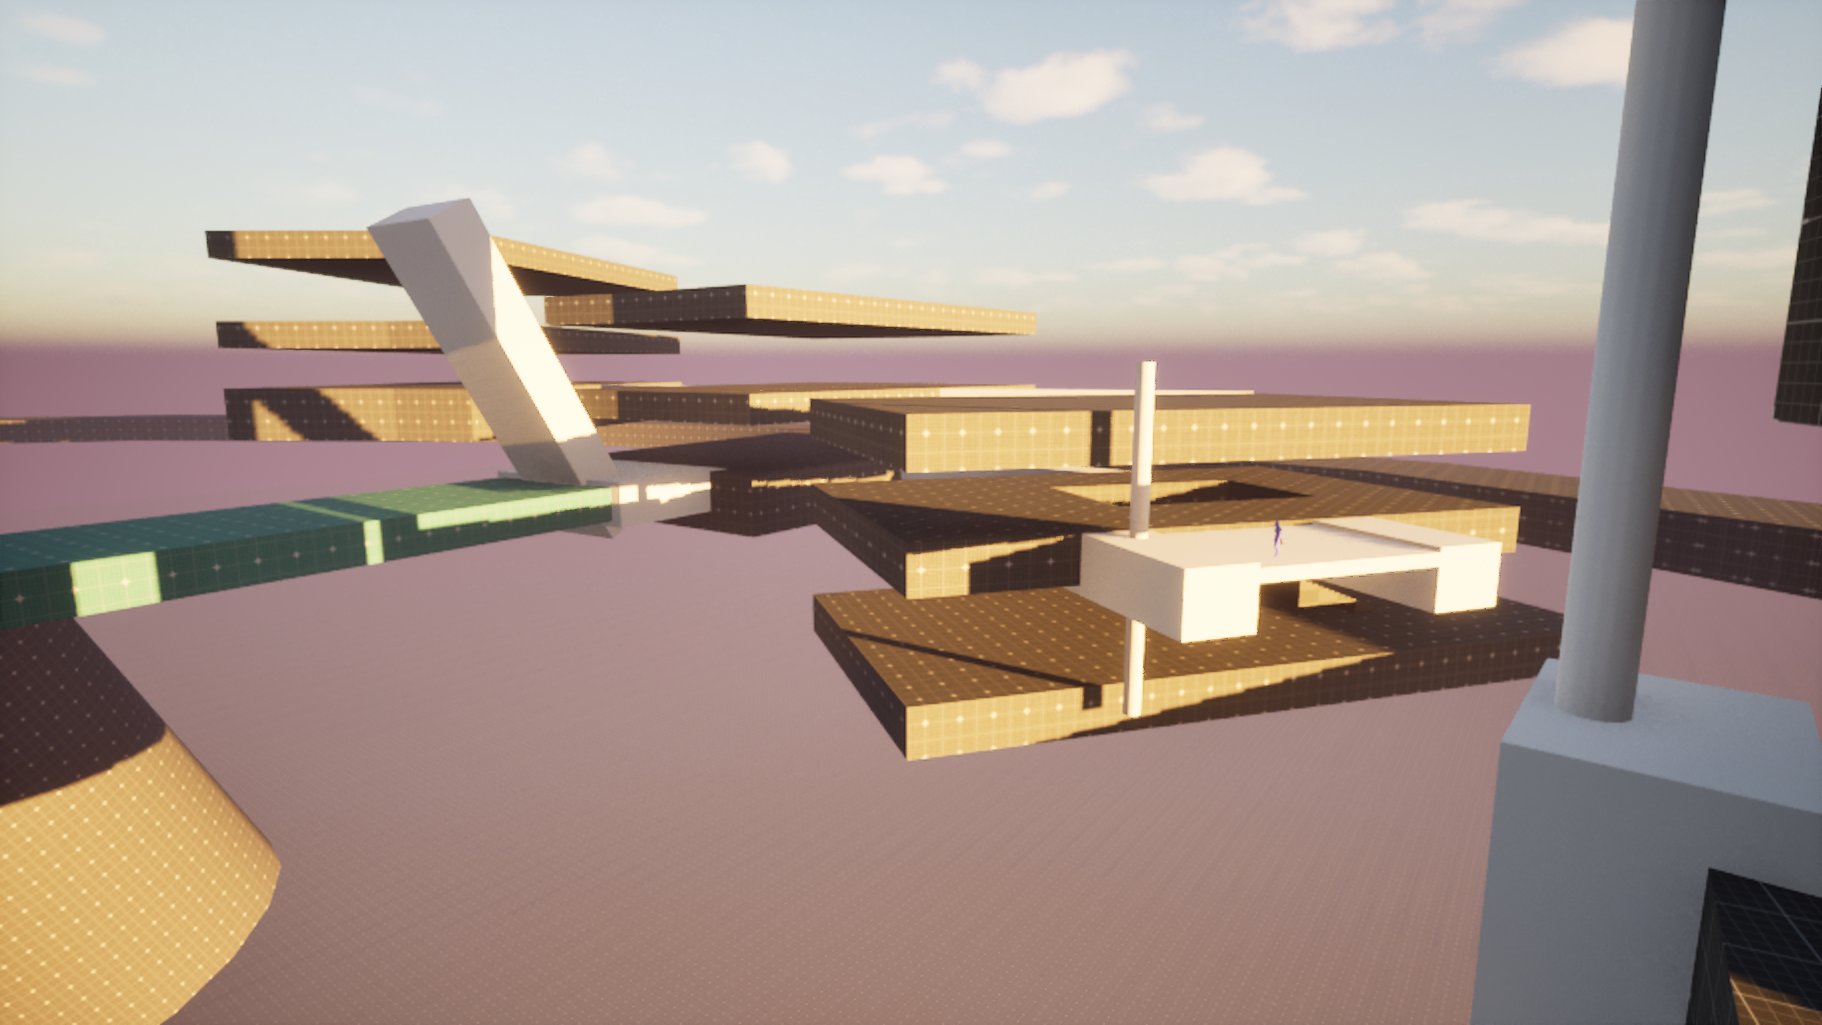
Objective: Translate 2D layouts into a 3D blockout to test player pathing, scale, verticality, flow, and vistas.
Results: This critical phase identified layout flaws, leading to three major design adjustments based on playtest feedback:
Scope Reduction: The 3D layout was far larger than expected, requiring a 1/3 reduction. I refocused development around the temple and factory districts to preserve the most from the core experience.
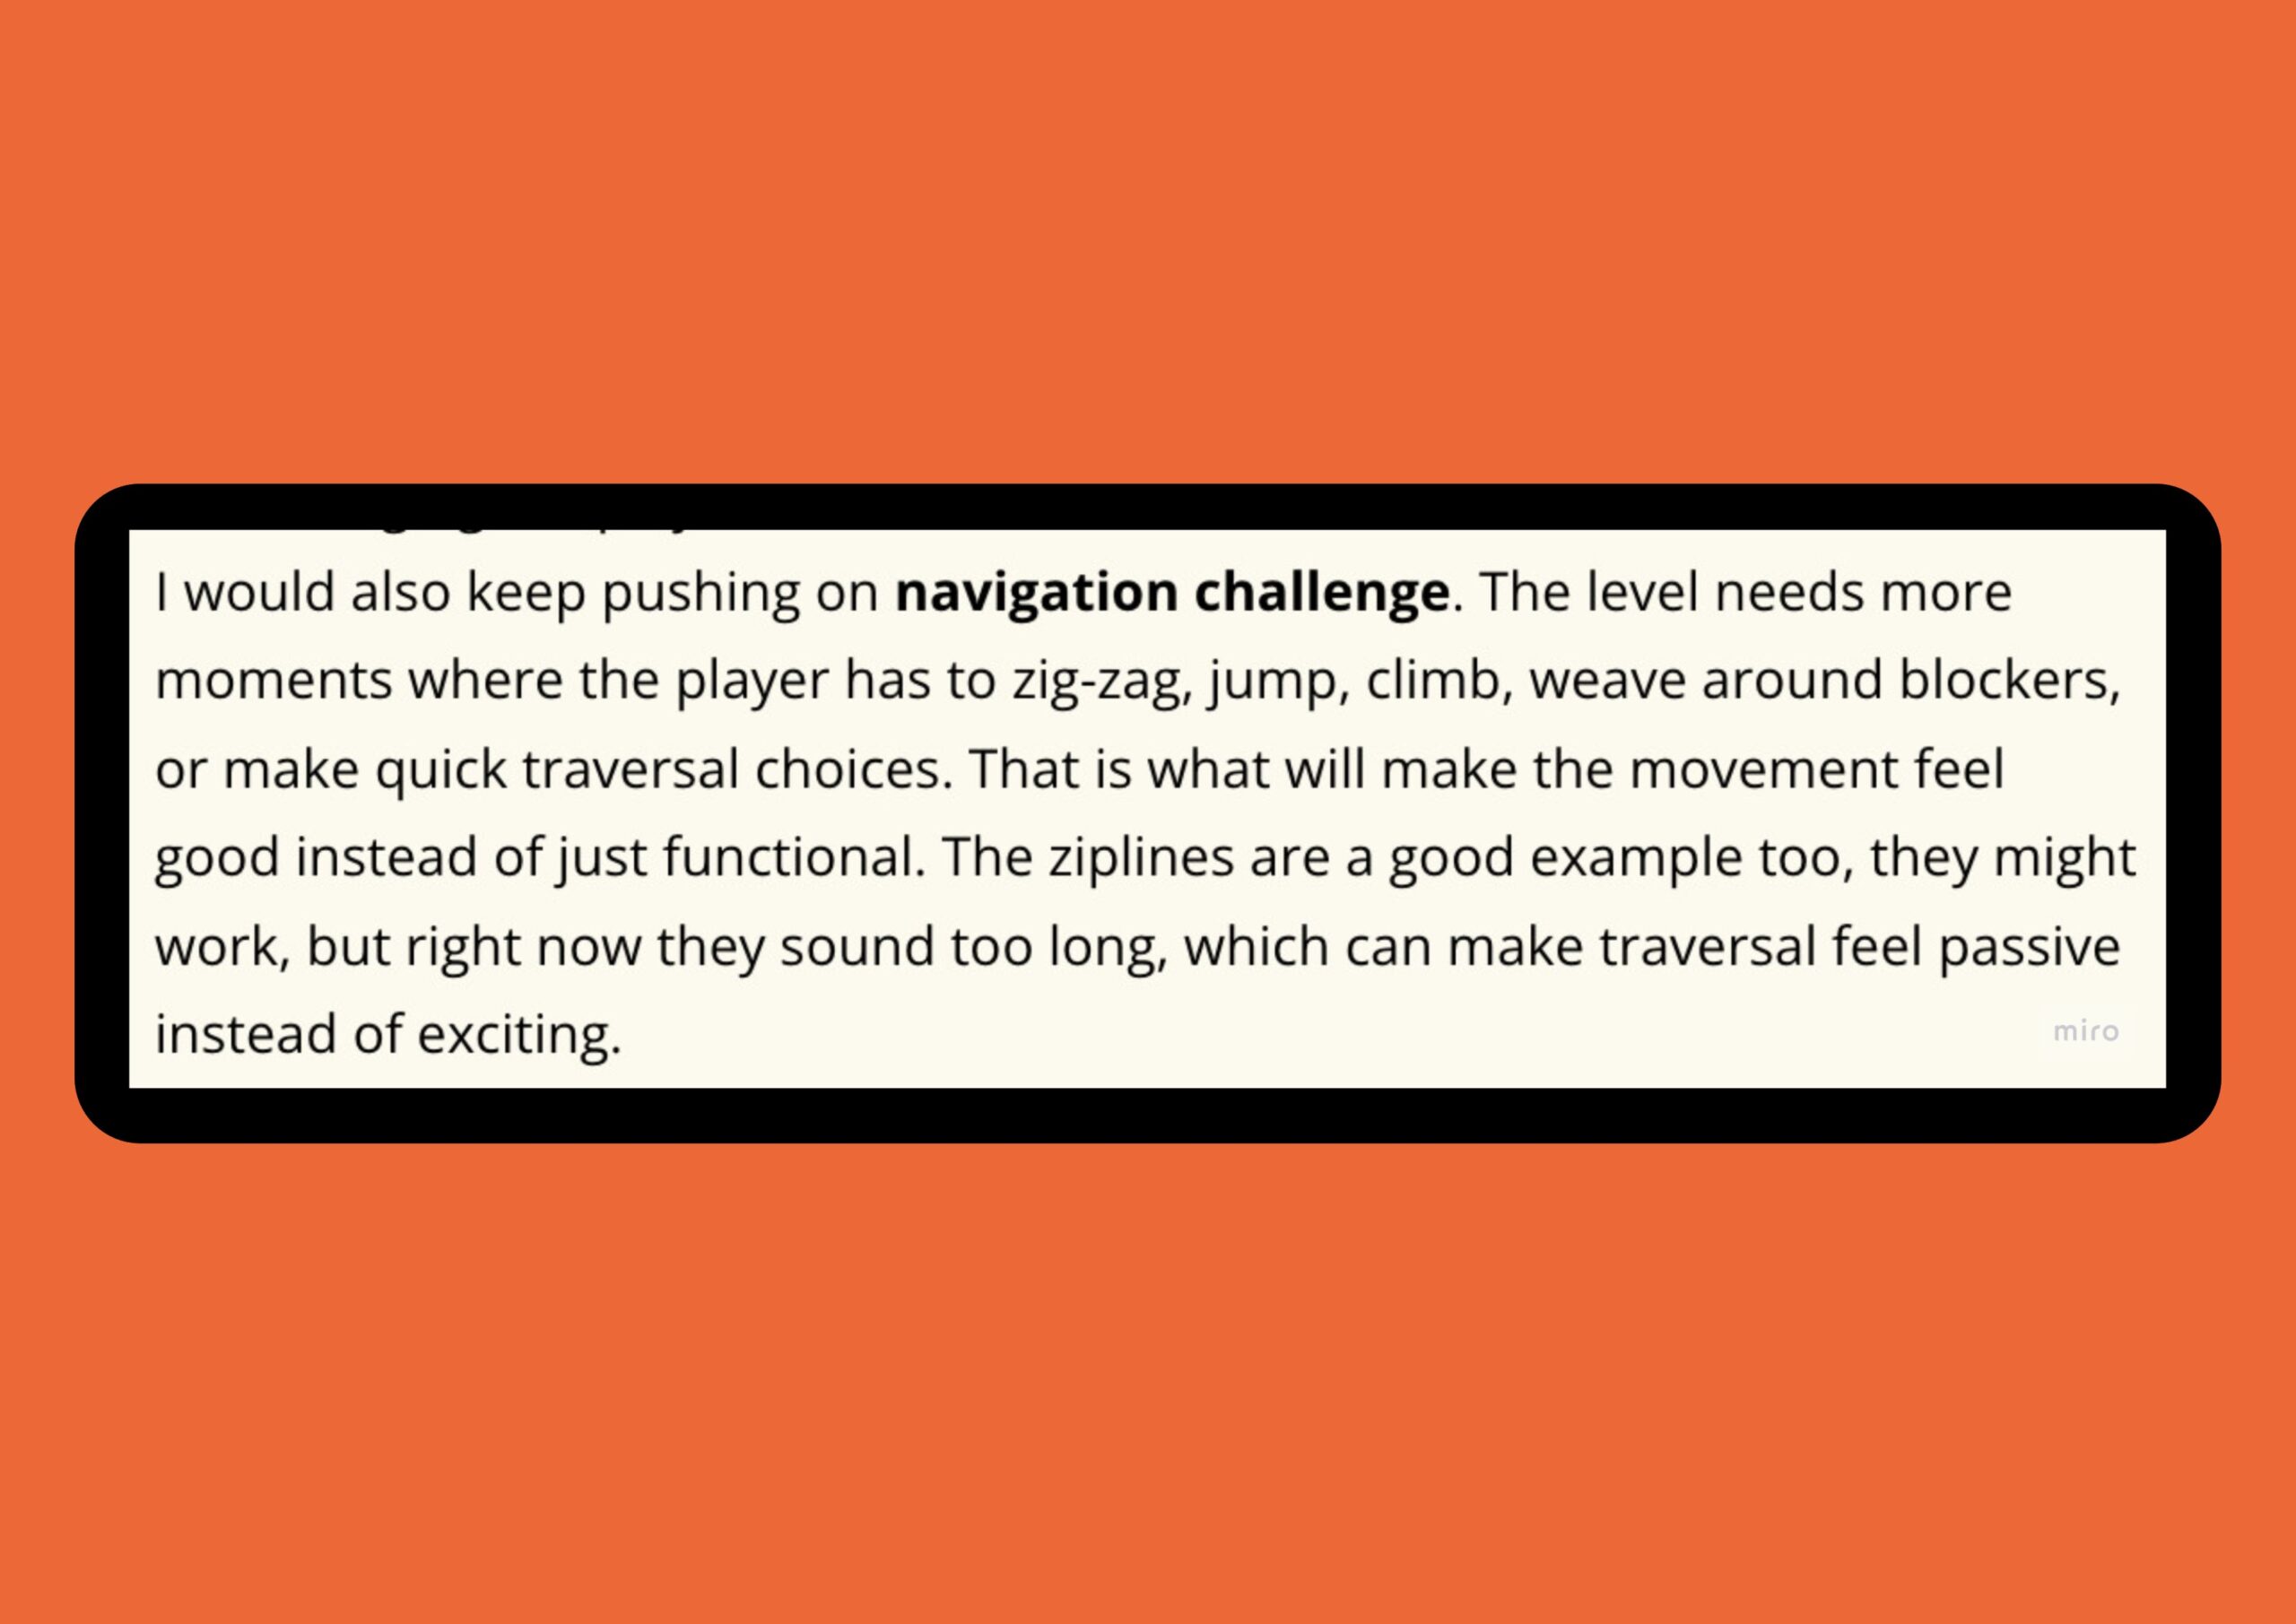
Pacing Traversal Mechanics: A zipline originally used in Beat 2 to show cavern scale made early traversal feel too passive, ruining the pacing of subsequent platforming.
Enhancing Verticality: The initial layout relied too heavily on flat bridges and floors. To create dynamic movement, I replaced flat surfaces with vertical climbing loops, pipe-balancing, and jumps between structures.
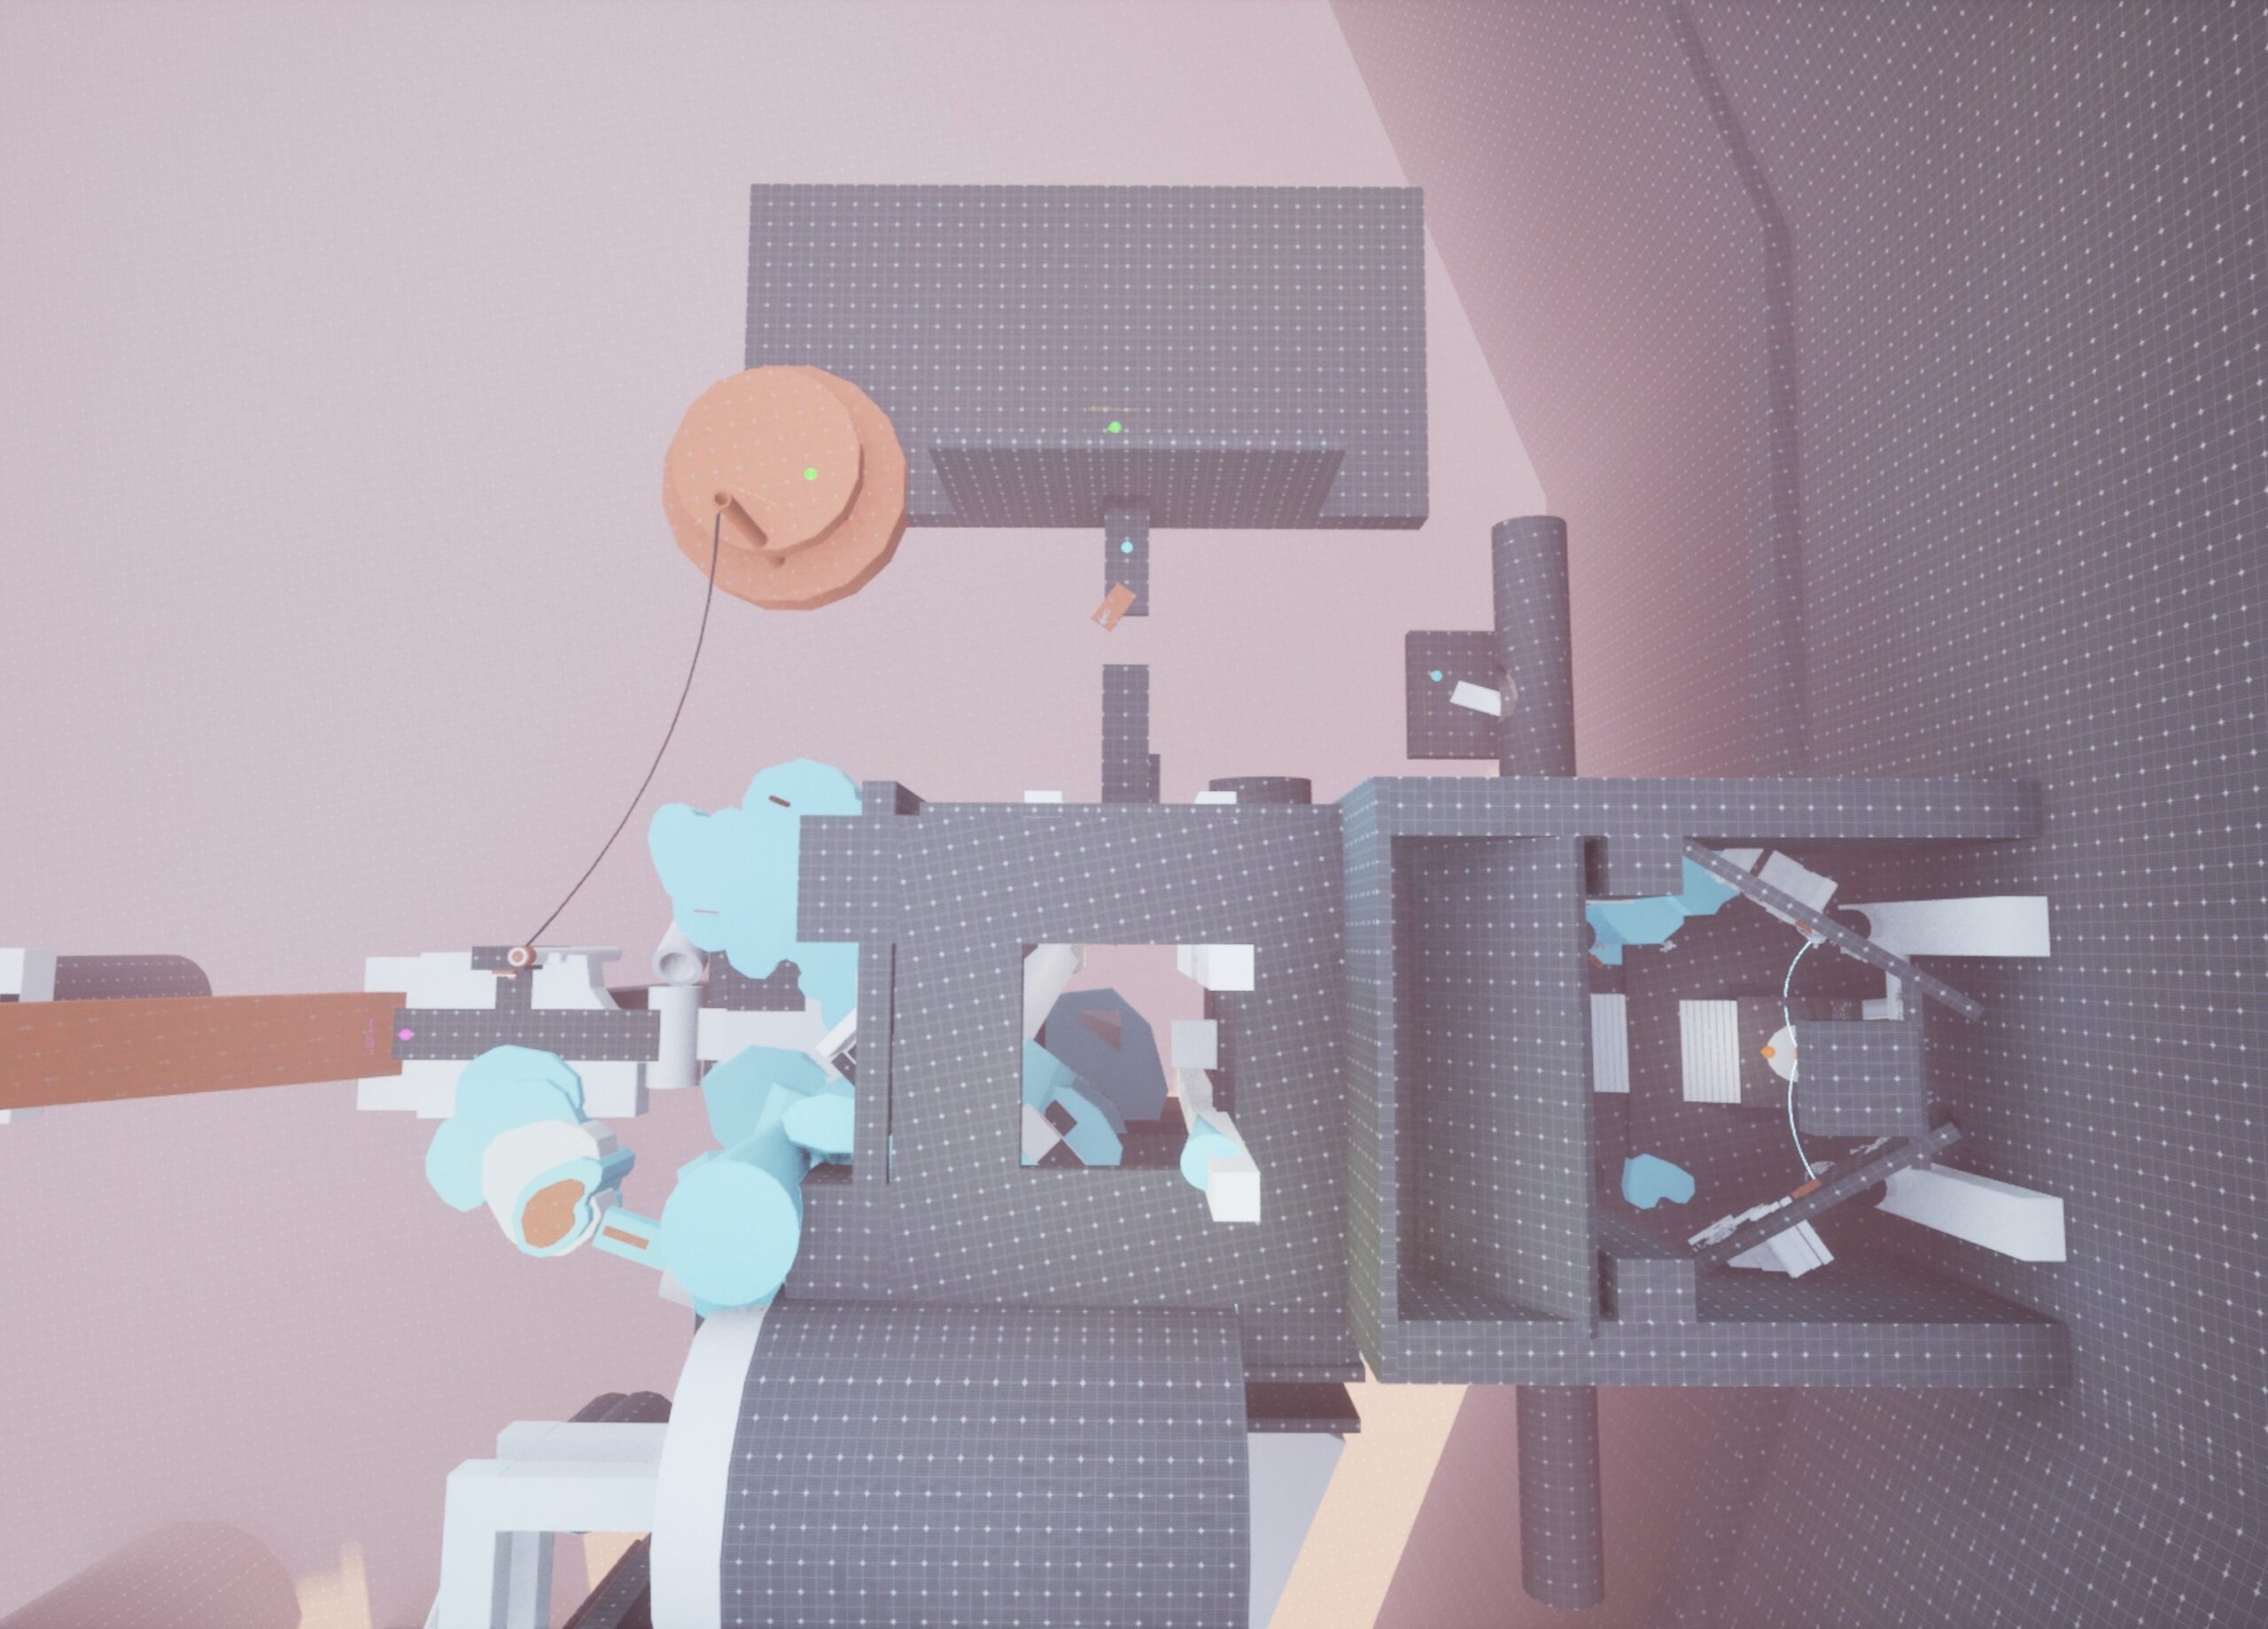
4. Narrative Pass
Objective: Restructure the layout around the reduced scope, flesh out the core gameplay loop, and integrate environmental storytelling to deepen immersion.
Results: This pass successfully aligned spatial design with narrative goals, though playtests highlighted three key areas requiring layout adjustments:
- Temple Approach & Ingress: The initial temple entrance felt too direct and uninspiring. I used collapsed architecture and jagged ice formations to introduce winding pathways and verticality.
- Pacing and Combat Introduction: The transition between Beats 4 and 5 lacked sufficient playable space. I reshaped the temple entrance to introduce combat earlier, giving players a mechanical challenge before reaching narrative-heavy beats.
- Optimizing Sightlines and Guidance: While the updated Beat 2 platforming felt satisfying, its trajectory missed my navigation goals. I adjusted the geometry so the path naturally frames a clear view of the bridge terminal to guide the player’s eye.
5. Enemy Encounters Pass
Objective: Deploy movement mechanics, introduce the weapon sandbox, optimize resource distribution, design enemy encounters, and iterate on geometry for compelling combat spaces.
Results: This pass evaluated combat pacing, sandbox balance, and threat levels. Based on playtest data, I made the following adjustments:
Refining Enemy Introductions: Polished the corridor combat beat with tighter environmental lighting and contrast, ensuring the robotic zombie’s reveal delivers the intended threat.
Condensing Encounter Arenas: Restructured over-scaled early combat spaces into compressed, close-quarters environments tailored specifically to high-velocity engagements with melee enemies.
Resolving AI & Navigation Bottlenecks: Removed problematic verticality in the Beat 6 arena that hindered player flow and enemy AI, flattening the space to optimize navigation and wave-spawning.
6. Scripted Sequences Pass
Objective: Refine encounter scripting, build out the factory interior, implement core level logic, and program scripted events.
Results: This pass successfully integrated combat, exploration, and puzzles into a cohesive rhythm, though a final review highlighted three areas requiring technical refinement:
- Refining Player Onboarding: The introduction to core mechanics needed to be more intuitive. I added clear tutorial prompts and locked the cyborg room ambush to the pistol, smoothly easing players into the combat loop.
- Improving Traversal Readability: The critical path was visually ambiguous in a few spots, causing confusion and minor sequence breaking. I refined the lighting to clarify the path and tightened collision boundaries to prevent out-of-bounds exploration.
- Redesigning Factory Puzzle Logic: Activating the generator in Beat 8 felt mechanically disconnected from the tower lock. I redesigned the logic so powering the generator directly triggers and unlocks the next phase of tower progression.
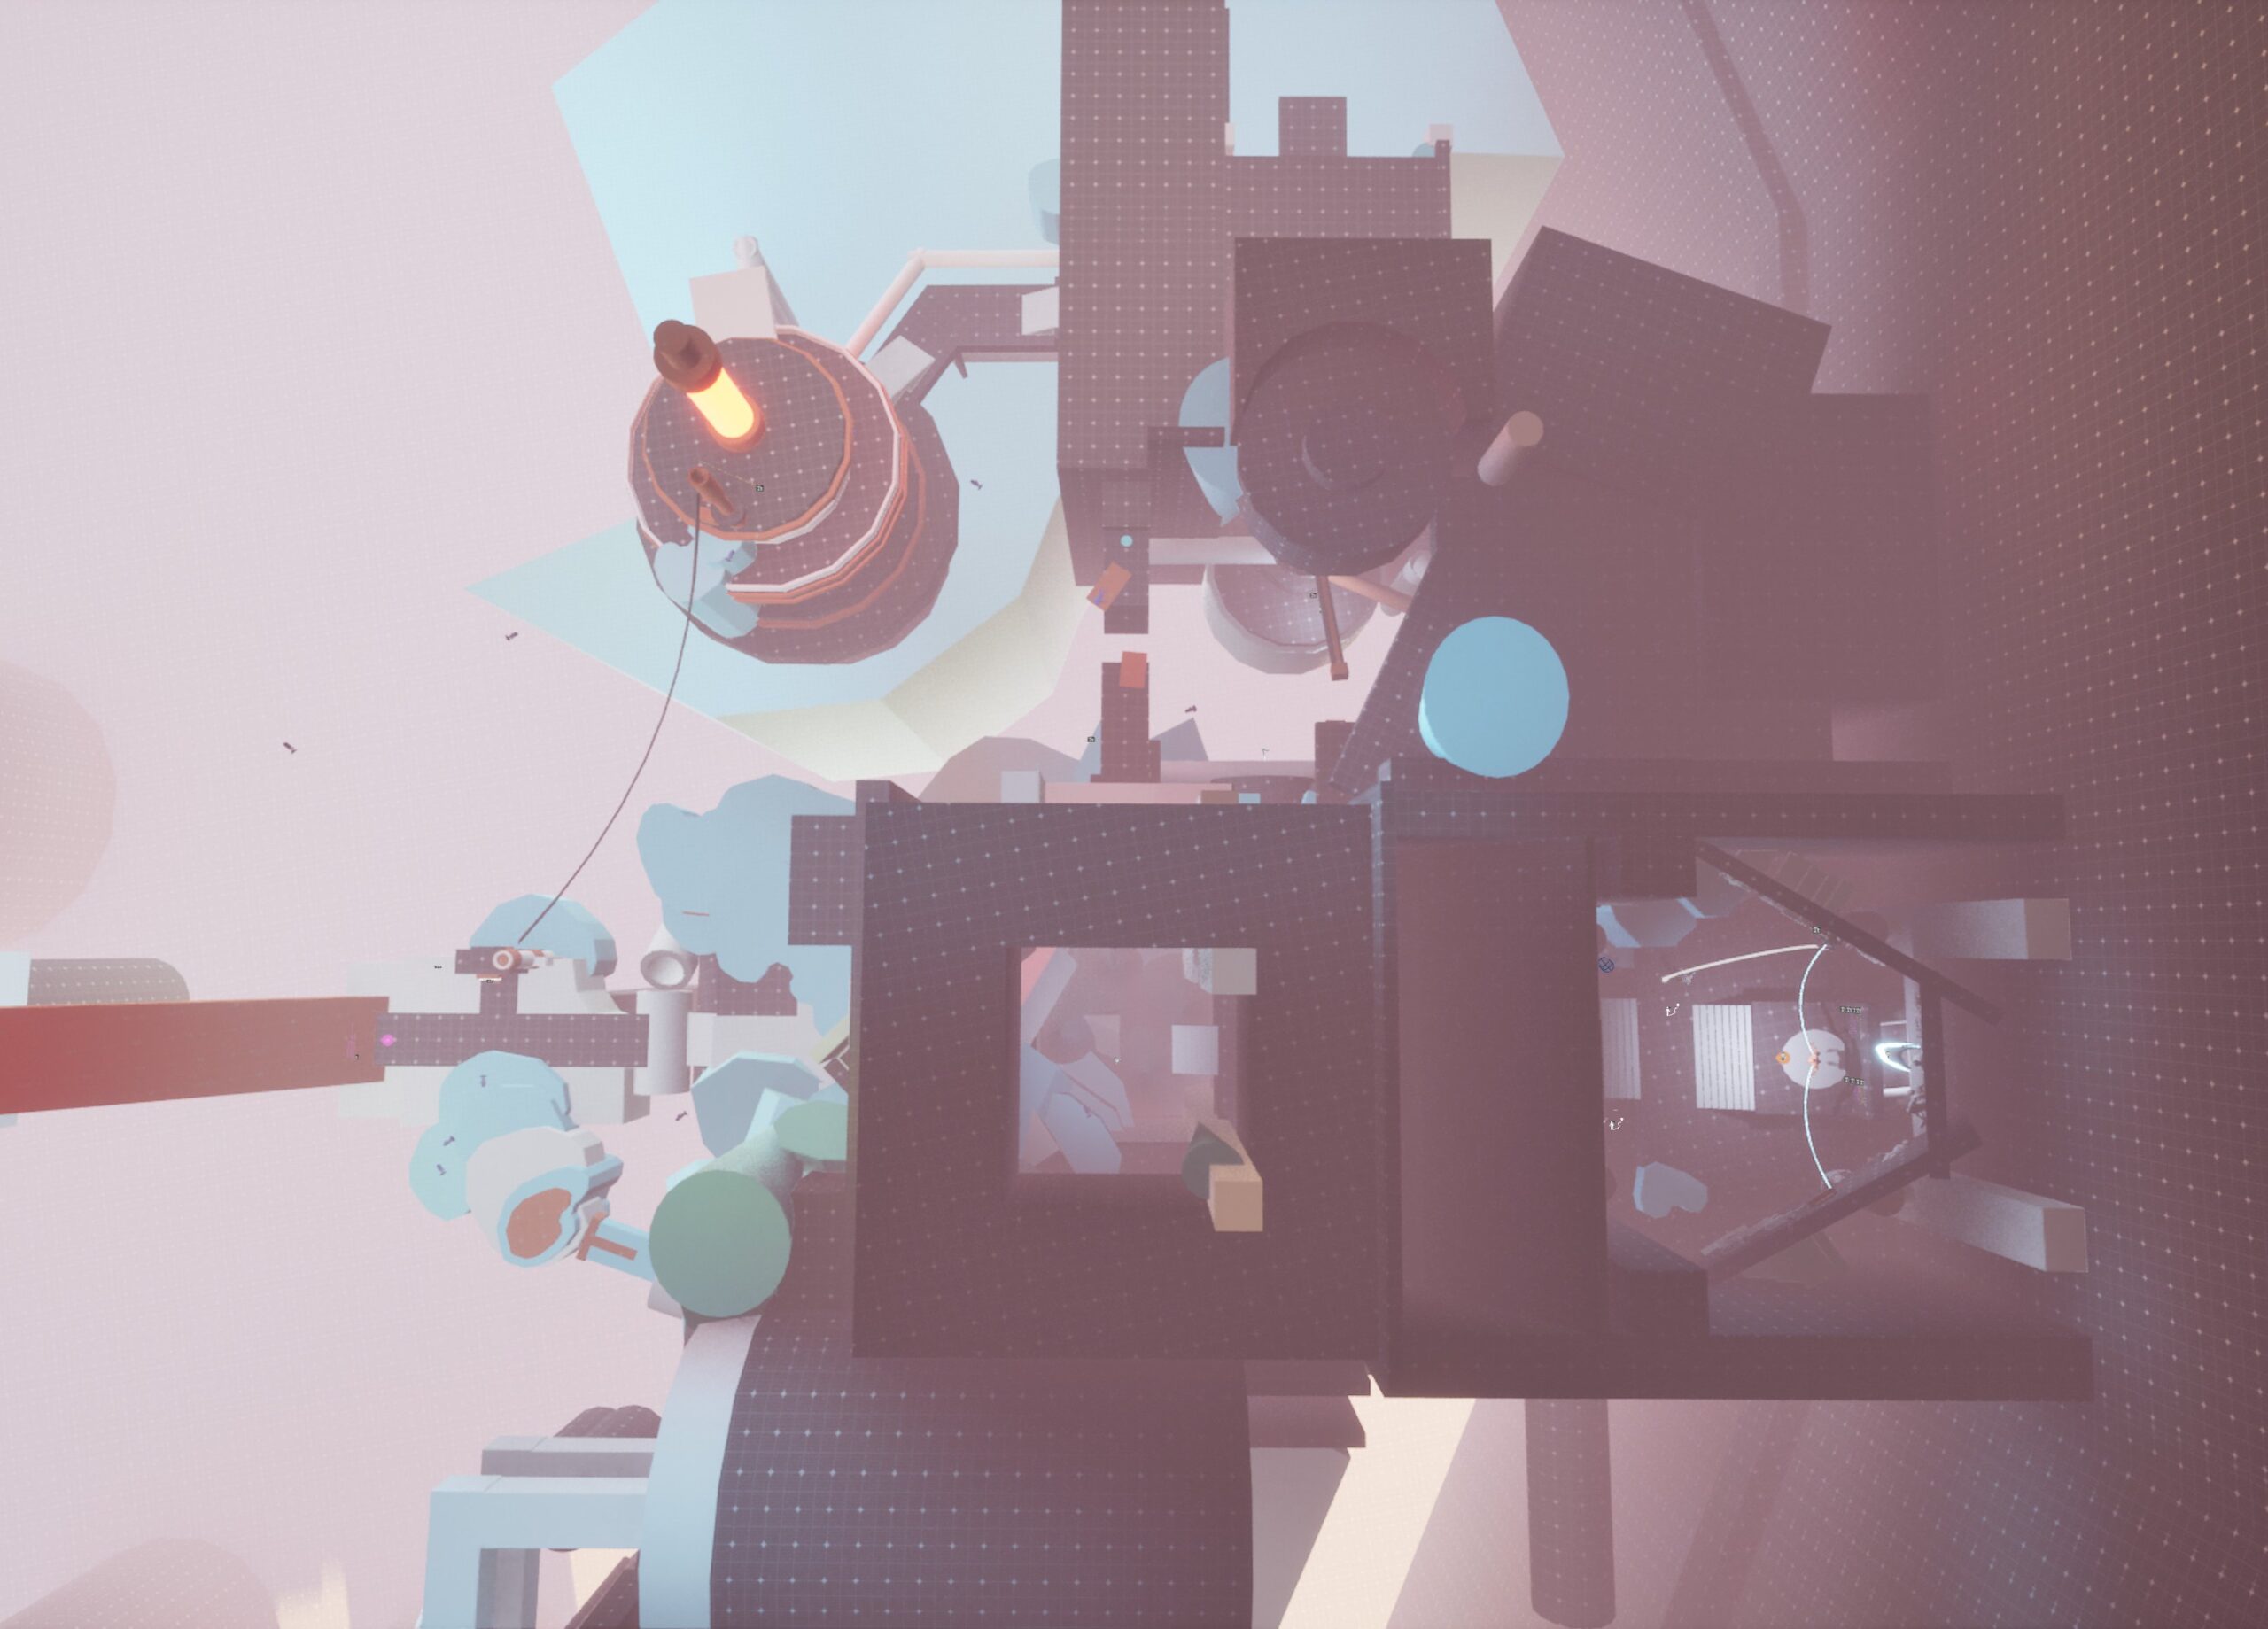
7. Worldbuilding Pass
Objective: Integrate asset detailing focused on deep worldbuilding, environmental storytelling, atmospheric mood, audio design, and lighting.
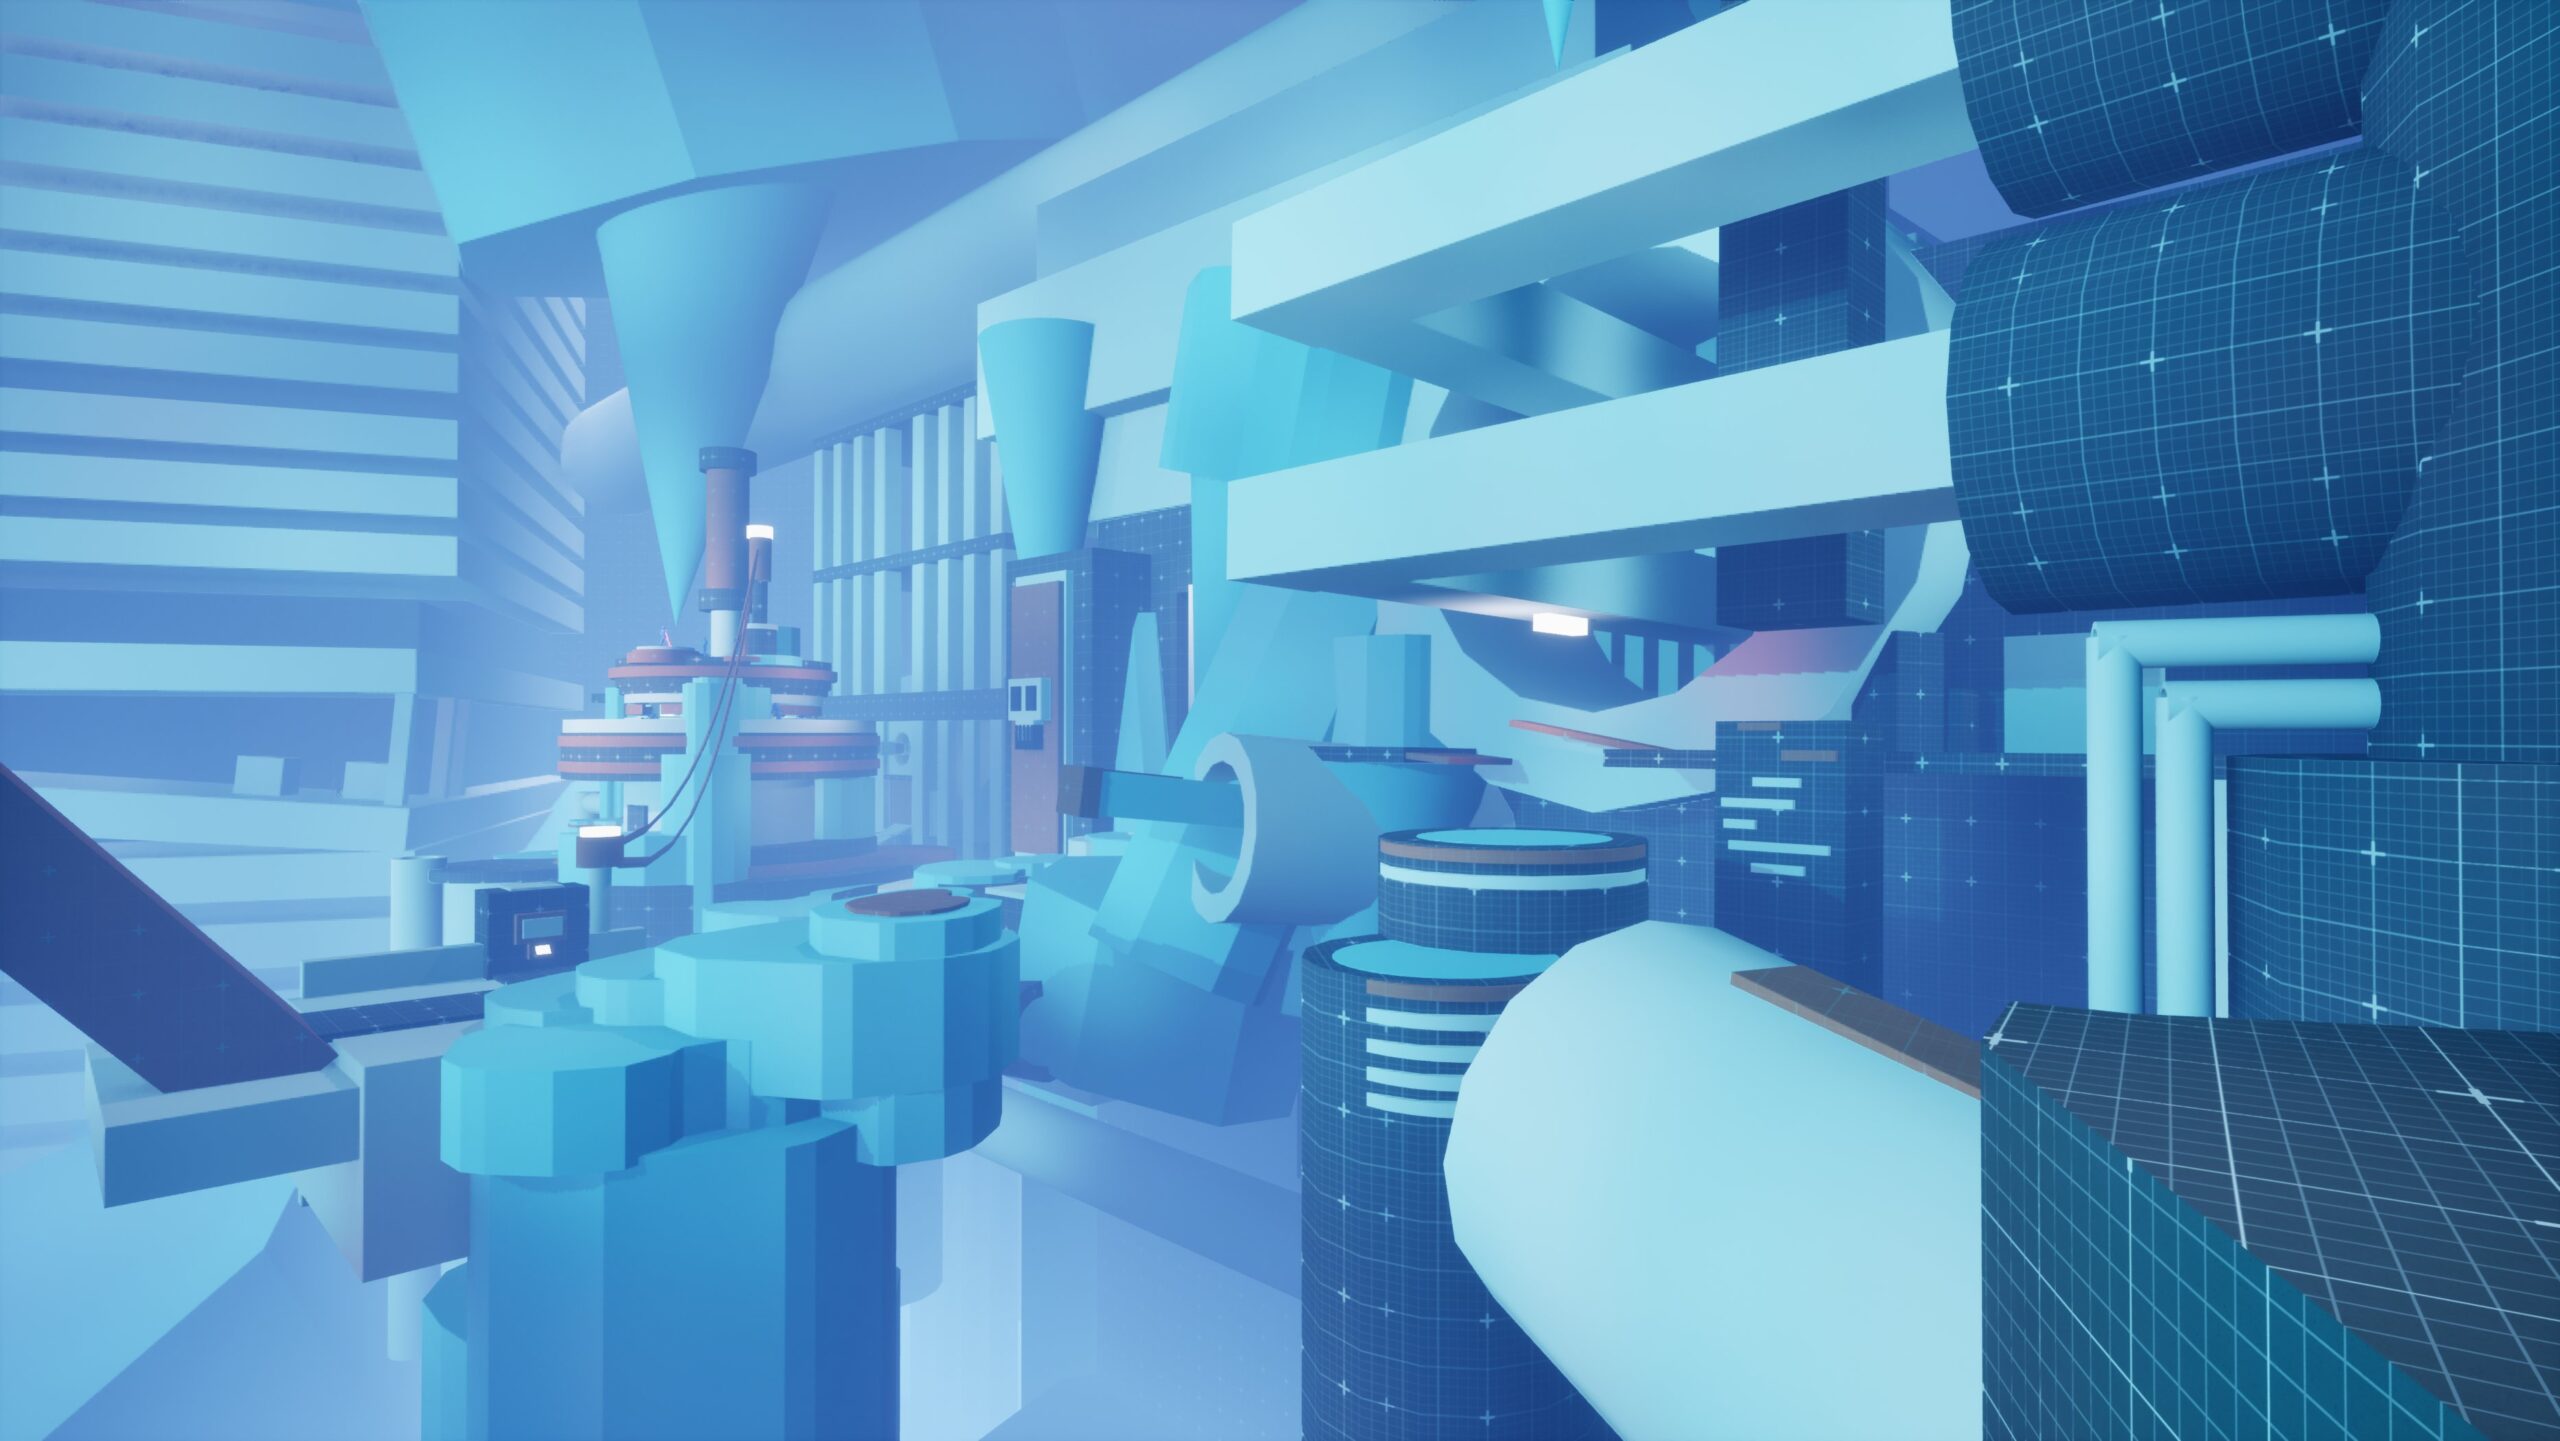
Results: The environment now successfully communicates a subterranean atmosphere. The strategic use of ice shaders, heavy fog, dynamic lighting, and background vistas gives the layout the authentic, imposing weight of an ancient temple. However, post-pass playtests revealed a critical pacing issue:
- Optimizing Playtime & Pacing: After analyzing playtest data, I realized that average session times were longer than intended, primarily due to friction in Beat 8. To optimize player flow, I removed an entire transitional room from the factory sequence. Cutting this space streamlined the navigation path and significantly improved the level’s momentum heading into the climax.
8: Key Improvements & Playtesting
Iteration Highlight 1

Problem: Early combat passes lacked tension, and enemy positioning and AI behaviors were difficult to read in the dark environment.
Solution: I completely reshaped the combat arenas and implemented dynamic enemy spawning sequences.
Impact & Results:
- Encouraging Movement: Redesigned floor layouts and sightlines to promote continuous “run-and-gun” gameplay, preventing players from stagnating in safe corners.
- Telegraphing Spawns: Scripted robotic zombies to burst through ice walls or shatter containment tubes, making enemy entry points highly visible and readable.
- Weapon-Centric Design: Tailored arena layouts to the strengths of each specific weapon (pistol, shotgun, or rifle).
Iteration Highlight 2

Problem: A zipline in Beat 2 used to show cavern scale made early traversal feel too passive. The space needed dynamic verticality that felt distinct from the claustrophobic climbing in Beat 1.
Solution: I replaced the zipline with an active platforming sequence and a small secondary exploration zone.
Impact & Results:
- Mechanical Progression: Provides an open area for free movement, contrasting with the tight bounds of Beat 1.
- Pacing Variety: The exploration space breaks up linear pathing to inject variety.
- Optimized Sightlines: The new path connects seamlessly to Beat 3 while offering superior, framed vistas of the central column.
Iteration Highlight 3

Problem: In one platforming section, players were required to drop down a vertical hatch onto a lower floor surrounded by hazards. Because of the perceived danger and the “point of no return,” playtesters became hesitant, got lost, or refused to drop down.
- Signposting: Added distinct visual assets and audio cues to immediately draw the player’s attention to the hatch as the intended route.
- Mitigating Risk: Expanded the safe ground placed between the hazardous pipe networks, alleviating player anxiety and encouraging them to drop down confidently.
- Immediate Goal Orientation: Re-oriented the direction of the final platforming challenge so it is instantly visible to the player.
9. Polish Pass
Objective: Implement the UI and checkpoint systems, refine the final lighting pass, script additional enemy waves, balance the combat economy (player damage, enemy speed, health values, and pickup distribution), and completely rework the pacing of Beats 8 and 9.
Results: This final iteration successfully tied the mechanical, technical, and aesthetic elements together into a cohesive, shipping-ready experience. The level received highly positive feedback during industry reviews: “The traversal is consistently fun. There is a nice rhythm to the movement through the whole level, and the layout does a good job mixing action and traversal in a way that keeps the player engaged… This is a really strong level. The platforming is fun, the big surprise beat is excellent, and the whole thing has a lot of energy.” — Brandon Dolinski, Mentor
10. In depth
I kept a diary about what changes and progress were done each week. You can check in this Miro board for more detail updates, more photos.
This project was a big step in developing my skills as a Level Designer, and the creation of the level as a whole was an incredible experience, making me face new challenges such as working on a longer and more focused experience, managing feedback and priorities, and building a level from start to finish while following an industry-standard workflow.
Thank you so much for your attention! If you’d like to chat about anything, including the project or my portfolio, feel free to reach out to me on Linkedin or in my webpage.